Students will create textures using alcohol based markers and colorless blenders or rubbing alcohol, by pushing the marker ink around to achieve the look they desire. This technique can later be applied to future artworks created by the students to mimic fur or even different types of metals. At the end of the project there will be a class discussion and critique. A simple fun project that anyone can do. This lesson plan can be done along side the "Creating Patterns With Alcohol Markers & Colorless Blenders"
1 Keeps,
1 Likes,
0 Comments
THE PLAN
3 sessions; 30 minutes per session
1. SWBAT create textures using alcohol-based markers and colorless blender markers or rubbing alcohol, along with materials like burlap and paper towels.
2. SWBAT experiment with different techniques and applications.
3. SWBAT have a class discussion about their work.
1. Cut the bristol board down to sizes you find preferable.
2. Color the bristol board completely with markers, then let them dry. You can use more than one color. (Two coats should be good enough.)
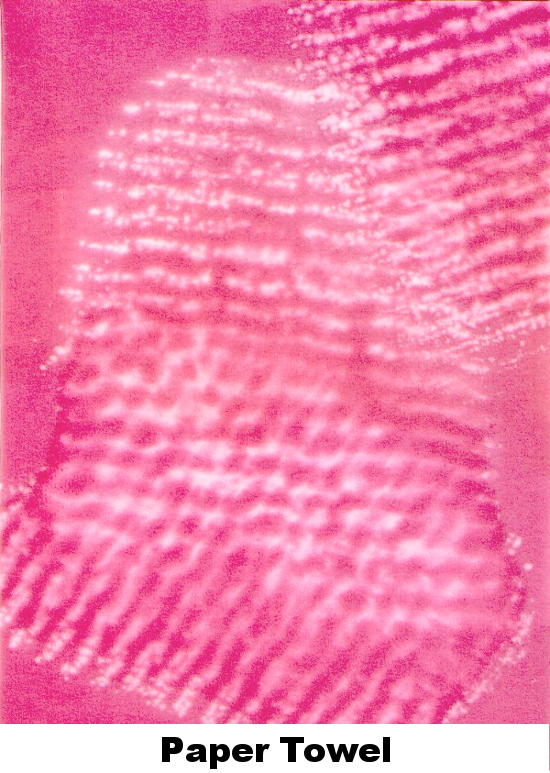
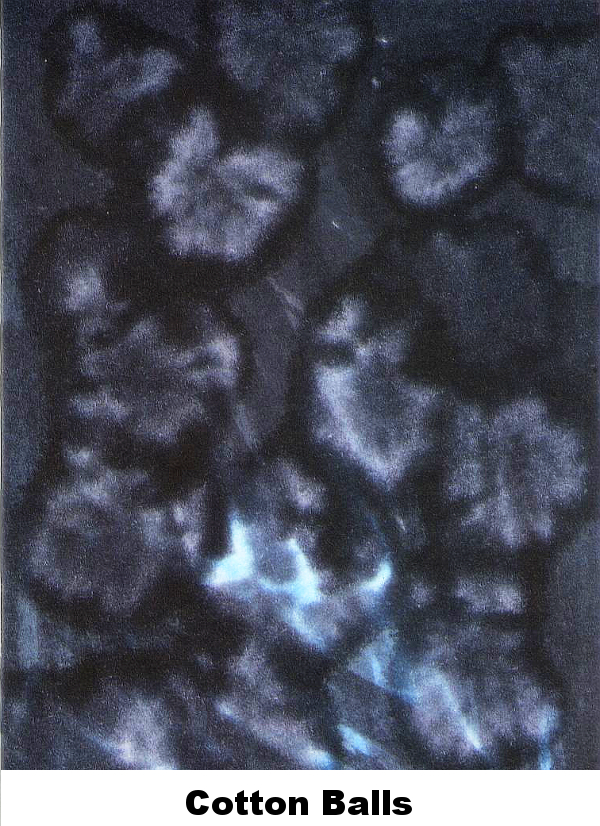
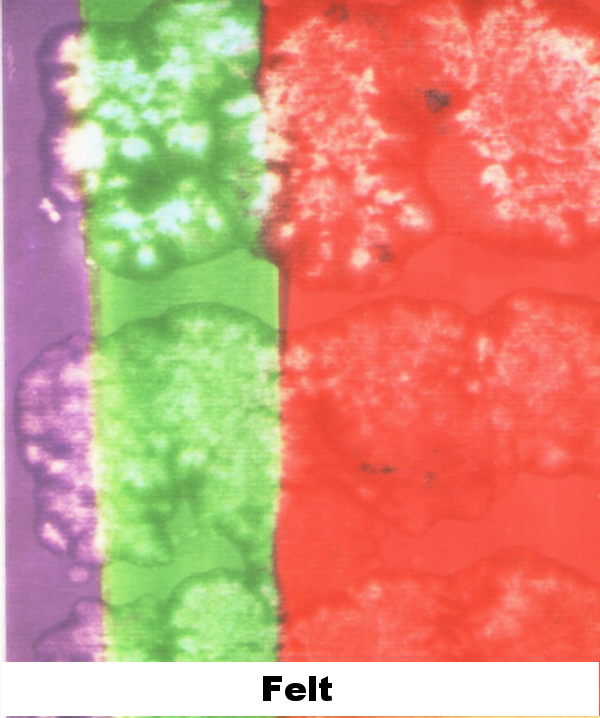
3. Once dry start making your textures by applying the colorless blender marker/rubbing alcohol directly onto materials like paper towels or burlap. Then press it down on the bristol board for a few seconds. (The blender/alcohol will help push the marker ink around, removing it from the area.)
4.(optional) Before you start step 2. apply some watercolor as a base coat. This will leave you some color underneath, giving off a kind of tie dye effect. (This stage is all about experimenting, to find out what works and what doesn't.)
5. The class will have a discussion on what materials and techniques that worked best for them on this project. There will also be a minor Q&A and class critique.
This is a very easy and fun project for anyone to do. Regardless of what you use to apply the colorless blender or rubbing alcohol with, you can achieve many different textures.
THE STANDARDS
Visual Arts Standard 1: Understanding and applying media, techniques, and processes
[K-4] Students know the differences between materials, techniques, and processes
[K-4] Students describe how different materials, techniques, and processes cause different responses
[K-4] Students use art materials and tools in a safe and responsible manner
[K-4] Students use different media, techniques, and processes to communicate ideas, experiences, and stories
[5-8] Students select media, techniques, and processes; analyze what makes them effective or not effective in communicating ideas; and reflect upon the effectiveness of their choices
[9-12 Proficient] Students apply media, techniques, and processes with sufficient skill, confidence, and sensitivity that their intentions are carried out in their artworks
THE FEATURES
Abstract Art
Color/Value, Contrast, Texture
Marker
You must be logged in to keep, like, or comment on this resource.

Share!
Comment!