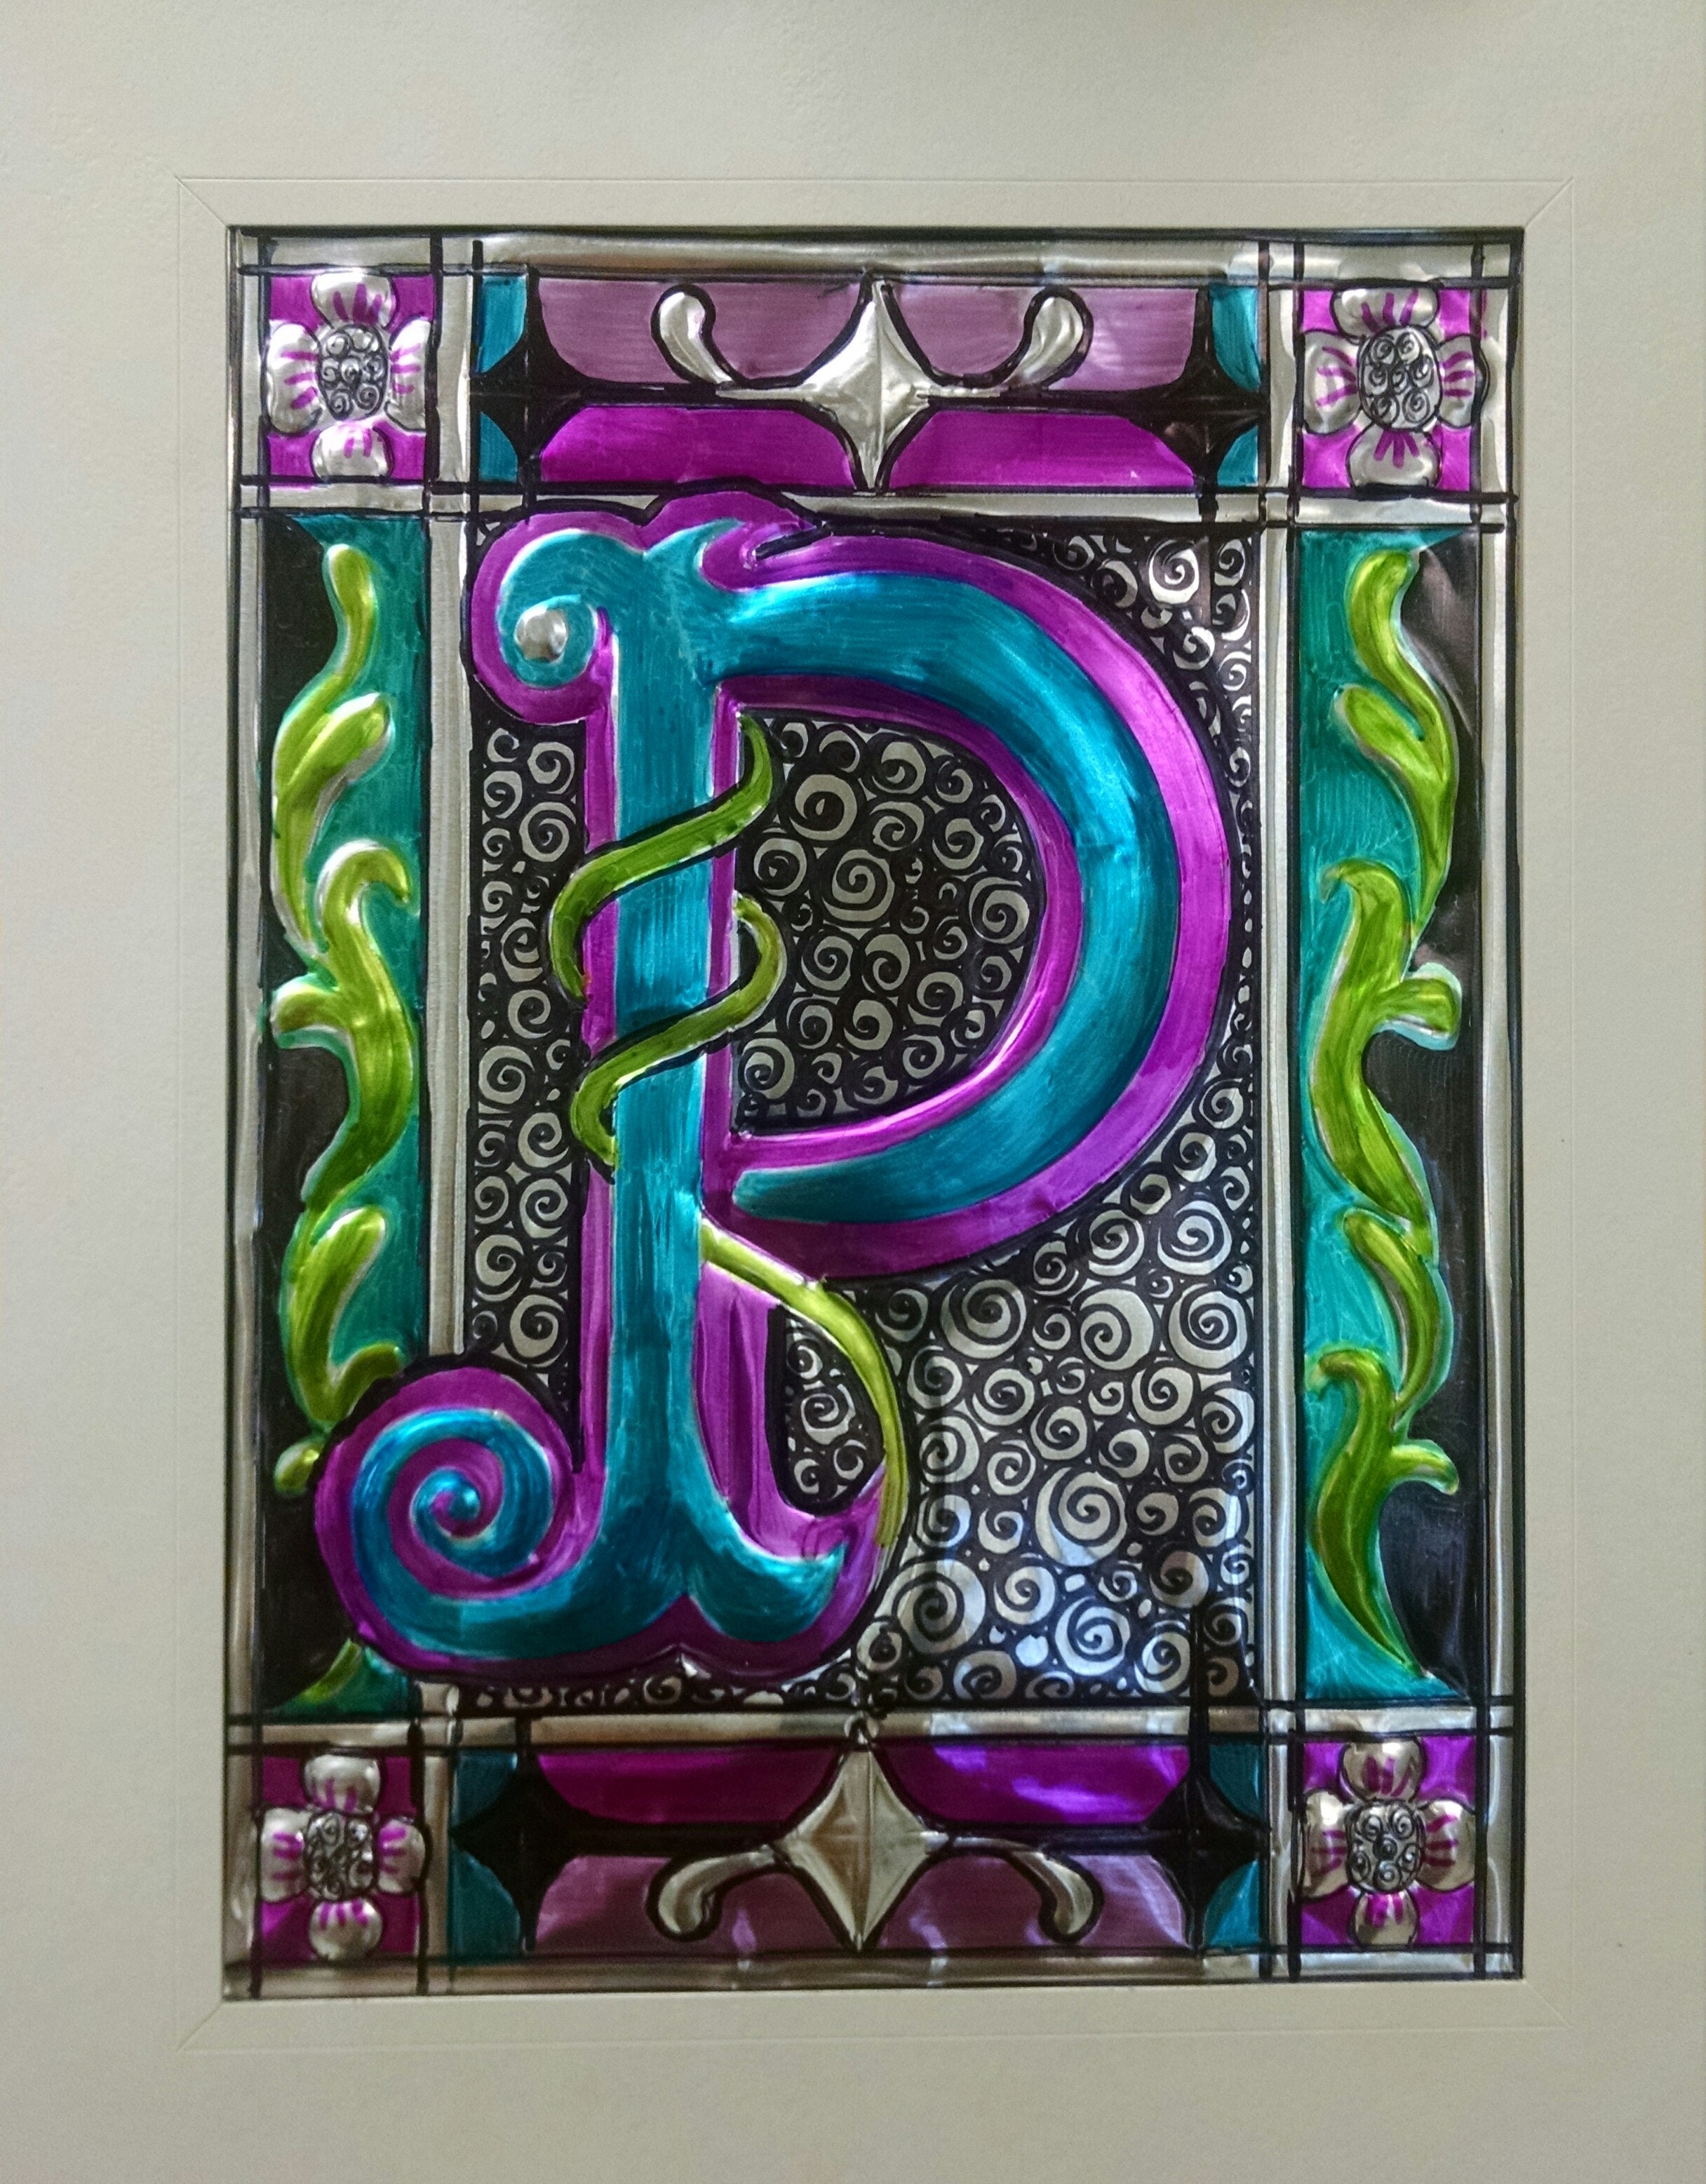
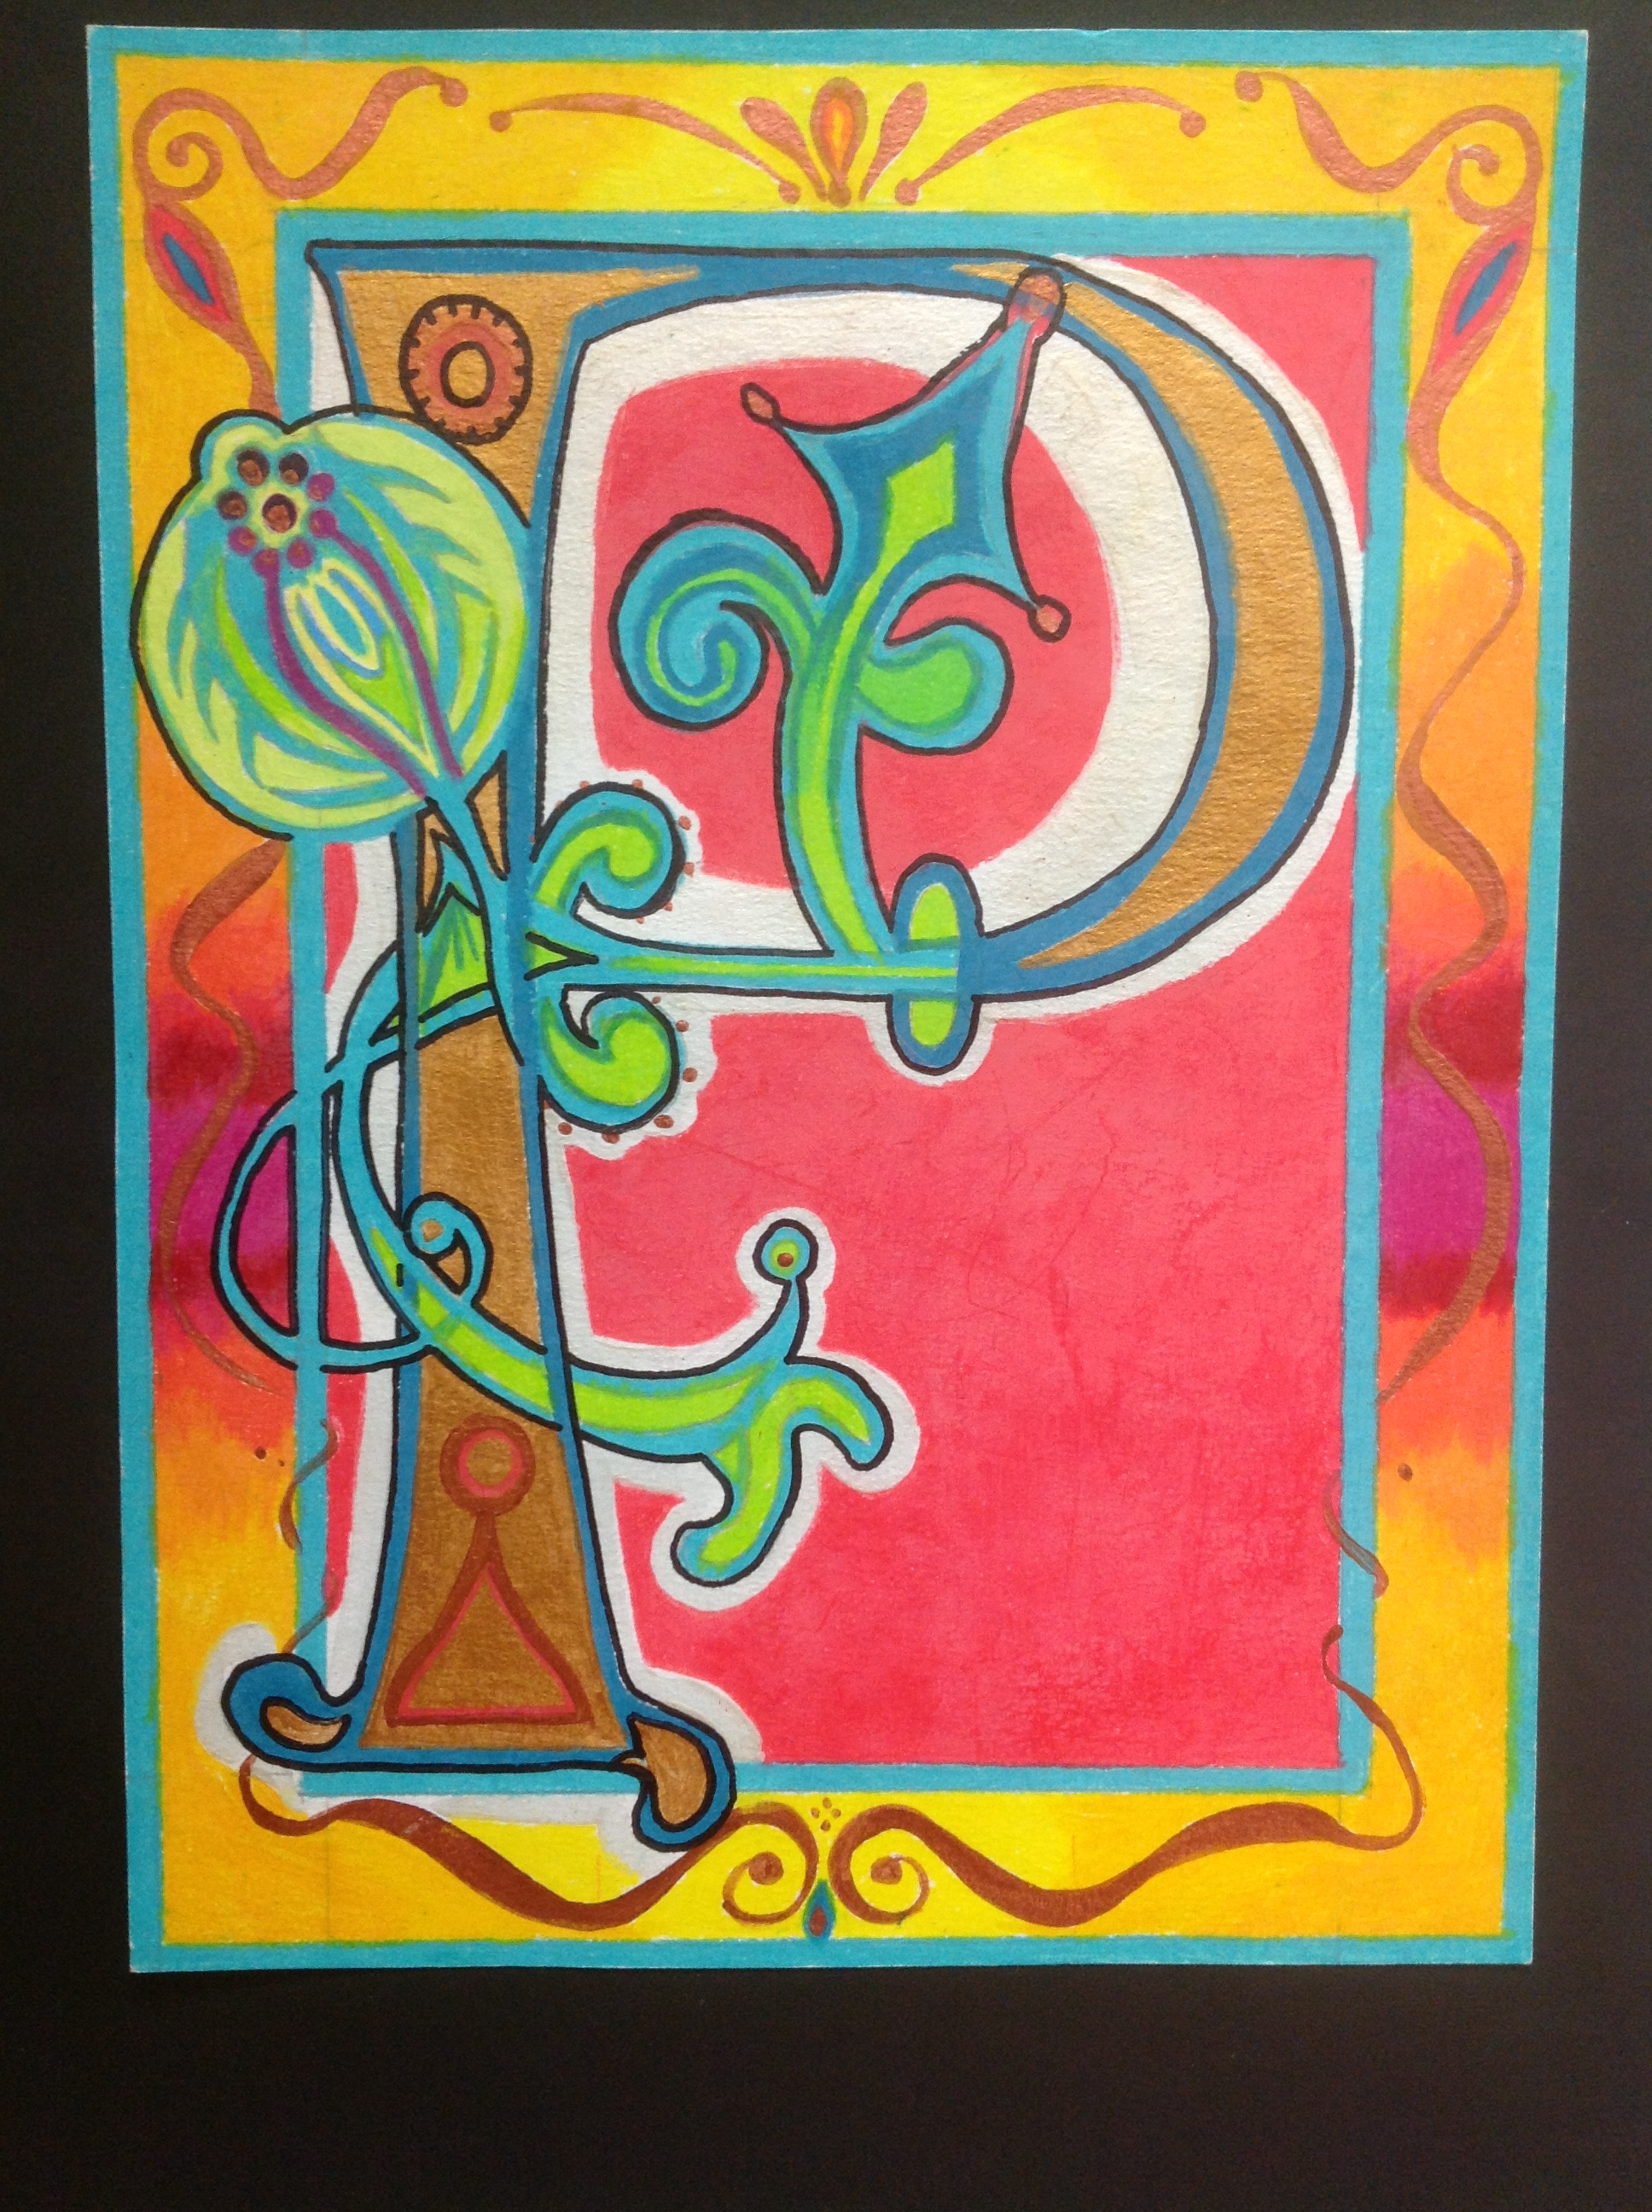
This is a keynote presentation with a brief history of Illuminated Capitals and a lesson on metal tooling and the process of Repousse.
28 Keeps,
7 Likes,
0 Comments
THE PLAN
SWBAT use two-dimensional and three-dimensional media, techniques, tools, and processes to solve specific visual arts problems with refinement and control.
SWBAT define and apply repousse and illuminated capitals
SWBAT use line, emphasis and texture to create a 2/D relief.
1. Blick 8X10 ready mat for 5X7 artwork
2. Blick Pure Metal tooling Foil/Aluminum 12X10' cut into 4 1/2 X6 1/2 pieces
3. Blick Modeling tools, three styles: Liners, Modelers, and Spatulas enough for class ( 24 each)
4.Sharpie Permanent Colored markers-24 colors, 6 sets.
5. Scissors to cut foil
6. masking tape
Activity:
The art activity we will attempt is known as repoussé. We will create a low relief image in metal (copper foil or aluminum) using the technique known as repoussé. Once your sketch has been refined and in the same format as your foil, and you understand the technique as one of creating convex and concave forms, decide how best make the transfer from sketch to the aluminum, and how you will best depict your idea using these materials.
Procedure:
1. Place a pad of newspaper or felt under your foil so you have a soft surface
2. Tape your pre-drawn design over the metal
3. Use a ball point pen to impress the main components of your design
4. Decide which shapes will be convex (puff out) and which will be sunken inward (concave)
5. Reinforce the pushed out areas by applying pressure to the stick and review the area a number of times to stretch the metal. Do not press too hard or over work an area.
6. Flip the metal over, and reinforce the outlines of your design using the point of the V-tipped modeling tool.
7. Continue indenting the metal by working on it
8. Work both sides of the metal to form the relief sculpture
9. Add texture to some areas, creating patterns of parallel lines, dots, circles, etc.
10. Continue to work both sides to see what is possible
11. When complete, color the piece with permanent sharpie.
12. Tape the piece under a mat board frame for an effective display.
Students will evaluate their work using this self-evaluating Rubric.
THE STANDARDS
Visual Arts Standard 1: Understanding and applying media, techniques, and processes
[5-8] Students intentionally take advantage of the qualities and characteristics of art media, techniques, and processes to enhance communication of their experiences and ideas
Visual Arts Standard 2: Using knowledge of structures and functions
[5-8] Students select and use the qualities of structures and functions of art to improve communication of their ideas
Visual Arts Standard 3: Choosing and evaluating a range of subject matter, symbols, and ideas
[5-8] Students use subjects, themes, and symbols that demonstrate knowledge of contexts, values, and aesthetics that communicate intended meaning in artworks
Visual Arts Standard 4: Understanding the visual arts in relation to history and cultures
[5-8] Students know and compare the characteristics of artworks in various eras and cultures

Share!
Comment!