Have students take a series of still photographs in order to create a video.
18 Keeps,
5 Likes,
1 Comments
THE PLAN
10+ sessions; 45 minutes per session
1. SWBAT: create a narrative using a series of still images (photographs)
2. SWBAT: imply the direction and speed of movement by taking still photographs of objects after moving them a little or a lot
3. SWBAT: create a coherent sequence of actions by placing images in order in video-editing software
1. Point and Shoot cameras, DSLR cameras, OR cell phone cameras (one for each person if doing individual student videos, or one for each group if collaborative work is happening)
2. Tri-pods/stands/selfie-sticks (one for each group/camera/phone)
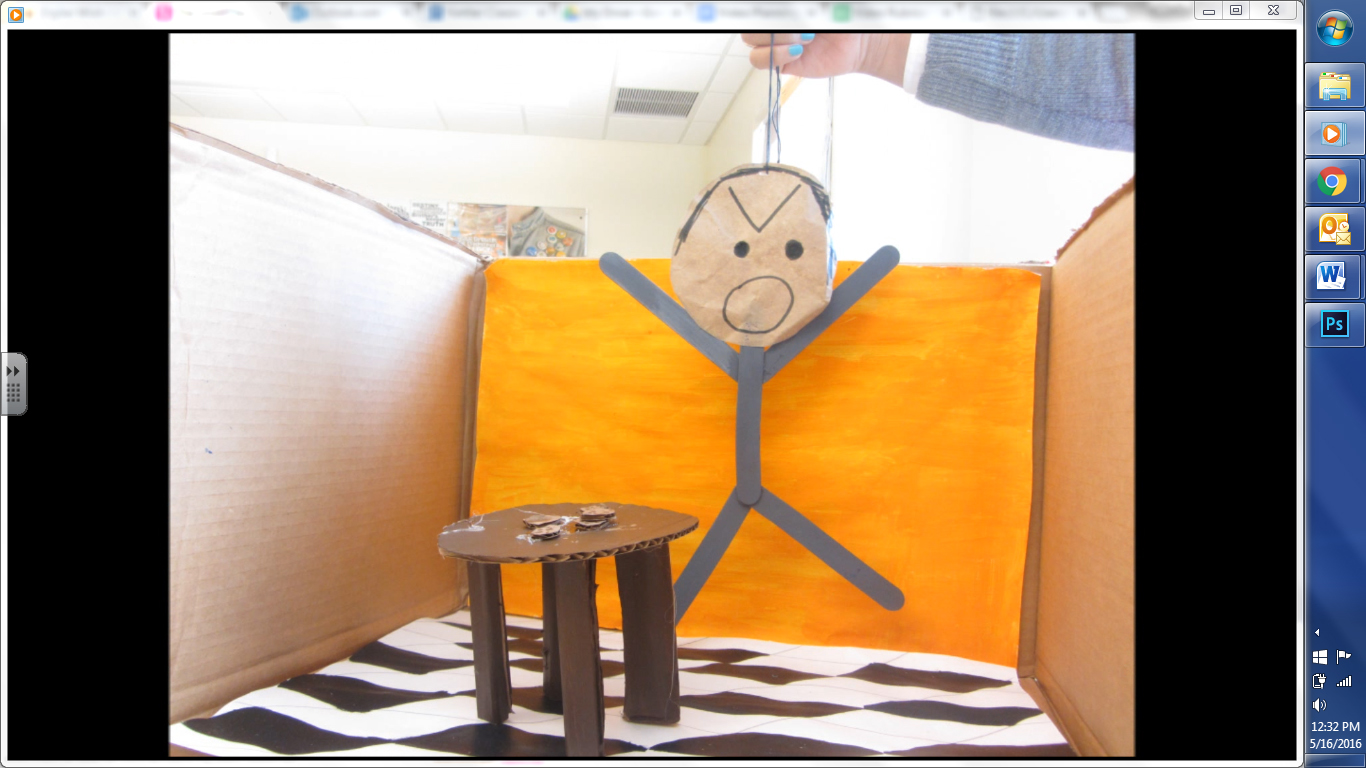
3. Various art supplies for setting/background (large paper, cardboard, fabric, posters, photos etc.)
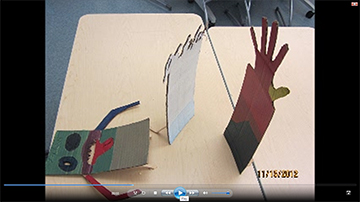
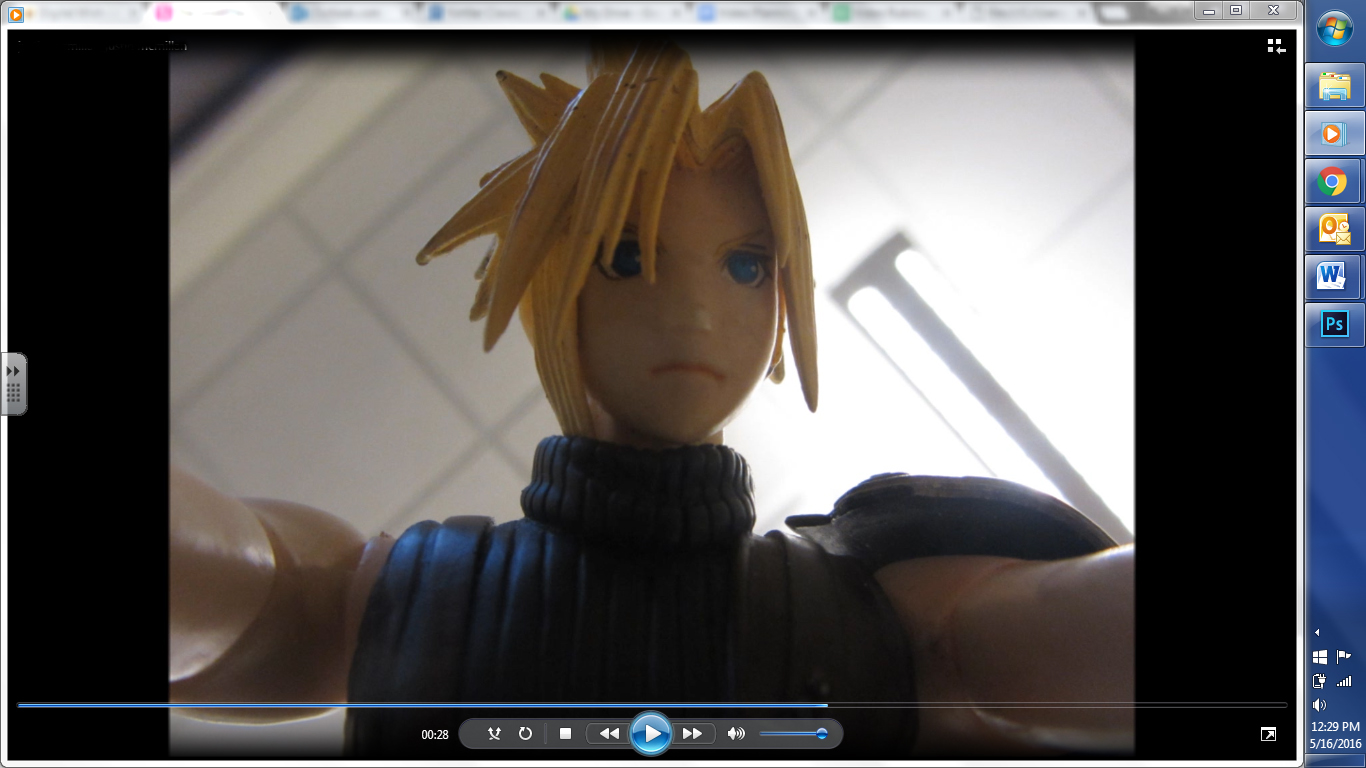
4. Toys, inanimate objects, stuffed animals, action figures, etc. for characters in the narrative
5. Computers with video editing software (Windows Moviemaker, iMovie, WeVideo, Adobe Premiere or the like)
1. Day 1: Introduction to Narrative and storytelling: Class discussion and teacher directed notes about the elements of narratives: Setting, characters, hook, plot, rising action, climax, resolution. Watching a couple of animated shorts on YouTube to see the storytelling elements in action—quick class discussion after each.
2. Day 2: Introduction to techniques: Watching “How-To” videos about creating various kinds of stop-motion animation. Teacher directed instruction about options of materials and supplies to use for setting, characters, and props.
3. Day 3: Planning day: This is the day to divide students into groups if the videos are going to be collaborative. Student brainstorming, mind-mapping, sketching around themes, images, sequence, and characters involved in the story/action. Write narrative. Exit Ticket: Group proposal with choices they have made for video and outline.
4. Day 4: Homework due (optional see below) Planning/Set Up: Students will finish planning the story and sequences. Students will set-up or create a backdrop or setting for their scenes. Students can start taking photographs if they are ready.
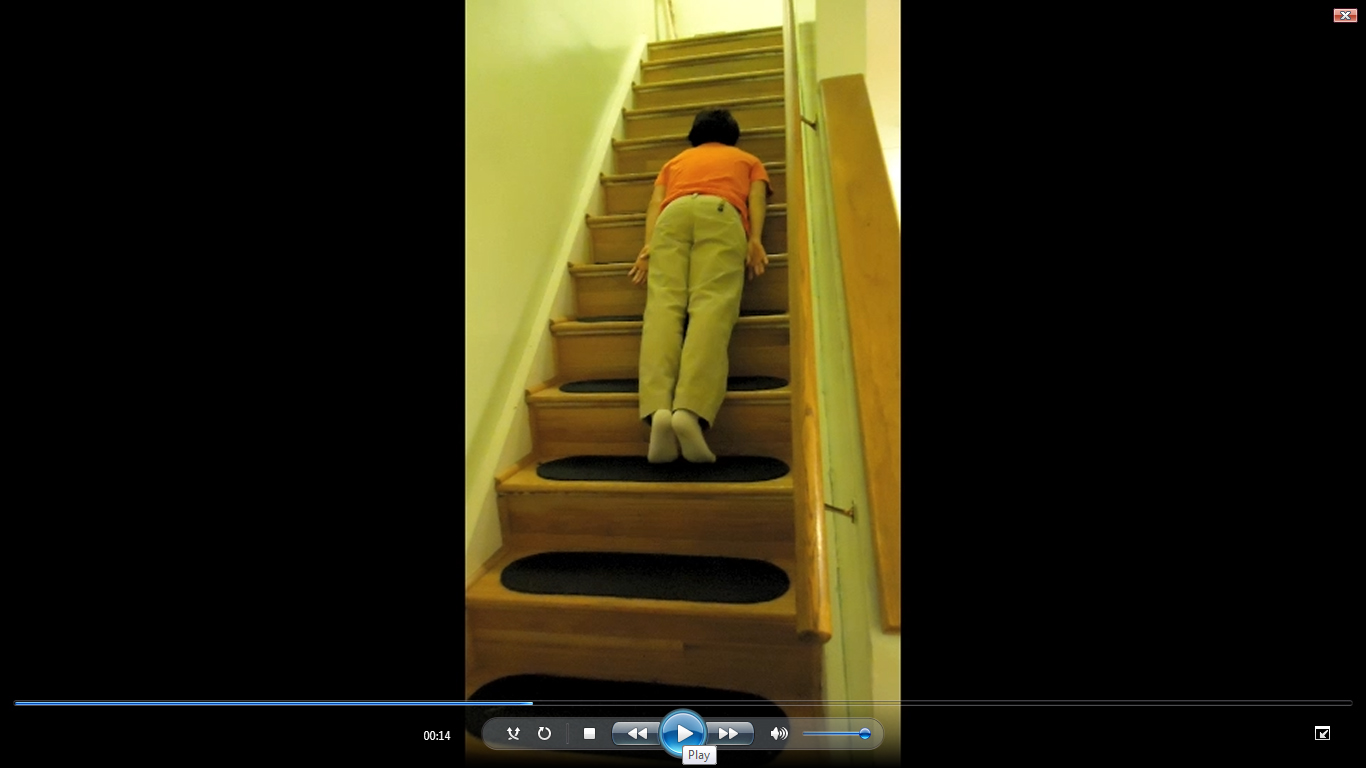
5. Day 5: Work day: Students will begin class by setting up their scene and their cameras on their tripod. Students will take a photograph move their character, take another photograph, and keep going until there are a sequence of photographs that imply linear/chronological movement.
6. Day 6: Progress sharing around the circle: Student groups will share their themes, story arcs, and progress so far. Class mates will ask clarifying questions and give feedback in terms of strengths and challenges—With any extra time in class student groups can continue taking photos
7. Day 7: Work day: Students will begin class by setting up their scene and their cameras on their tripod. Students will take a photograph move their character, take another photograph, and keep going until there are a sequence of photographs that imply linear/chronological movement.
8. Day 8: Revising, and Editing: Students will upload their photos to the computer and put them in the correct sequence in the video editing program. Students will then adjust the timing of the clips to be less than a second in order to create the movement (some clips can be a bit longer than others to create necessary pauses for the eye.)
9. Day 9: Students will begin by completing the Video Reflection Assessment then students will work on Revising, Editing and Adding finishing touches: Students will finish editing, add music* if needed, and add titles and credits. (*Music that has a Creative Commons—No Derivatives license or music in the Public Domain are the only songs that are legal to add to videos)
10. Day 10: Peer Group Feedback and Final Editing: Groups will pair up and show their videos to each other as is. The peer group will give suggestions for fixes and finishing as professionally as possible. Groups will go back to their own videos to fix anything and finish them off. Students will fill out self-assessment for their video (craftsmanship, creativity, theme, story-telling characteristics)
11. Day 11-Day13: (How many days this takes depends on how many students there are in class, how many videos there are to share, and how long the videos end up being.) Viewing: Make some popcorn (if you are allowed at your school) and have a Short Stop-Motion Animation Film Festival! (I like to have the students’ self-assessments in front of me while I watch the videos to help me grade them.)
Formative:
Student proposals (Day 3)
Round-table sharing of progress (Day 6)
Video Reflection Assessment (Day 9) (Attached question sheet)
Feel free to contact me with questions or comments. I have taught it this way and with other options for students as well (such as paper motion animation and white board animation.)
THE STANDARDS
Visual Arts Standard 1: Understanding and applying media, techniques, and processes
[9-12 Proficient] Students conceive and create works of visual art that demonstrate an understanding of how the communication of their ideas relates to the media, techniques, and processes they use
[9-12 Proficient] Students apply media, techniques, and processes with sufficient skill, confidence, and sensitivity that their intentions are carried out in their artworks
[9-12 Advanced] Students initiate, define, and solve challenging visual arts problems independently using intellectual skills such as analysis, synthesis, and evaluation
[9-12 Advanced] Students communicate ideas regularly at a high level of effectiveness in at least one visual arts medium
Visual Arts Standard 2: Using knowledge of structures and functions
[9-12 Proficient] Students create artworks that use organizational principles and functions to solve specific visual arts problems
Visual Arts Standard 3: Choosing and evaluating a range of subject matter, symbols, and ideas
[9-12 Proficient] Students apply subjects, symbols, and ideas in their artworks and use the skills gained to solve problems in daily life
[9-12 Advanced] Students describe the origins of specific images and ideas and explain why they are of value in their artwork and in the work of others
Visual Arts Standard 5: Reflecting upon and assessing the characteristics and merits of their work and the work of others
[9-12 Advanced] Students correlate responses to works of visual art with various techniques for communicating meanings, ideas, attitudes, views, and intentions
Visual Arts Standard 6: Making connections between visual arts and other disciplines
[9-12 Proficient] Students compare the materials, technologies, media, and processes of the visual arts with those of other arts disciplines as they are used in creation and types of analysis
KatieMorris05/31/2016 at 09:20am
I did a stop motion project with my computer graphics class and we had pretty good luck with the "Stop Motion" app on smartphones.
You must be logged in to keep, like, or comment on this resource.


Share!
Comment!