Students will use rubber cement, acrylic paint or tempera paint on canvas to create a painting that resembles a batik. They will learn about the process of batik.
9 Keeps,
2 Likes,
0 Comments
THE PLAN
4 sessions; 45 minutes per session
1. SWBAT define the steps involved in making a batik.
2. SWBAT will use the elements of art to paint a picture.
3. SWBAT identify a piece of art that is a batik and tell why.
4. SWBAT compare and contrast a batik and a patterned piece of fabric.
5. SWBAT create a painting using rubber cement as a resist.
Canvas or canvas board
Rubber cement
Acrylic paint various colors or
Tempera paint
Buckets with water
Paint brushes(Old throw aways)
Photos of flowers
Fabric that has been batiked if available or slide presentation
Fabric that has printed patterns or a slide presentation
A tjanting or a picture of one
Information on batik for kids to read
Hair dryer
WEEK 1
1. EQ-How is a batik made?
2. Give students a handout and do a read and say something in small groups. After reading ask them to explain the process for making a batik. List the steps on the board and show some examples of fabric that has been batiked or show a PowerPoint. Ask: What are some of the things you see on the batik pieces of fabric? What do they have in common? What do you like about these batiks? Why? Do you think it is hard to batik a piece of fabric? Why? Do you think it takes a lot of time to batik a piece of fabric? Why or why not? What happens when the dye hits the wax? Why do you think it doesn't soak in? I show them a wax candle stick and I dip it into water with food coloring and as them what happens. Then draw with the crayon on a piece of paper and use the water with food coloring or water color and paint over it . What happens? Discuss the resist method. Most students will already understand the concept of resist, but tap into the background knowledge in some way.
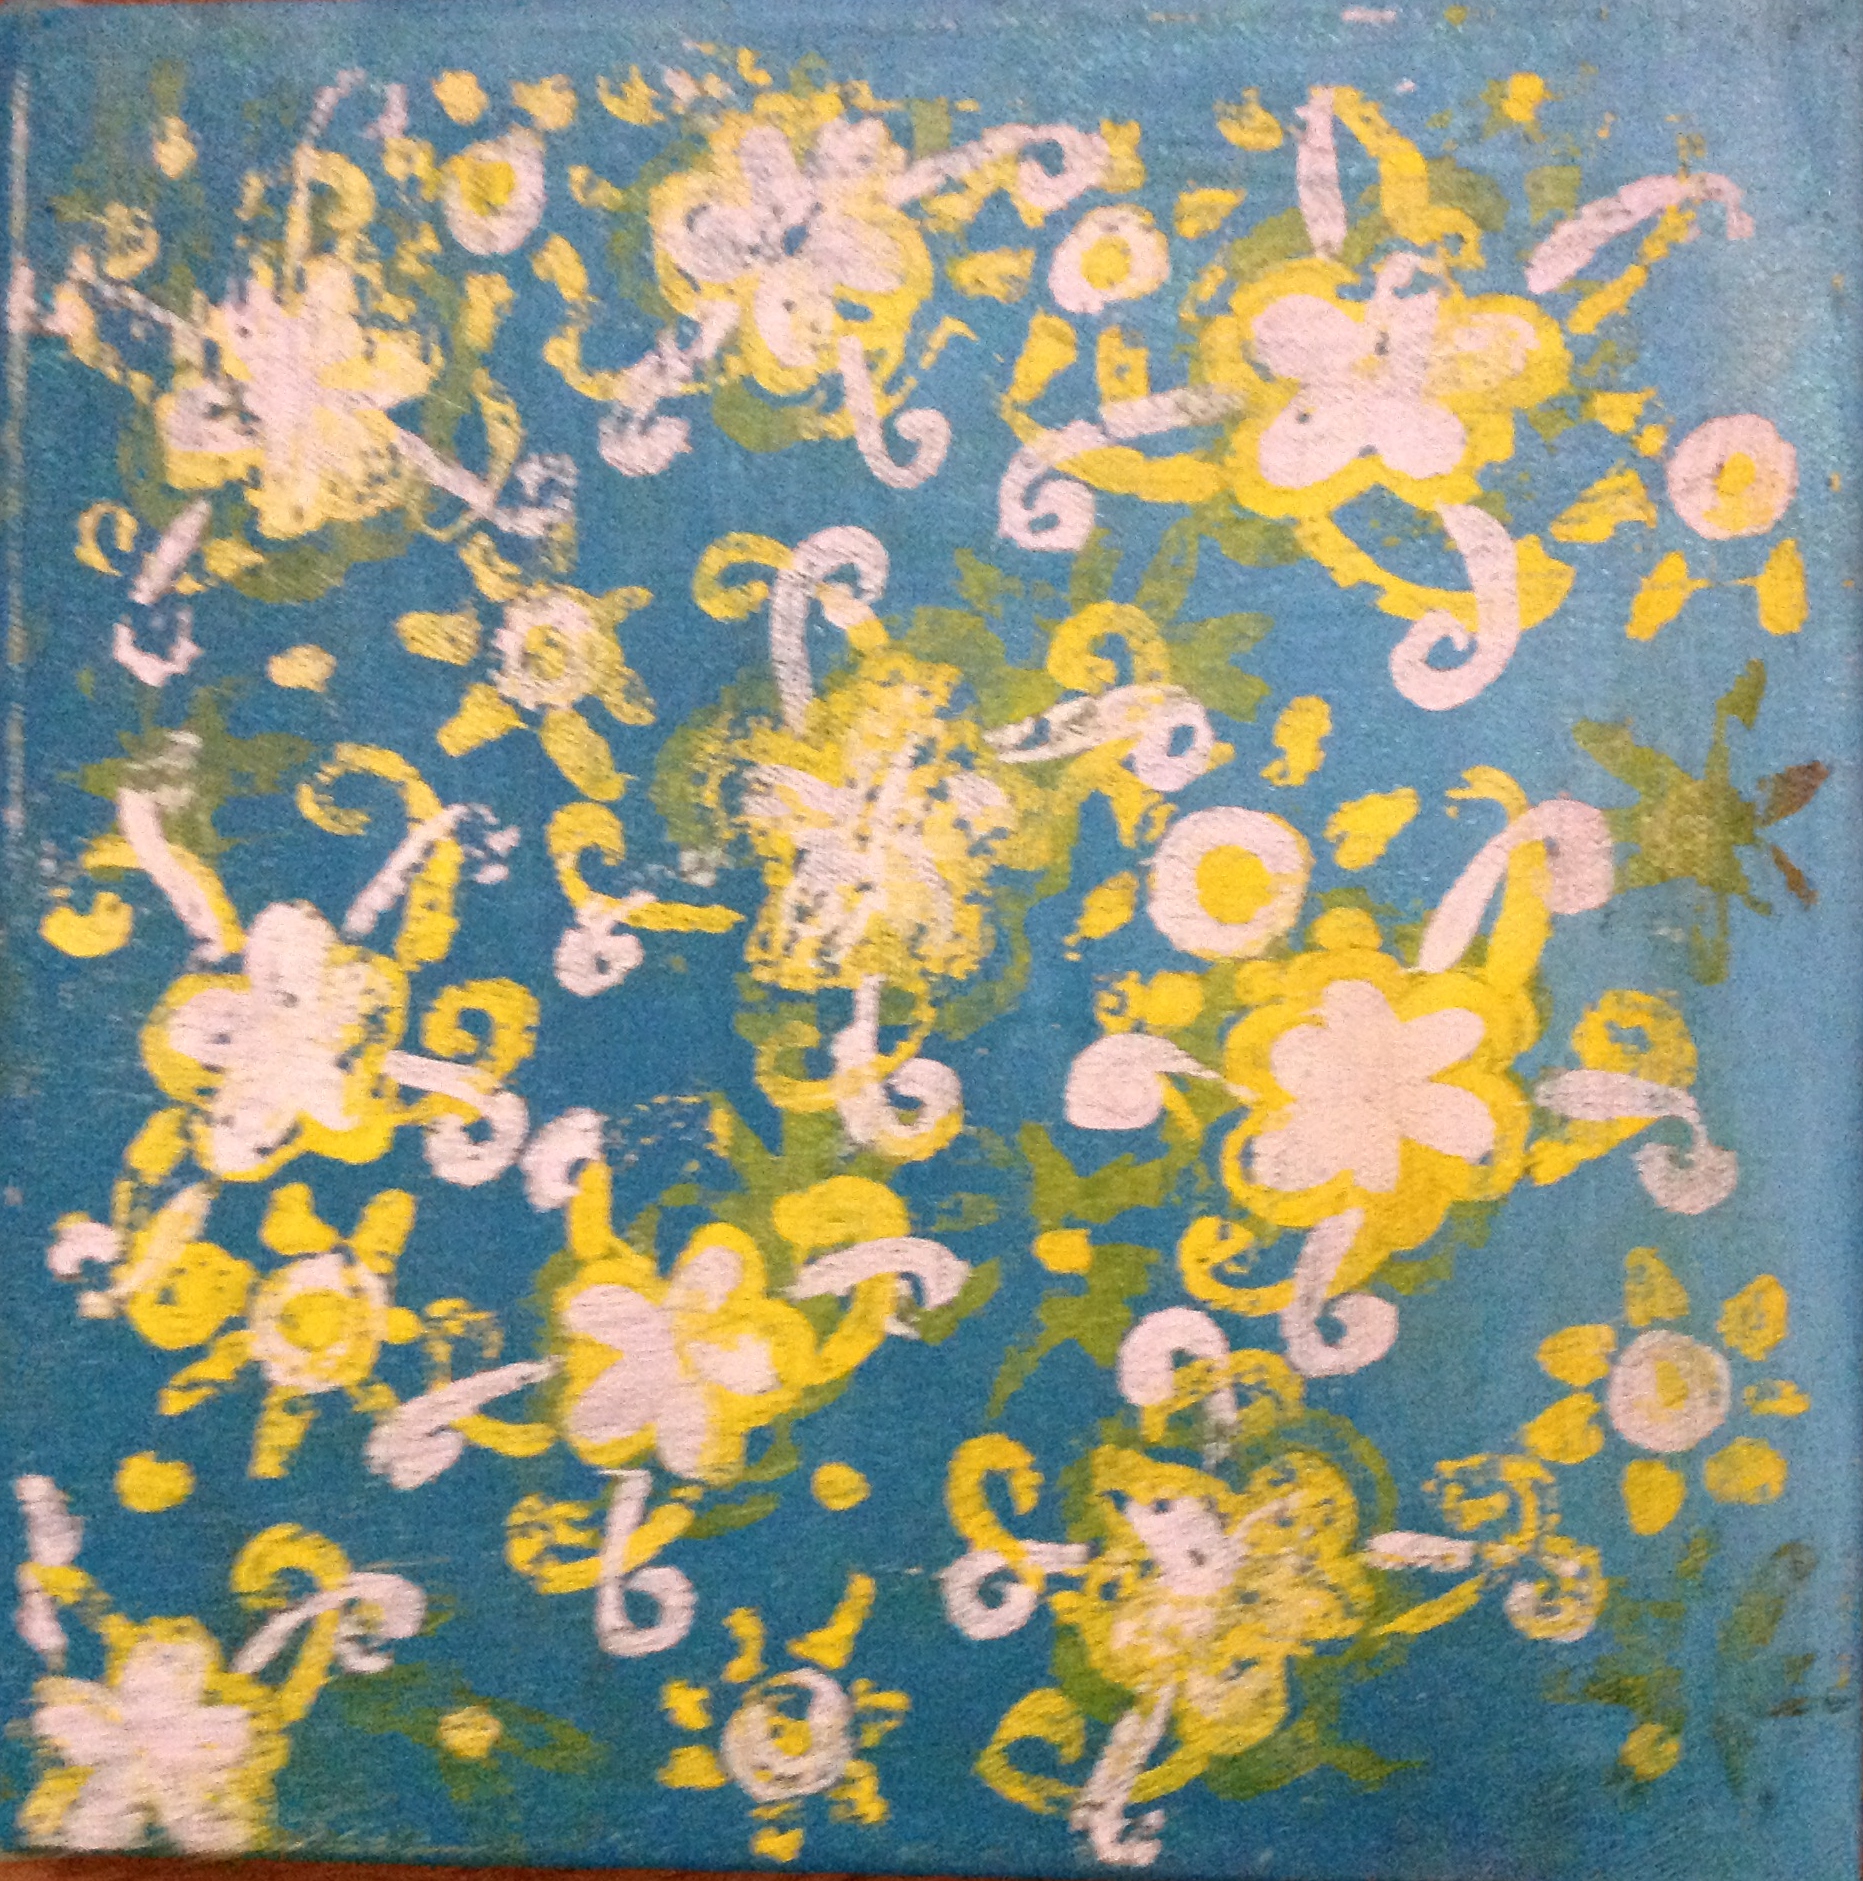
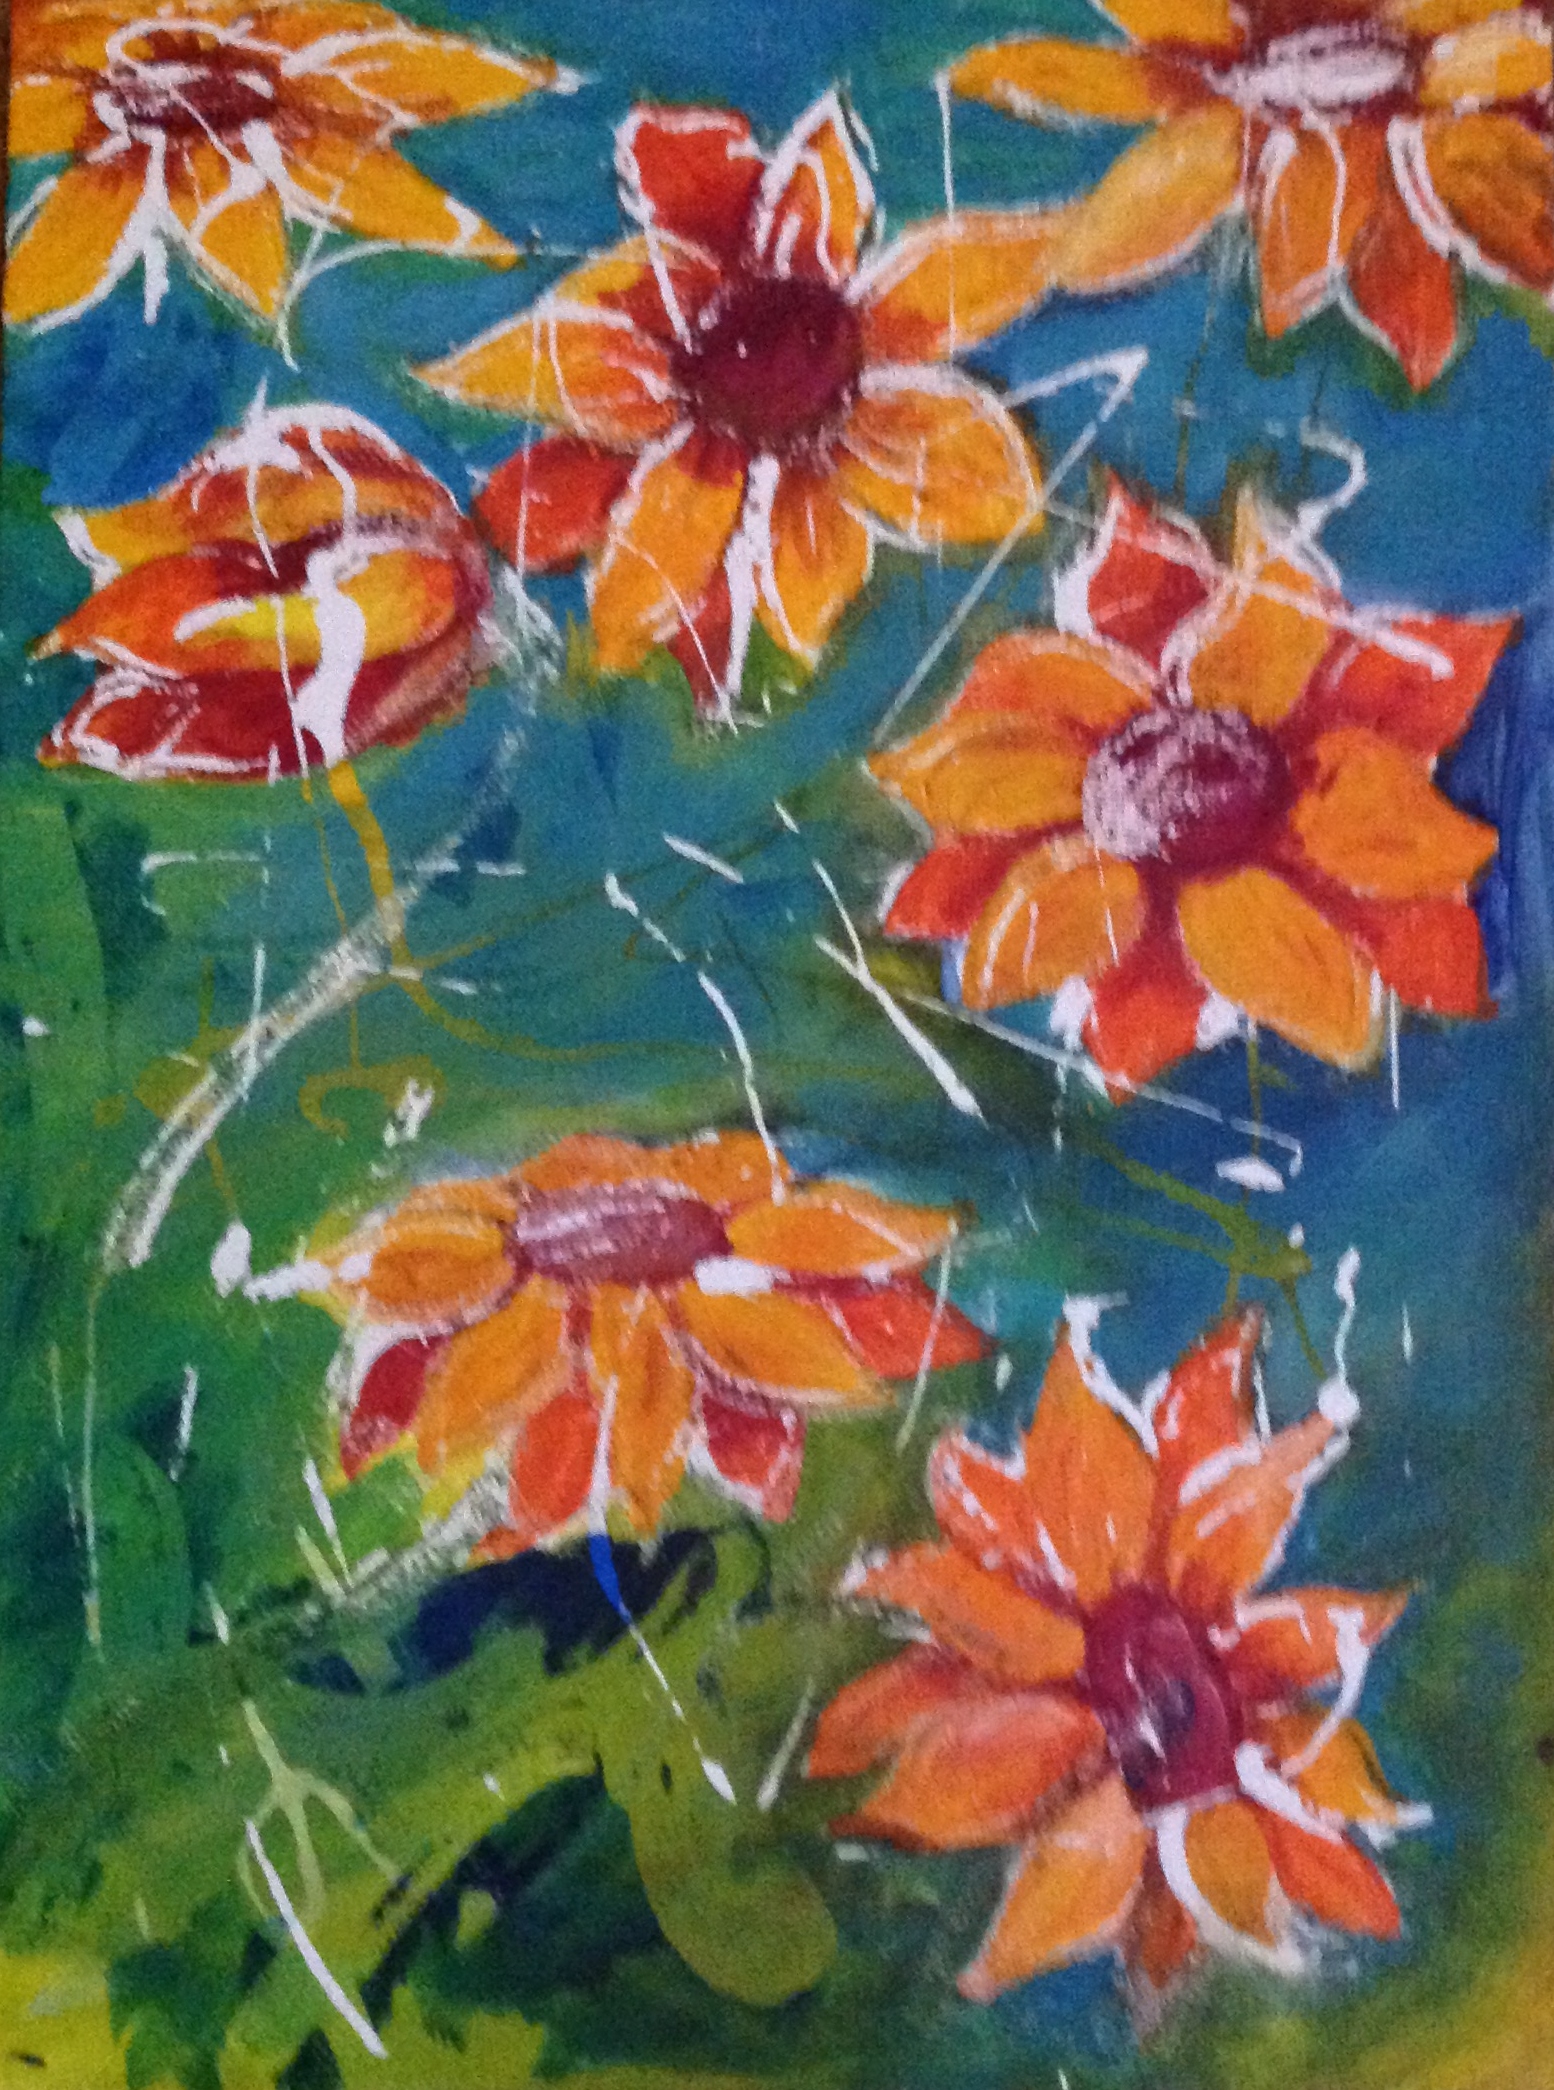
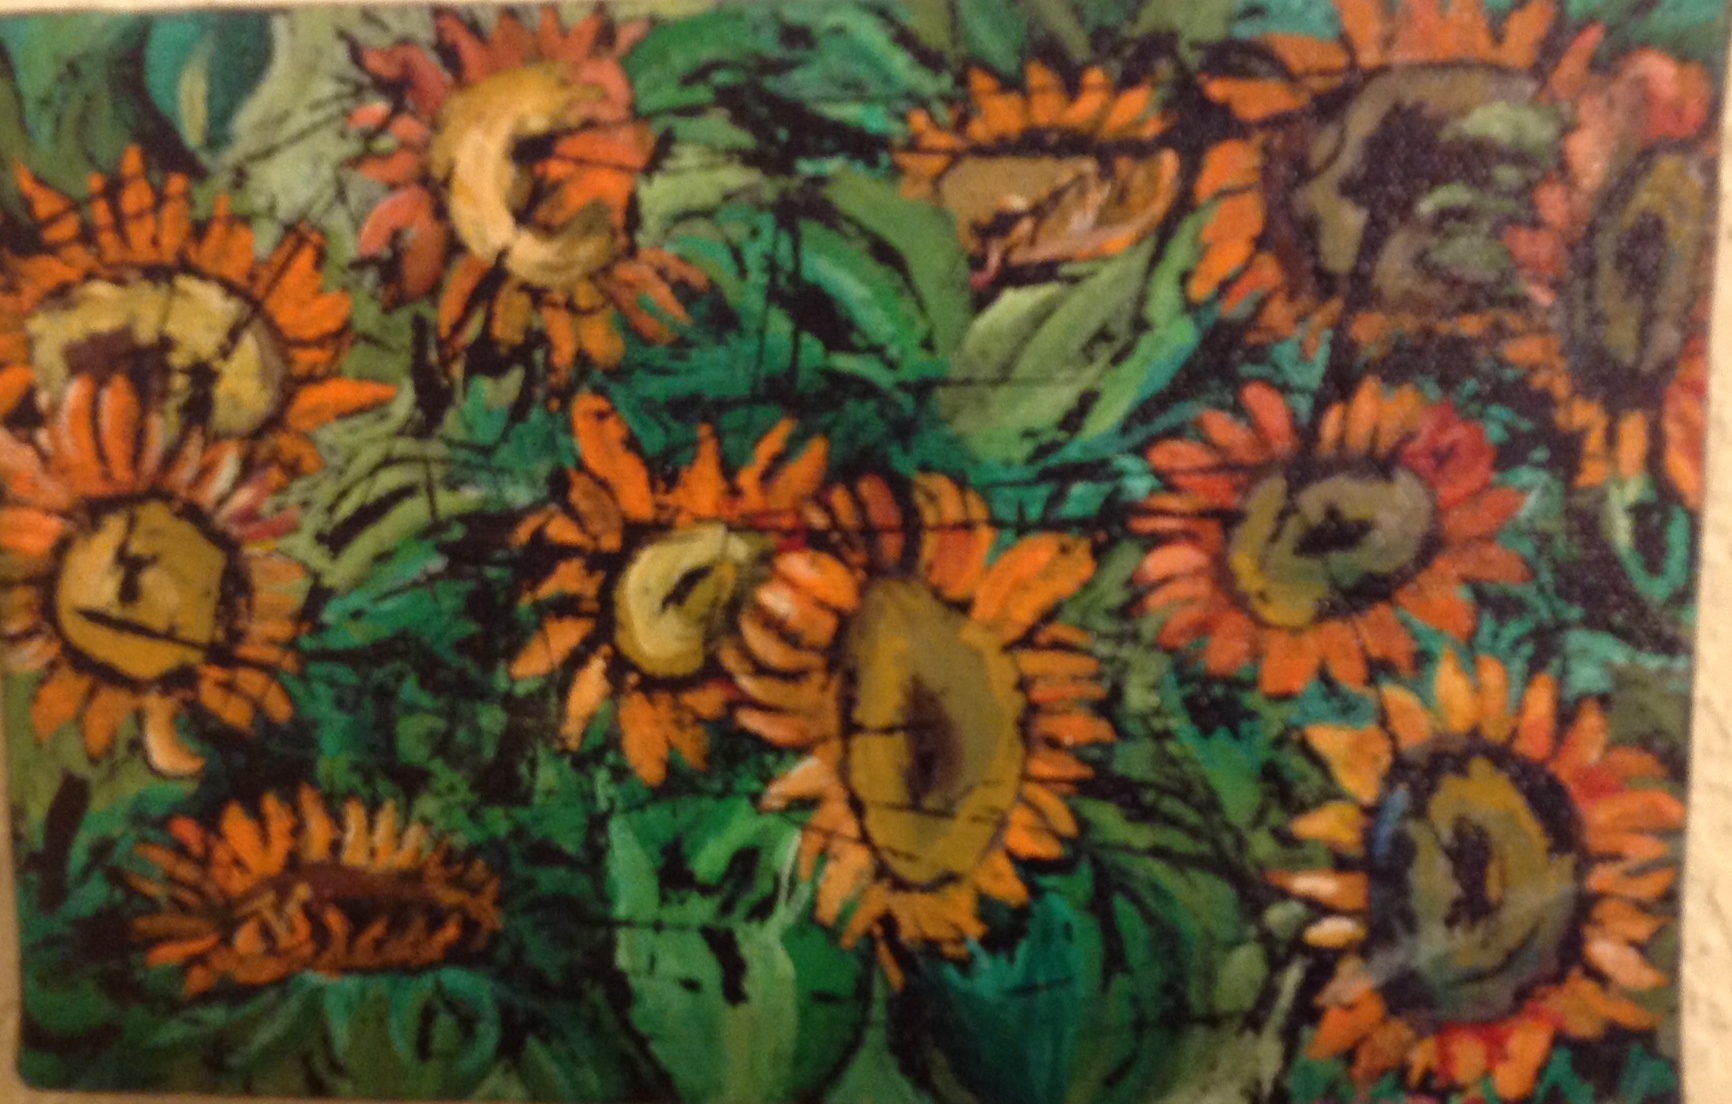
3.Tell them they will be creating a batik or a resist using rubber cement on canvas. Give them a subject that they will be drawing. I like flowers or fall leaves. Hang pictures around the room. Demonstrate drawing, very lightly. discuss the element of shape and repetition. Variation of size and shape to create interest, but keeping unity in the work, creating patterns with large and small shapes. Paint over your lines with the rubber cement. Tell them to use variety in the kinds of lines they create. There should be long, short, thick and thin to create interest, and do some drips around the the paper randomly. Use the rubber cement in a well ventilated area. Sometimes I have them go outside. Apply the rubber cement so that it is thick.
4. On another canvas which is already dried demonstrate painting the flower. They do not have to worry about the rubber cement lines, the paint can go right over the lines or they can paint around them. Discuss color value and contrast.
5.Students should begin the drawing process and applying the rubber cement.
WEEK 2
1. EQ- How can we tell the difference between a piece of fabric that is batiked? Small group/class discussion with at least an example of each hanging. Compare and contrast.Review the steps in creating a real batik and what they are doing.
2. Review last week/painting the canvas and demonstrate rubbing the glue off the canvas.
3. Student work time.
WEEK3-4
1.Students will need to finish painting and remove the rubber cement.
2. Discuss writing an artist statement and evaluation.
2. Assessment
Make sure the rubber cement is done in a well ventilated area. For a challenge students can compare traditional batik designs and techniques with modern techniques. They can also do a Venn Diagram on comparing their technique to a traditional batik method. They can also layer colors for advanced students. The first example is layered. If this techniques is done, then they should start with white and apply the lightest color working to the darkest and applying new designs with each new color. It takes a little more muscle to remove the rubber cement. We used the side of a pair of scissors. Use the hair dryer to help speed drying times.
THE STANDARDS
Visual Arts Standard 1: Understanding and applying media, techniques, and processes
[5-8] Students intentionally take advantage of the qualities and characteristics of art media, techniques, and processes to enhance communication of their experiences and ideas
Visual Arts Standard 2: Using knowledge of structures and functions
[5-8] Students generalize about the effects of visual structures and functions and reflect upon these effects in their own work
Visual Arts Standard 3: Choosing and evaluating a range of subject matter, symbols, and ideas
[5-8] Students use subjects, themes, and symbols that demonstrate knowledge of contexts, values, and aesthetics that communicate intended meaning in artworks
Visual Arts Standard 4: Understanding the visual arts in relation to history and cultures
[5-8] Students describe and place a variety of art objects in historical and cultural contexts
[5-8] Students know and compare the characteristics of artworks in various eras and cultures
Visual Arts Standard 5: Reflecting upon and assessing the characteristics and merits of their work and the work of others
[5-8] Students analyze contemporary and historic meanings in specific artworks through cultural and aesthetic inquiry
Visual Arts Standard 6: Making connections between visual arts and other disciplines
[5-8] Students compare the characteristics of works in two or more art forms that share similar subject matter, historical periods, or cultural context
THE FEATURES
Asian Art, Ancient Greece, Ancient Egypt, African Art

Share!
Comment!