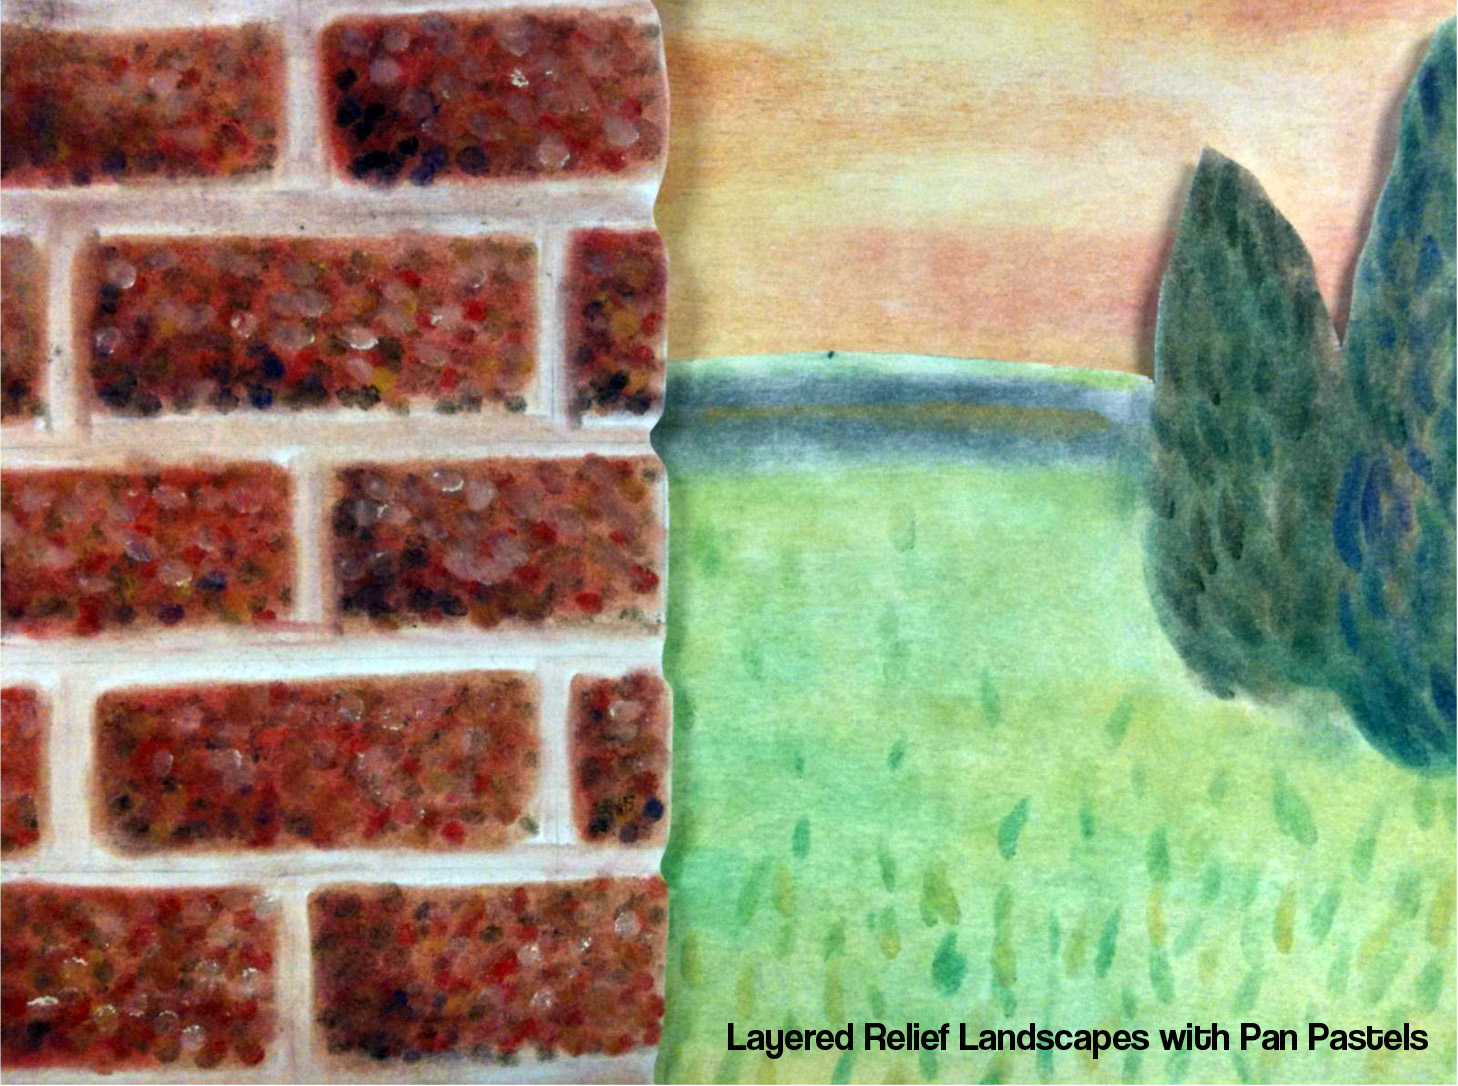
In this lesson, students will explore the beauty of landscapes by creating a three-dimensional layered relief landscape drawing with Pan Pastels, a new, cleaner, and long-lasting Pastel that is applied with sponges and applicators.
9 Keeps,
1 Likes,
1 Comments
THE PLAN
9 sessions; 40 minutes per session
The Student Learns:
1. To identify foreground, middleground, and background in a landscape artwork.
2. To recognize landscapes and artworks by historical and contemporary artists.
3. How to use Pan Pastels to create a landscape artwork.
4. How to use the elements and principles of design to create an original landscape drawing.
5. How to apply atmospheric perspective in the creation of a landscape artwork.
6. That artists have celebrated the natural beauty of environments (landscapes, urbanscapes, seascapes, etc.) through the creation of landscape artworks.
MOTIVATION:
1. Ask students to define a landscape, engage in class discussion on what defines a landscape.
2. Have students participate in small group critiques of landscape artworks (Georgia O'Keefe - My Backyard, David Hockney - Garrowby Hill, El Greco - View of Toledo, Ando Hiroshige - View of Ohashi Bridge, Claude Monet - Haystacks, and Matthew Daub - The Foundry) with each group being responsible for a separate artwork.
3. Engage students in class discussion of the landscapes, allowing each group to present its criticisms and findings.
4. Summarize main ideas of landscapes and introduce the enduring idea and framework for the lesson: students will create a layered relief drawing using landscapes as subject matter. Students will use Pan Pastels and explore color mixing and atmospheric perspective through the creation of their landscape relief drawings.
DEVELOPMENT:
1. Review foreground, middleground, and background. Explain that students will need to create a landscape drawing that features a foreground, middleground, and background.
2. Demonstrate how students can cut and collage multiple photos from magazines or digital photographs of their own to create a new photo that features a foreground, middleground, and background. Students work hands on to create their composition via collage.
3. Review principles of atmospheric perspective, referencing the featured artworks as exemplars. Students will then work hands on to draw a final draft of their collaged photo composition incorporating atmospheric perspective principles.
4. Have students use a light box to trace and separate the layers of their landscape compositions on three pieces of Bristol board. Demonstrate how to cut the middleground and foreground layers out, in order to reveal the background and middleground accordingly.
5. Demonstrate how to use the Pan Pastels to add color and texture to their drawings. Students will work hands on to add color and texture to their landscape layers using the Pan Pastels. Coach students and offer in-progress critiques to students throughout the color application process.
6. Demonstrate how to add supports to the backs of the middleground and foreground using foam core board and Tacky Glue. The individual layers will then be assembled by attaching the middleground to the background and the foreground to the middleground to create a layered landscape relief drawing.
CULMINATION:
1. Demonstrate how to measure and cut a matte for final presentation of the layered landscape drawings.
2. Direct students to write an artist statement explaining how they utilized principles of atmospheric perspective.
3. Time permitting, have students participate in a class critique of the student artwork.
Assessment Criteria for Drawing:
100 points (see rubric; rubric can be printed front/back)
This lesson was designed for a 9th grade introductory art class.
Pan Pastels are an enjoyable new art medium that have many advantages! They last much longer than regular pastels. Part of this lesson is learning how to work with the Pan Pastels. I offer the following tips:
1. Clean sponges and applicators with a soft paper towel. Rough paper towels can damage the applicators.
2. Lightly swirl the applicators and sponges on the pastels; you do not need a lot of pastel on the brush. To demonstrate how much the sponges pick up, swirl a sponge or sponge brush applicator into the Pan Pastel a few times, then color a piece of blank paper until you run out of pastel. This will illustrate to students how much pastel is really on the sponge or applicator.
3. Do not press hard or dig at the pan pastels.
4. Use a scrap piece of paper to clean excess pastel off the sponges and applicators and mix colors while working with the Pan Pastels.
5. Pan Pastels can be erased with a soft, pink eraser.
THE FEATURES
El Greco, Ando Hiroshige, David Hockney, Georgia O’Keeffe, Claude Monet
Photorealism, Impressionism, Expressionism, Asian Art, Abstract Art


Share!
Comment!