A great project to celebrate Hispanic Heritage Month, can be completed in a variety of ways to become more complex or easier.
25 Keeps,
3 Likes,
0 Comments
THE PLAN
3 sessions; 45 minutes per session
1. SWBAT identify and explain the process and purpose of a mola.
2. SWBAT use shape, color, and line to create a interesting composition.
3. SWBAT locate themselves, Panama, Columbia, and Mexica on a world map.
4. SWBAT use scissors and glue to create a collage.
1. 9X12 White Drawing Paper
2. 9X12 Black Construction Paper
3. Pre-Cut construction paper stripes(long skinny rectangles).
4. Markers
5. Pencils/Erasers
6. Scissors
7. Glue
1.On each table, place images of a mola as well as a world map. As students come in ask them to turn and talk for 2-3 minutes about the images on their table and where they think they came from, what they represent, and where in the world they were made(usually I give a highlighter to ask students to put a dot on the map of where we are, and where they think the art came from.).
2.Spend 5 minutes hearing responses from each table.
3.Share with students some information about the process and purpose of mola from the “Mola Information Page”
4.Explain to students that today, they will create their own mola out of paper. Show students step by step how you create a mola so that it has the proper layering effect.
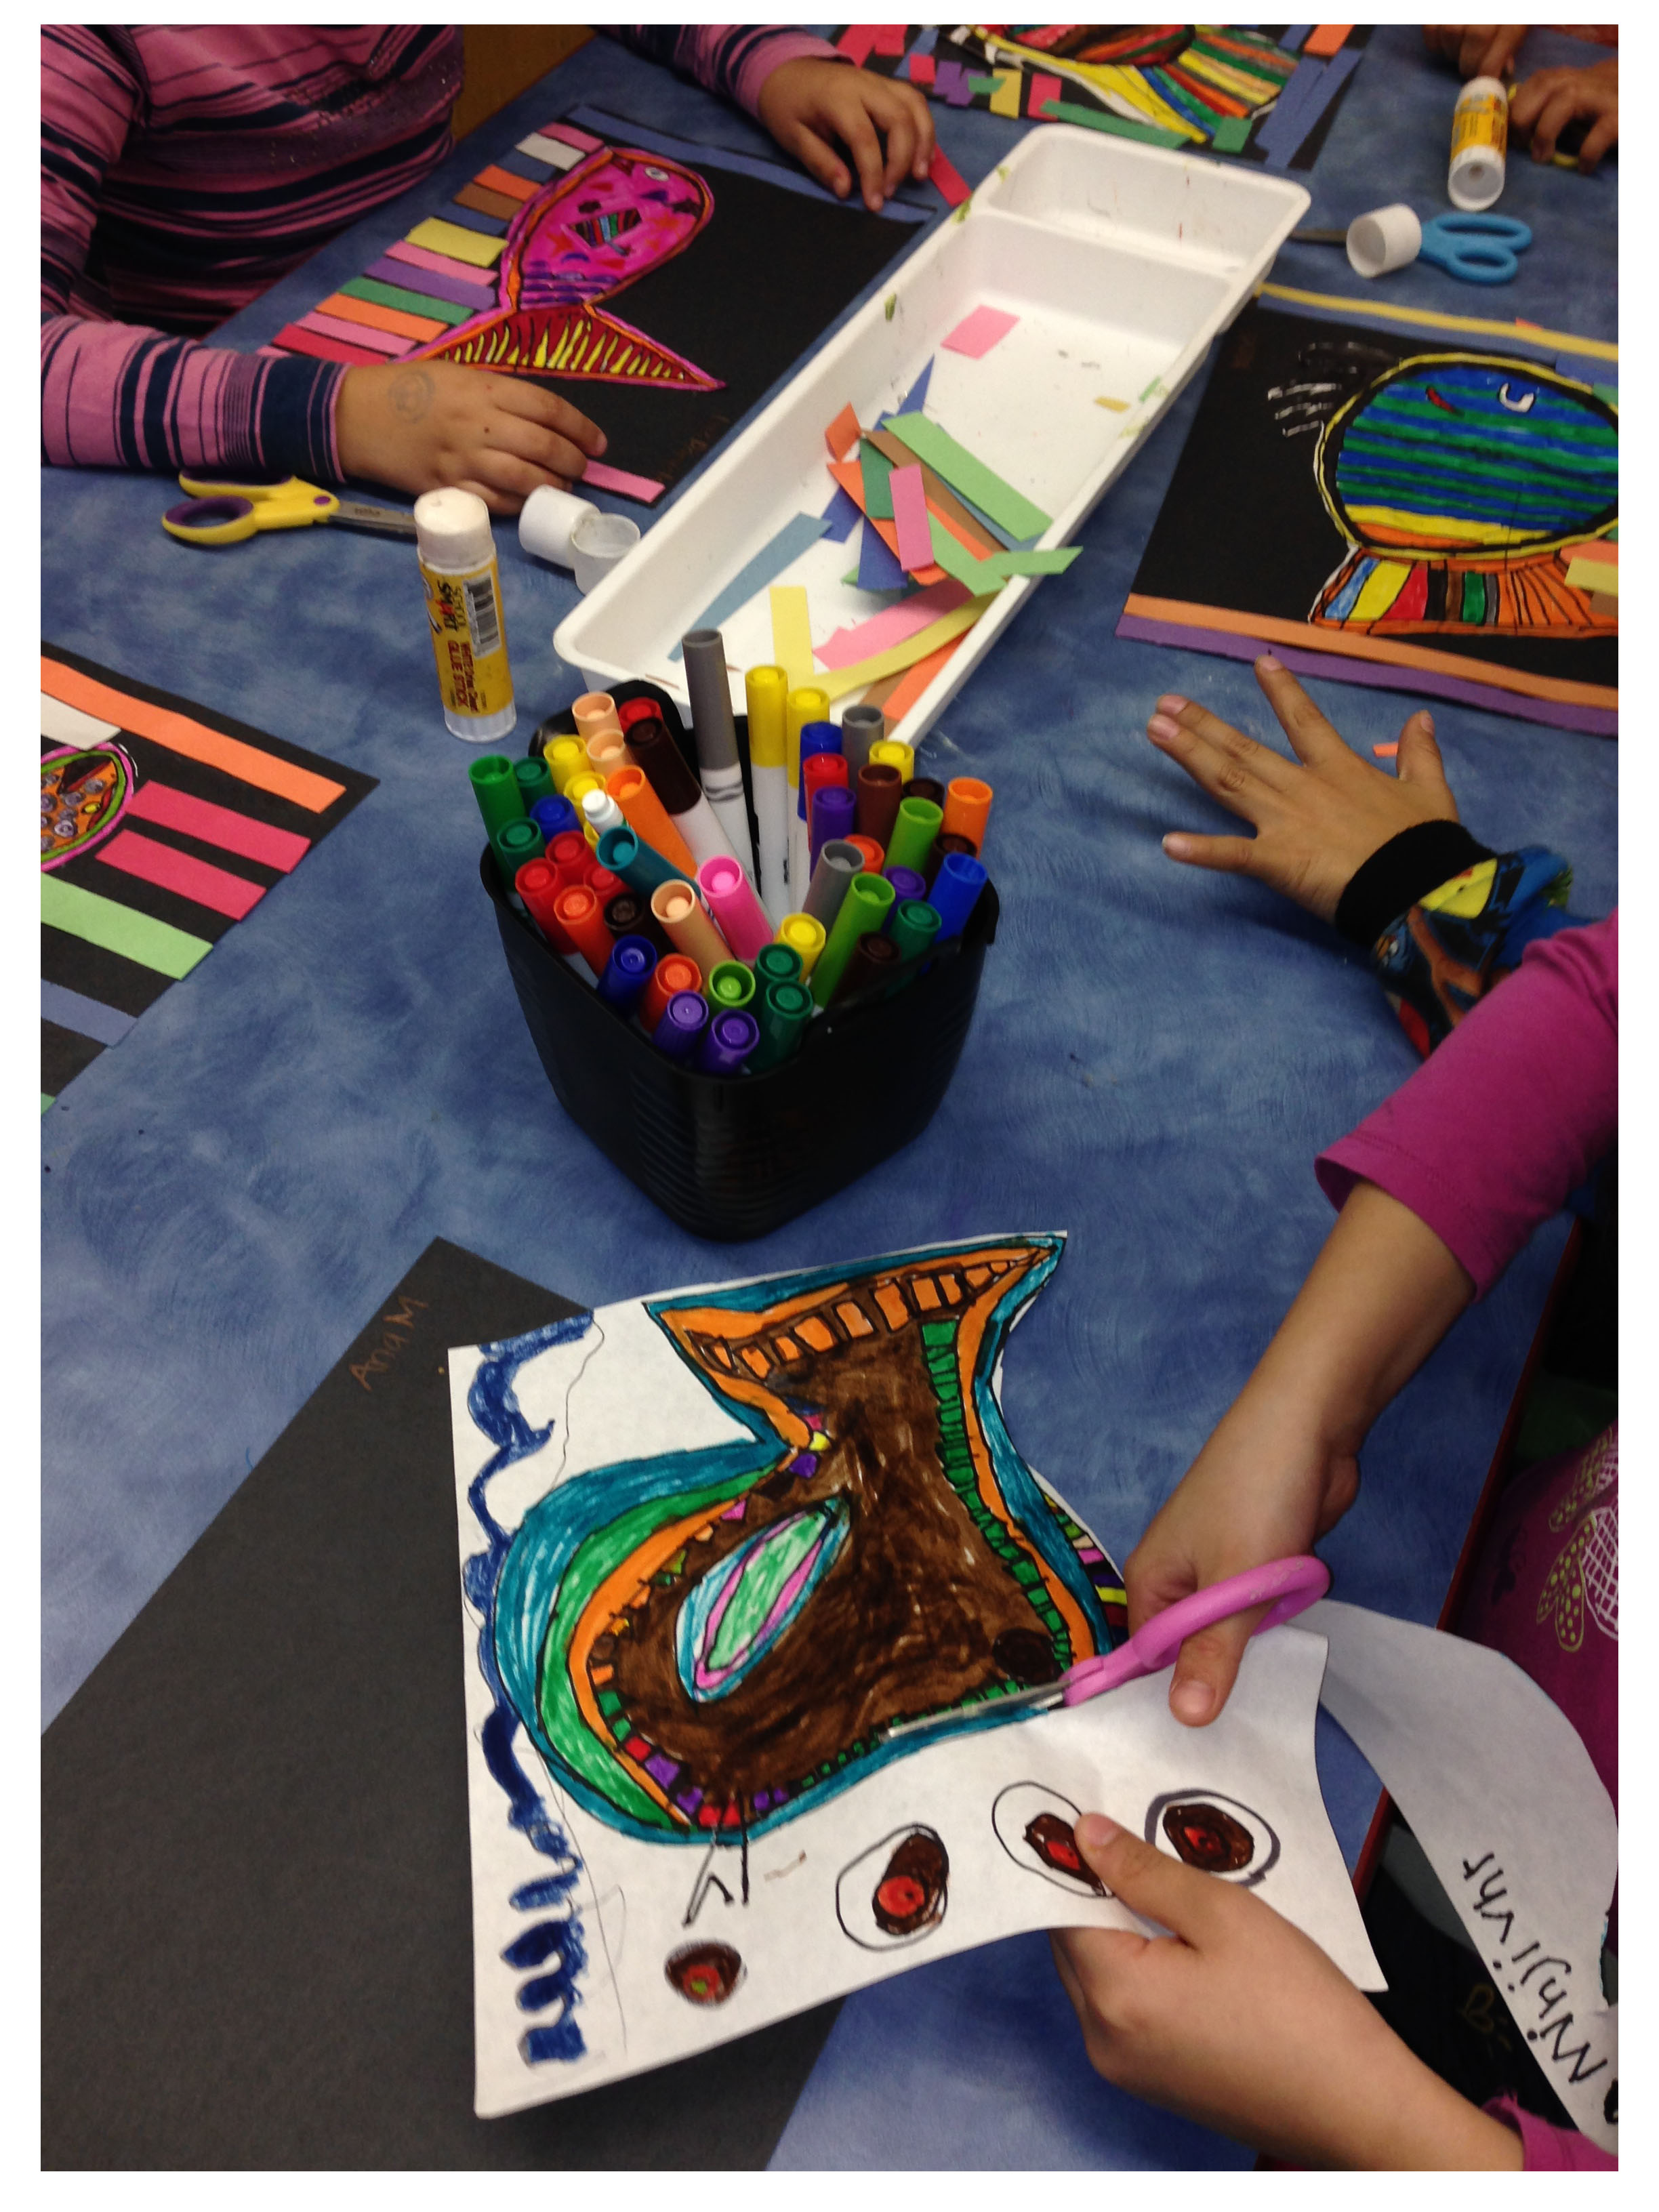
A.Begin by drawing your animal large on your white drawing paper, then trace around it 2-3 times to create the layering effect.
B.Carefully use different lines and shapes to create a more detailed composition.
C. Color in your mola with bright colors.
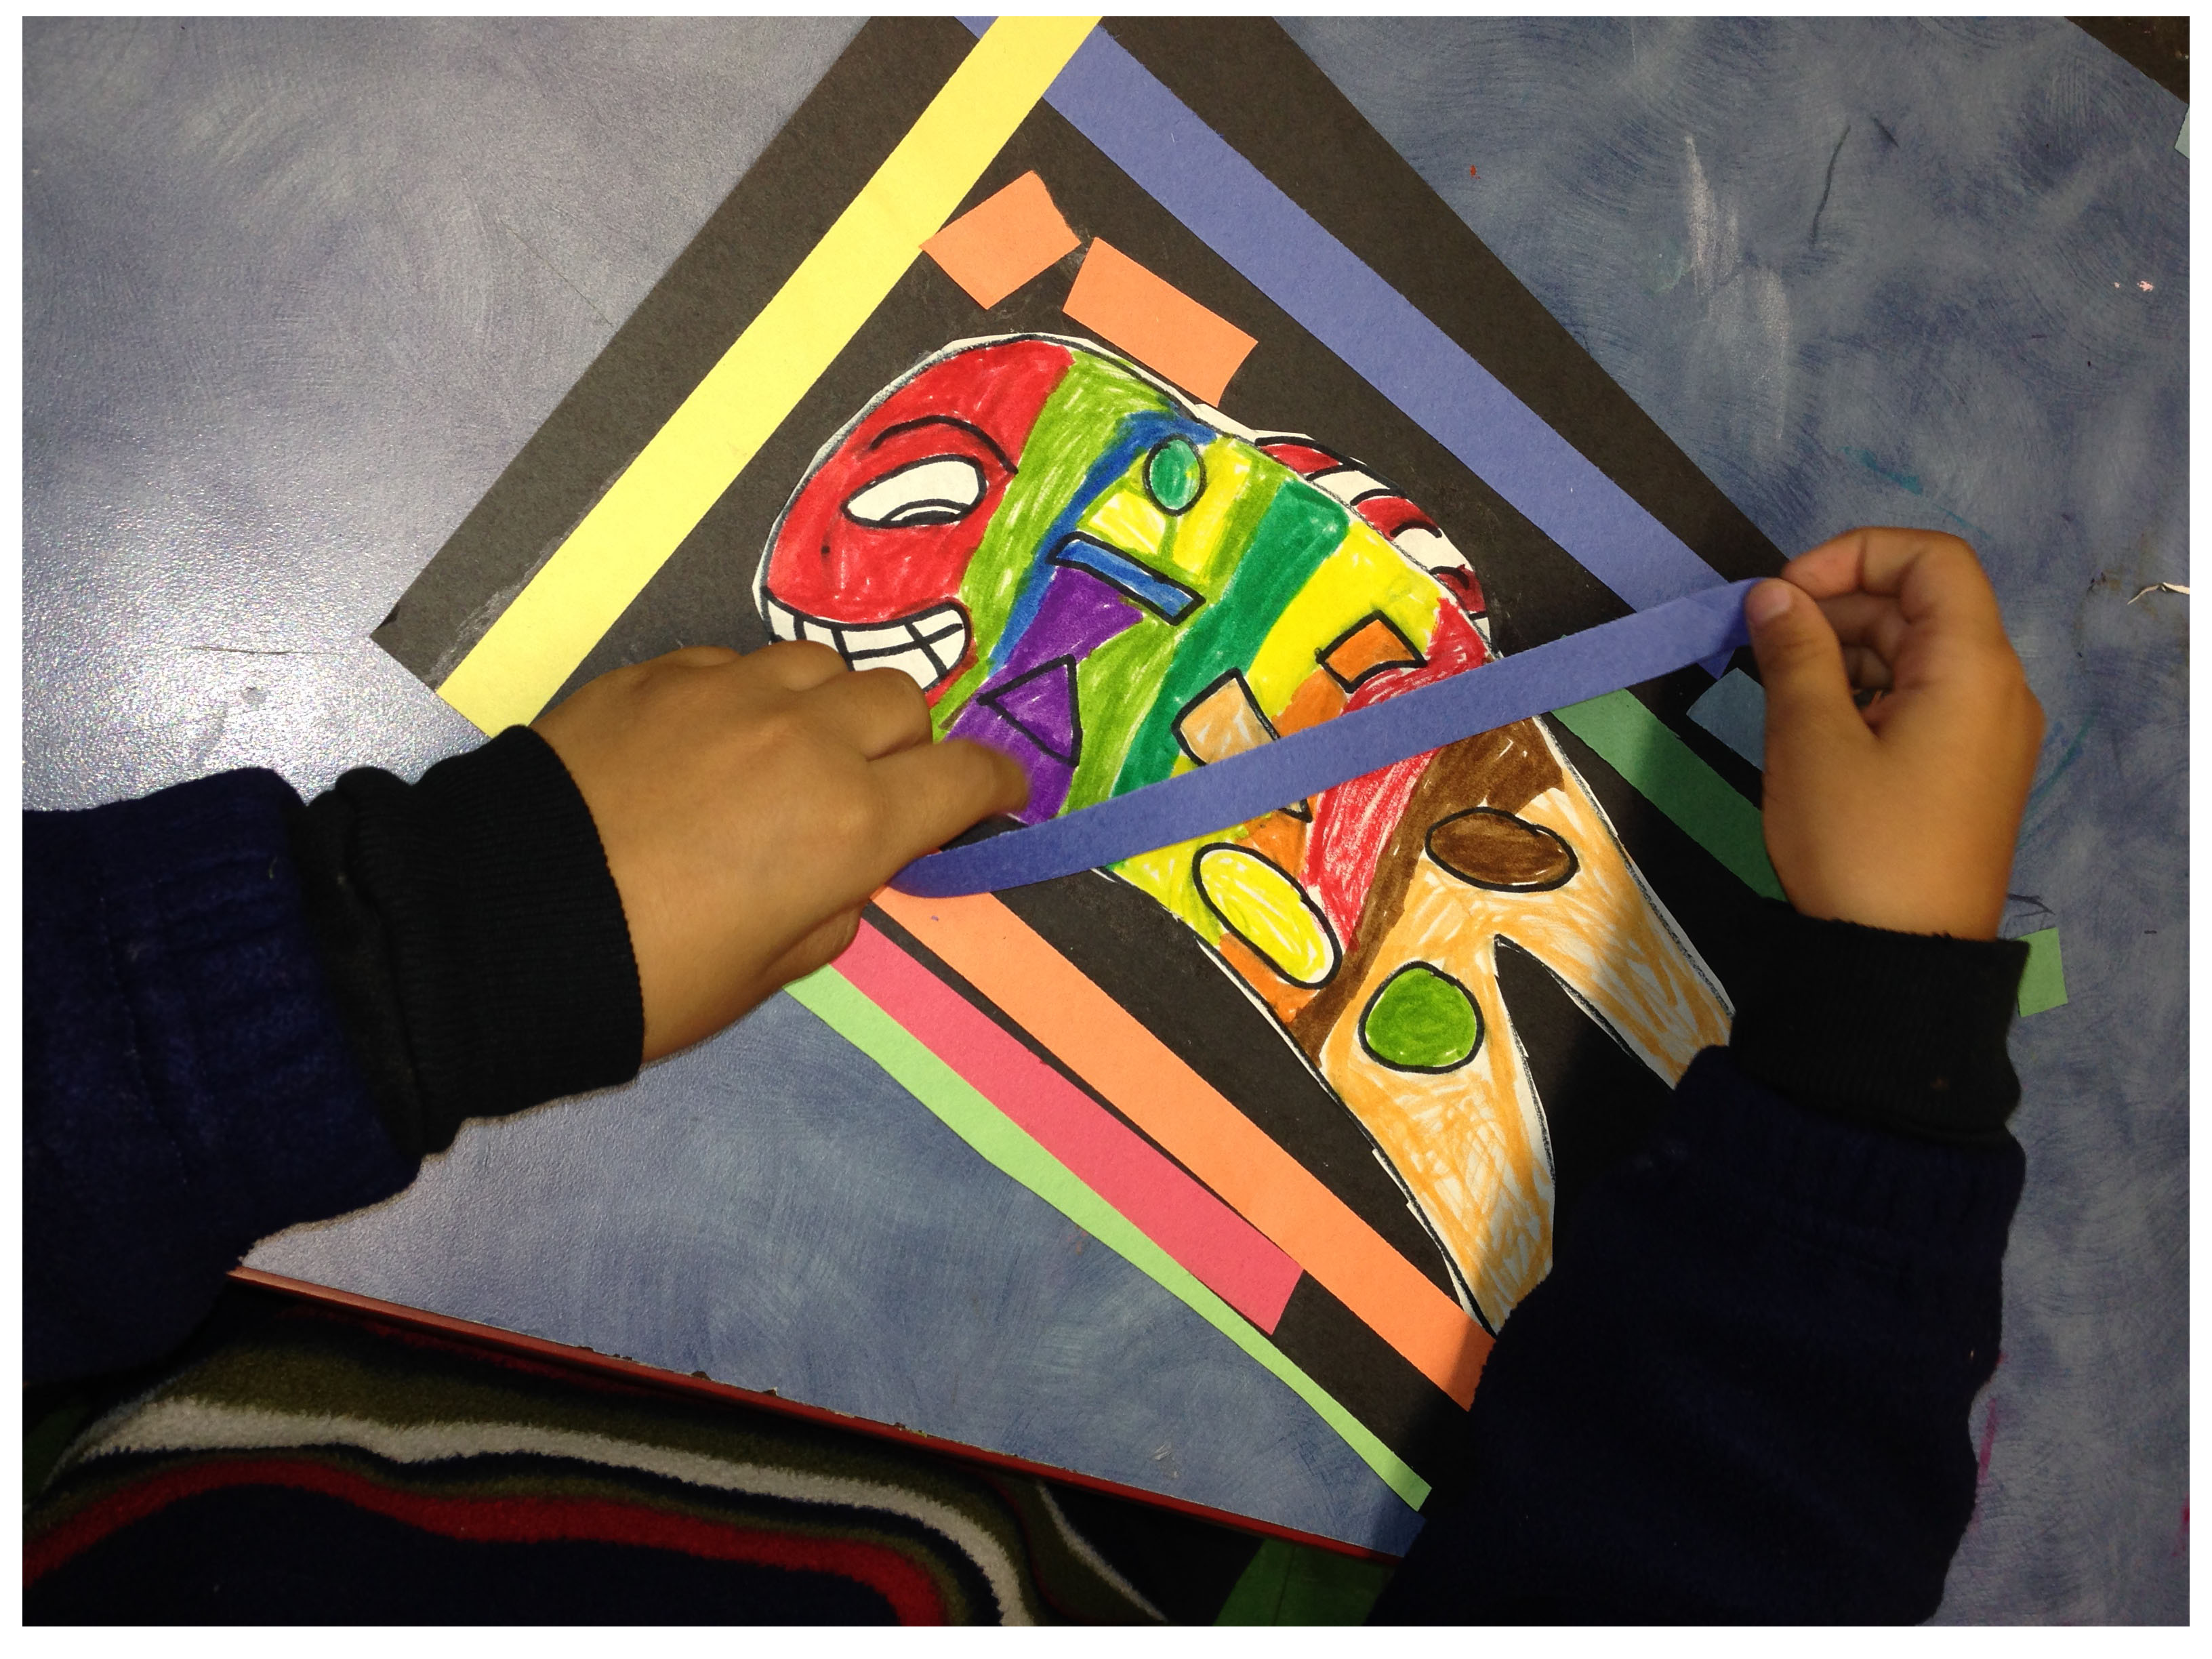
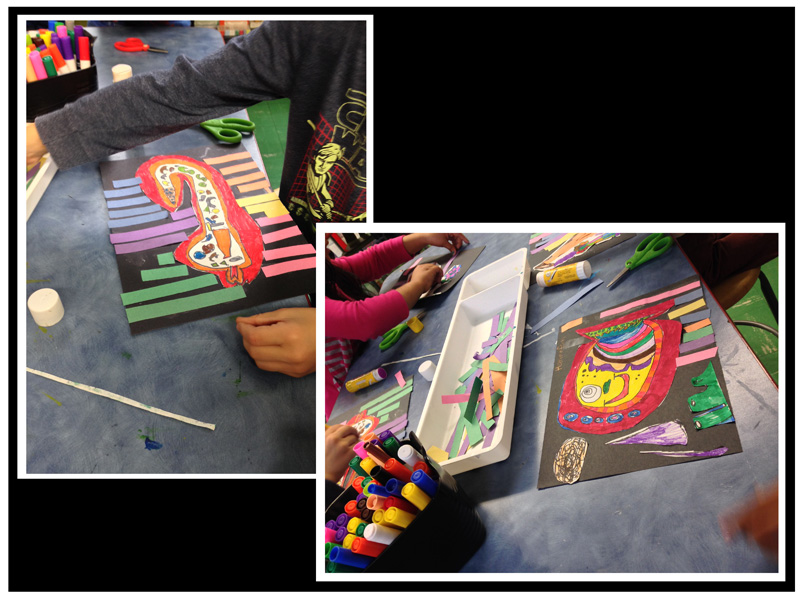
D.Now cut around your animal and glue it to the black construction paper.
E.Carfeully glue the strips of construction paper around your mola animal.
5.Circulate throughout the classroom assisting students as needed and prompting conversation based around the students thoughts, wonders, and reactions to this artistic process.

Share!
Comment!