Your email*


Middle [6th-8th] Lesson Plan

Shibori Dying

Created on June 07, 2014 by imagiNATION


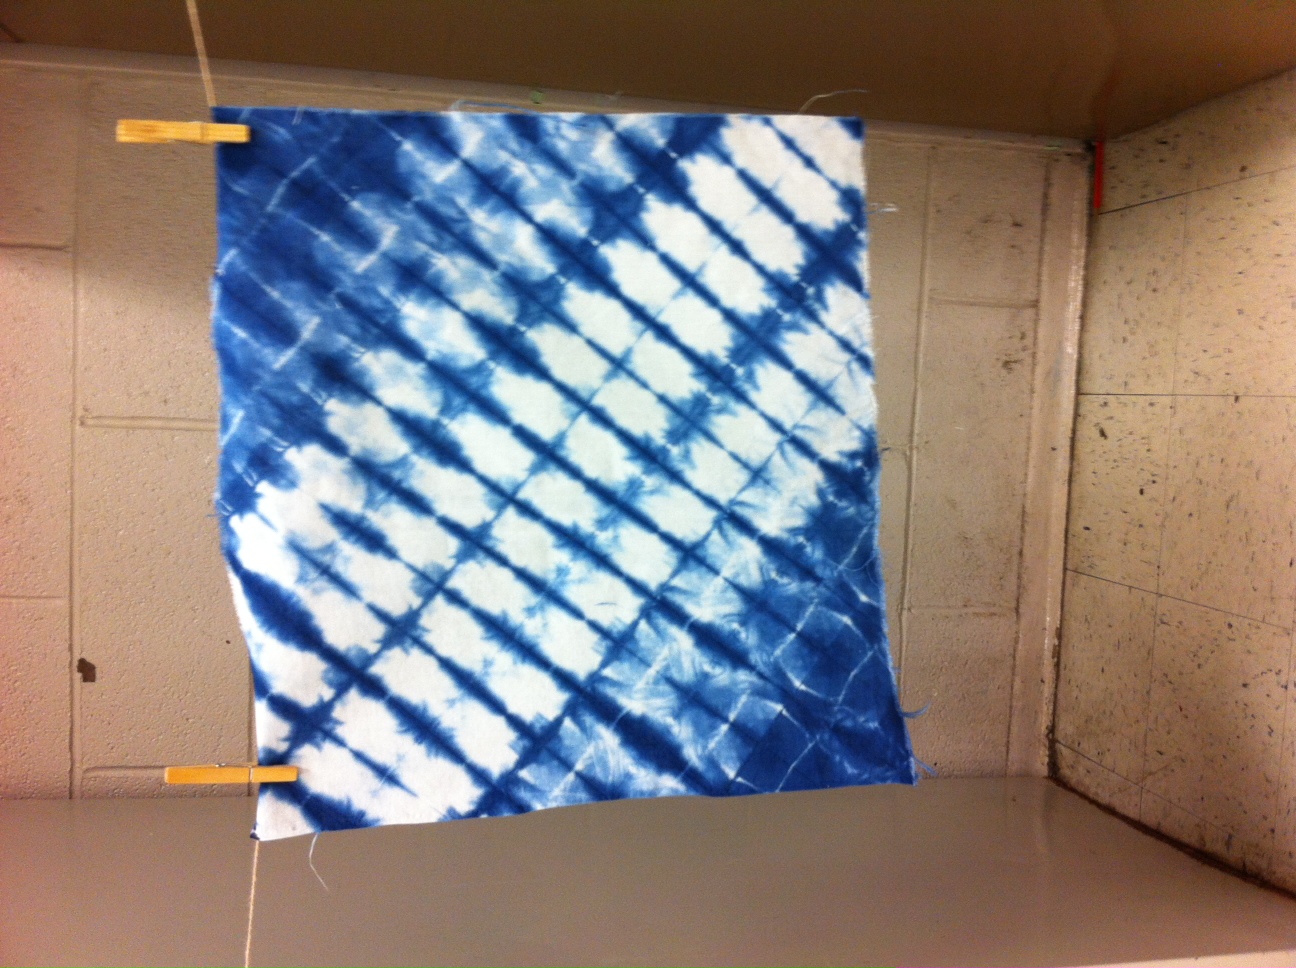
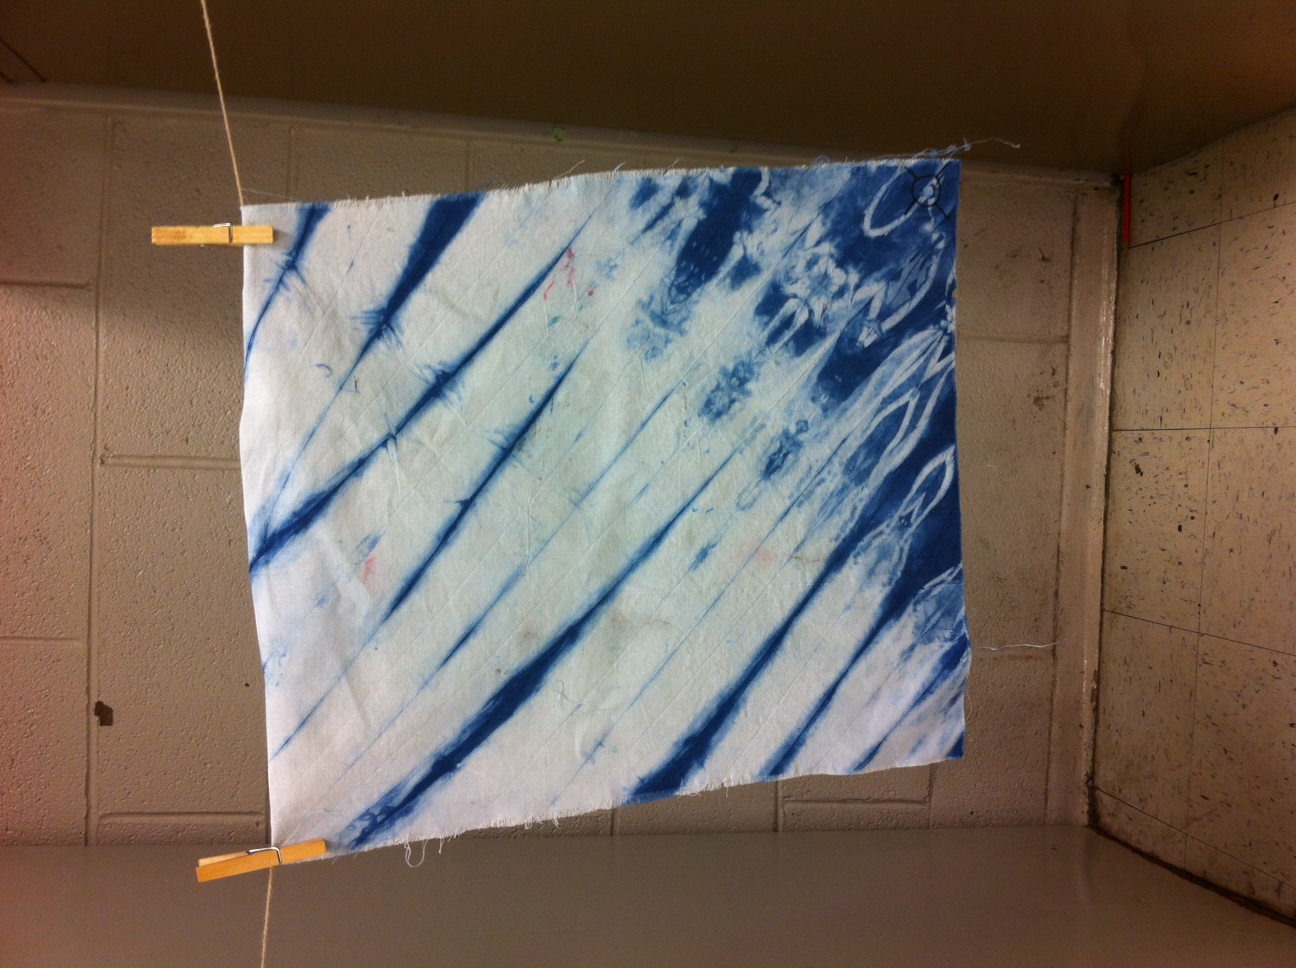
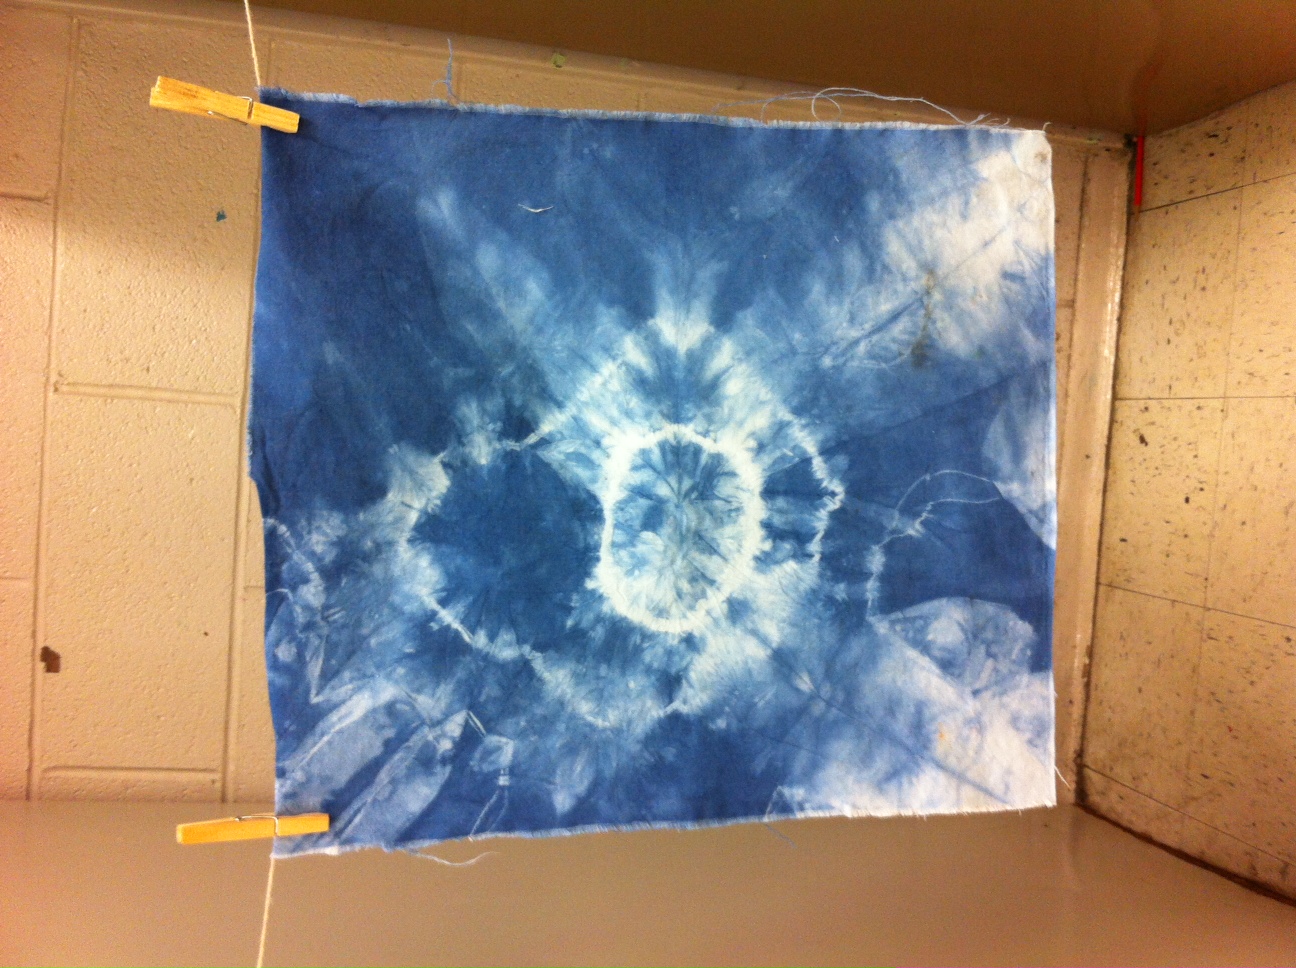
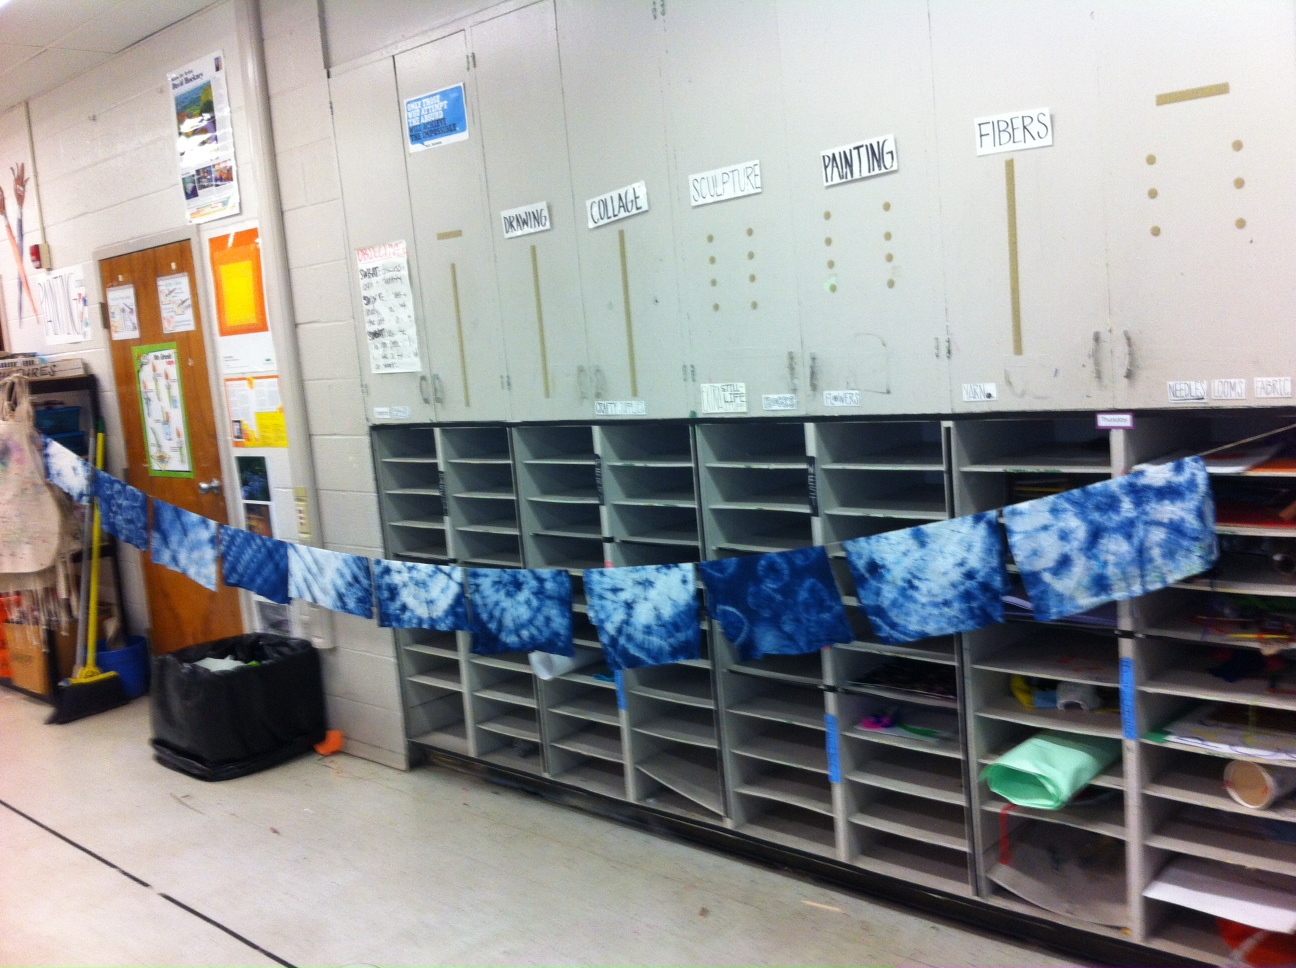
A one day lesson on shibori dying I did with 6th graders as an end of year investment project


26 Keeps, 7 Likes, 8 Comments

THE PLAN
1 session; 45 minutes per session

SWBAT recognize shibori patterns
SWBAT explain how plants can be used to make dye
SWBAT demonstrate a fabric dying process

1. Muslin or a cotton based fabric (I cut mine into 1 1/2-ish foot squares)
2. Indigo Dye Kit - I got mine on Amazon
3. A five gallon bucket or something of the like - with a lid if possible
4. Tarp or garbage bag to put under your bucket
5. Rubber bands, string, rocks, wooden dowels for binding
6. Gloves for each student
7. A clothesline or somewhere to dry the results!

Need these materials? Visit Blick!

1. Make your dye bath at least a half hour before you plan to have students dying. I made mine before school and just used a 5 gallon bucket with a lid to keep it from oxidizing too much before we got to it.
2. Present PPT to introduce Shibori and Indigo dying traditions
3. Demonstrate methods of binding the fabric (there are some great how-tos online if you just google shibori diy if you are unfamiliar)
4. Demonstrate the process of dying
- Soak your bound fabric in water
- Submerge into the dye bath for
1-2 minutes (I had students count
to 100)
- Remove your fabric from the dye
- Watch it oxidize!
- Unbind it or dip it again for
darker colors
5. Hang your fabric on a line to dry
6. I took my students' work home to wash and iron them so they would not have to do it at home.

In order to have students identify their work but not take away from the design, I had them choose a symbol to put in the corner of their fabric pieces before binding it. This worked well for identification later.

I just did a simple CFU with the students in the last 5 minutes of class to make sure they had gotten the actual knowledge i.e.:
What did we just do? (shibori dying)
Where did the tradition start? (Japan)
What kind of dye did we use? (indigo)
Where does it come from? (a plant/flower)
Why was our stuff green first? (because of a chemical reaction)
What is that reaction? (oxidation)
What happened when you bound your fabric differently? Why do you think that happened?
Where else do you think you could use the skills/knowledge we learned today?
etc, etc

Pretty cool gifs that show you some shibori methods
http://www.designsponge.com/2014/05/diy-project-shibori-designs-4-ways.html

Some great before and after to show what kind of binding makes what kind of designs
http://honestlywtf.com/diy/shibori-diy/

Another step by step
http://blog.freepeople.com/2014/05/shibori-dyeing-indigo/

This was extremely successful and now that I have tested it, I hope to order more muslin next year and do it with more classes!

THE FEATURES
Asian Art

Movement, Rhythm/Pattern, Variety

Fibers

Multicultural Studies

ATTACHMENTS

  • lbfreer 06/16/2014 at 01:47am
    Love it. Thanks for sharing!


  • msmeyers 08/05/2014 at 02:32pm
    This is a fantastic resource. What do the students do with the fabric after it is complete?


  • gepstein 08/19/2014 at 02:28am
    works look great! It's in my lesson plans for this year after having taken an indigo dyeing workshop


  • gepstein 08/19/2014 at 02:31am
    thank you so much for posting all of your information; it's encouraging!


  • gepstein 08/19/2014 at 02:32am
    I have used red and yellow onion skins and beets for lovely earthy peach and gold colors. Pretty sure fabric was pre-treated in an alum soak first.


  • KatieMorris 08/20/2014 at 08:23am
    These are beautiful. I love incorporating fibers projects and this would be a good one for my 6th graders.


  • RVArtist 02/17/2015 at 01:34pm
    Thank you so much for sharing! I am just about to start this with a middle school group.


  • RVArtist 02/17/2015 at 01:34pm
    Thank you so much for sharing! I am just about to start this with a middle school group.