You will be creating 2 different files.
1. First, download a picture of a cup of coffee from classroom, there are several to choose from.
2. Next, choose a photo that you’d like to turn into latte art. It’s best if the photo is large with clear details.
3. Turn the image into a layer by double-clicking the lock symbol. Select “Ok”, then use a selection tool like Quick Select, Crop, or the Polygonal Lasso tool to select the part of the image that you want to turn into latte art. Select Inverse (Ctrl-Shift-I) and delete the unwanted parts of the image.
4. Now, we’re going to create a brush from the photo. Create a new Black & White adjustment layer. Try the different presets and select one that gives the greatest amount of contrast.
5. Then, Invert the image to create a negative. New Adjustment Layer> Invert.
6. Make sure your Invert Layer is active. Select your brush tool.
7. Go to Edit > Define Brush Preset and save your brush.
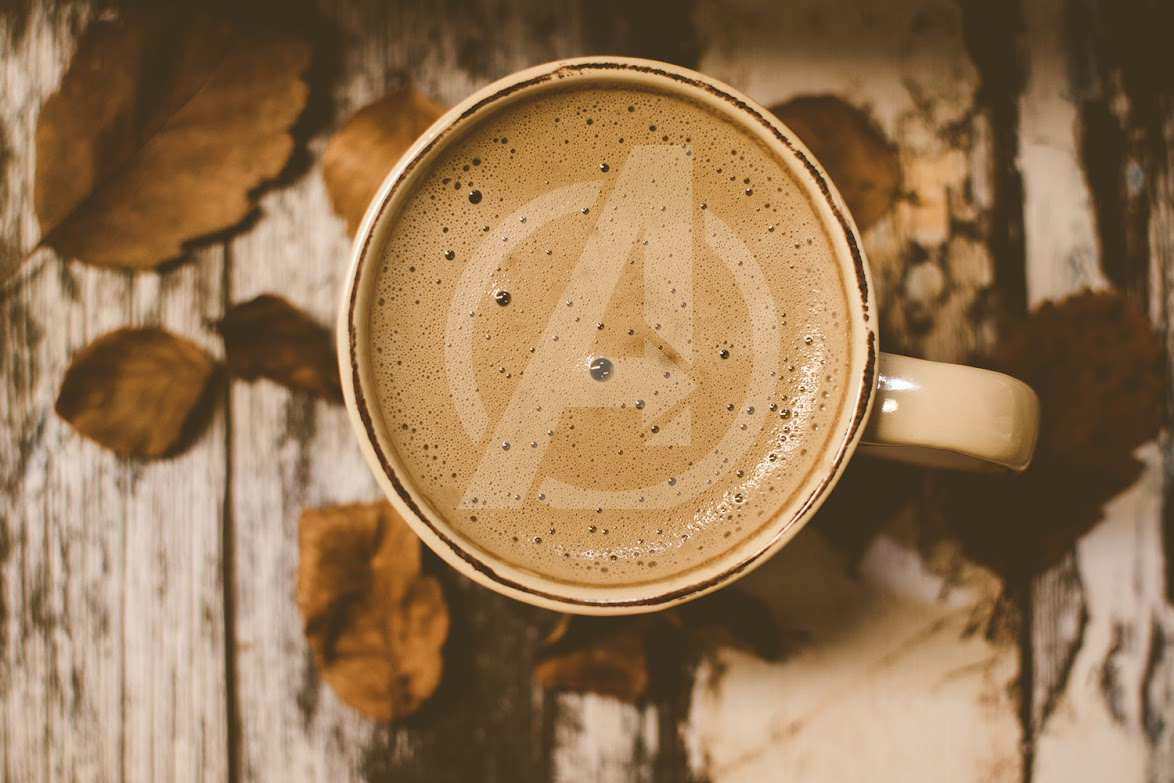
8. Go back to your coffee picture and add a new layer. In the Brush tool, pick your newly created brush and stamp on your image in white (make sure your foreground color is white). Now you’ve got your latte art! At this stage, however, it doesn’t look realistic yet.
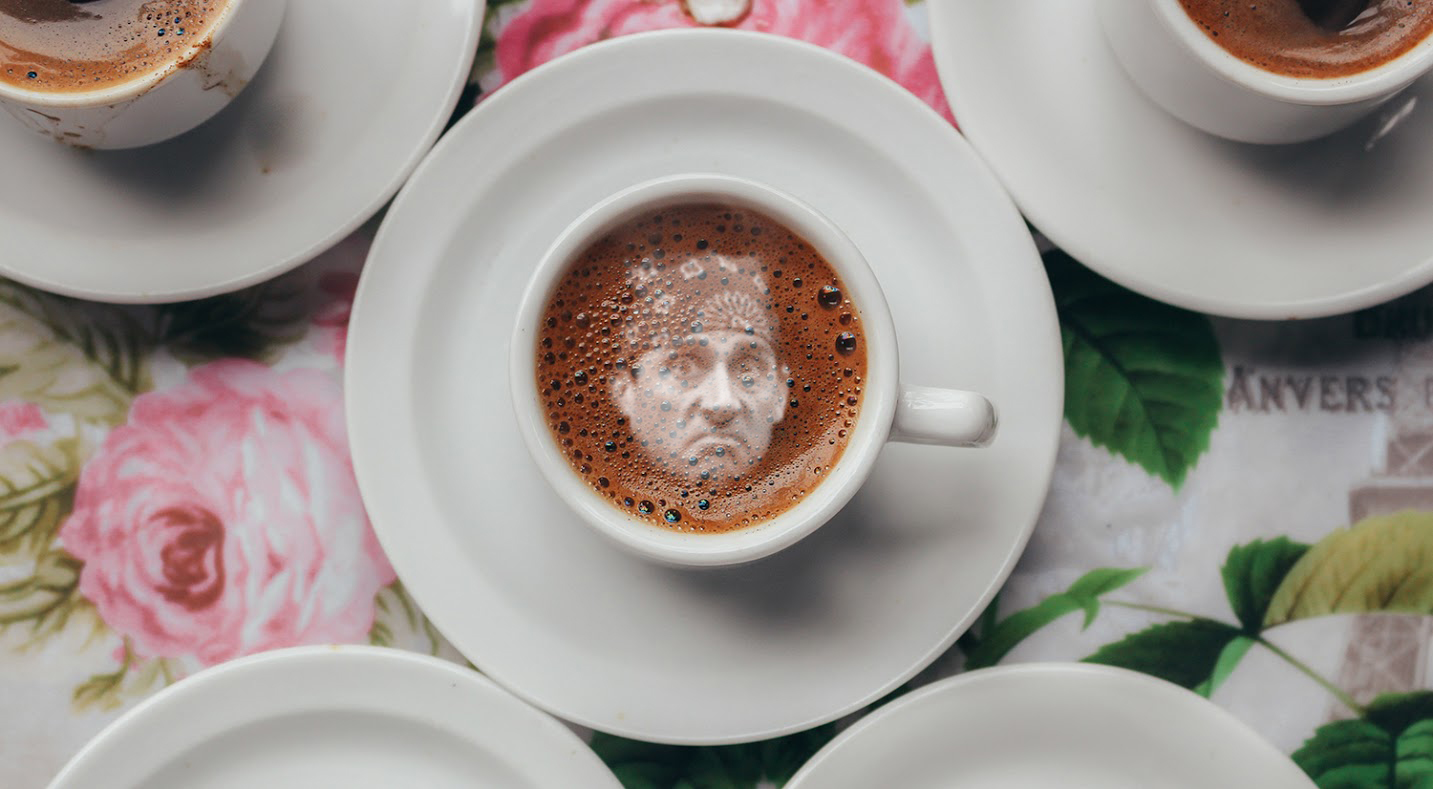
9. To make the artwork look more like real latte art, we’re going to soften it with some natural touches. Select the Eraser tool and right-click to adjust for a small brush with a slightly soft edge. Adjust the Brush Opacity to around 60%.
10. Real latte art is made of foam so it shouldn’t have very sharp angles. Your painting doesn’t have to be very precise as well; it makes the final result look more natural. Go to Filter>Blur>Gaussian Blur to help make it look more realistic.
11. Use adjustment layers to adjust the brightness/contrast, hue/saturation if needed.
12. Save your image as Lastname_Firstname_Latte1.jpg and Lastname_Firstname_Latte2.jpg and upload to classroom.


Share!
Comment!