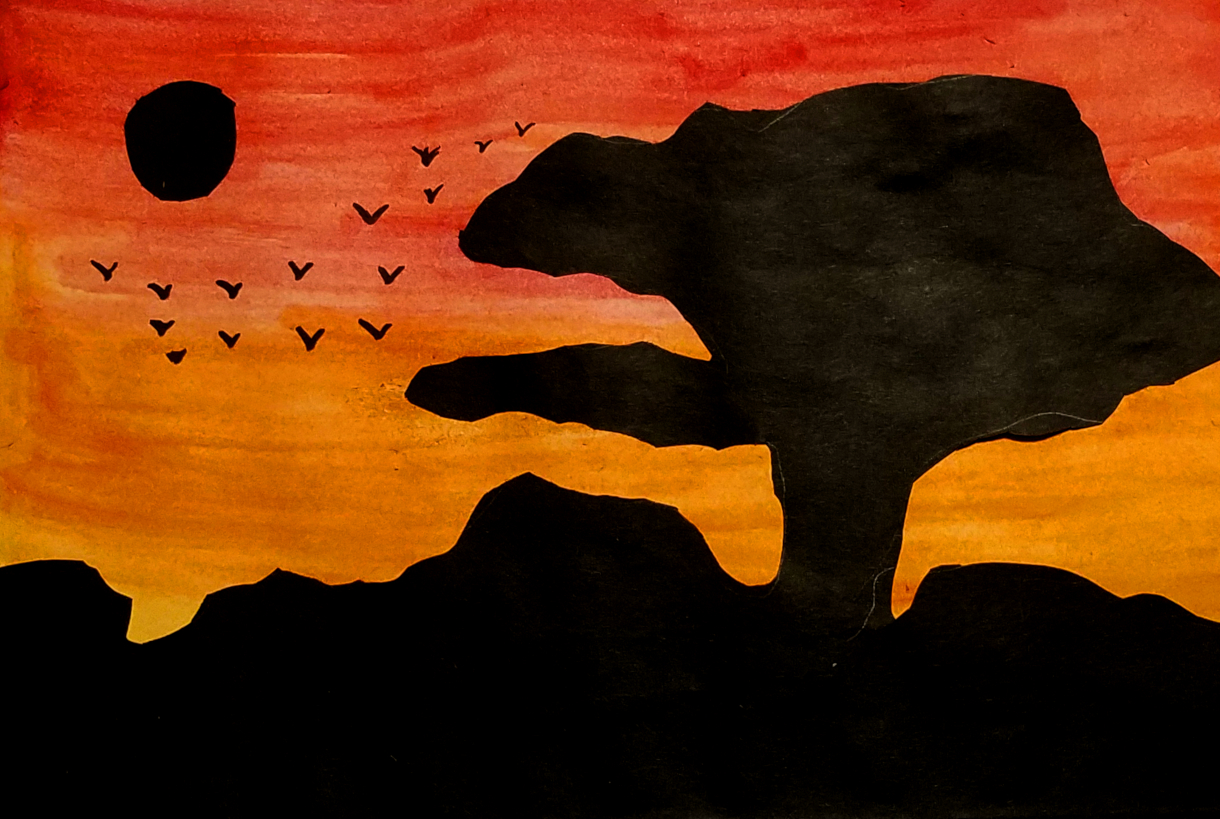
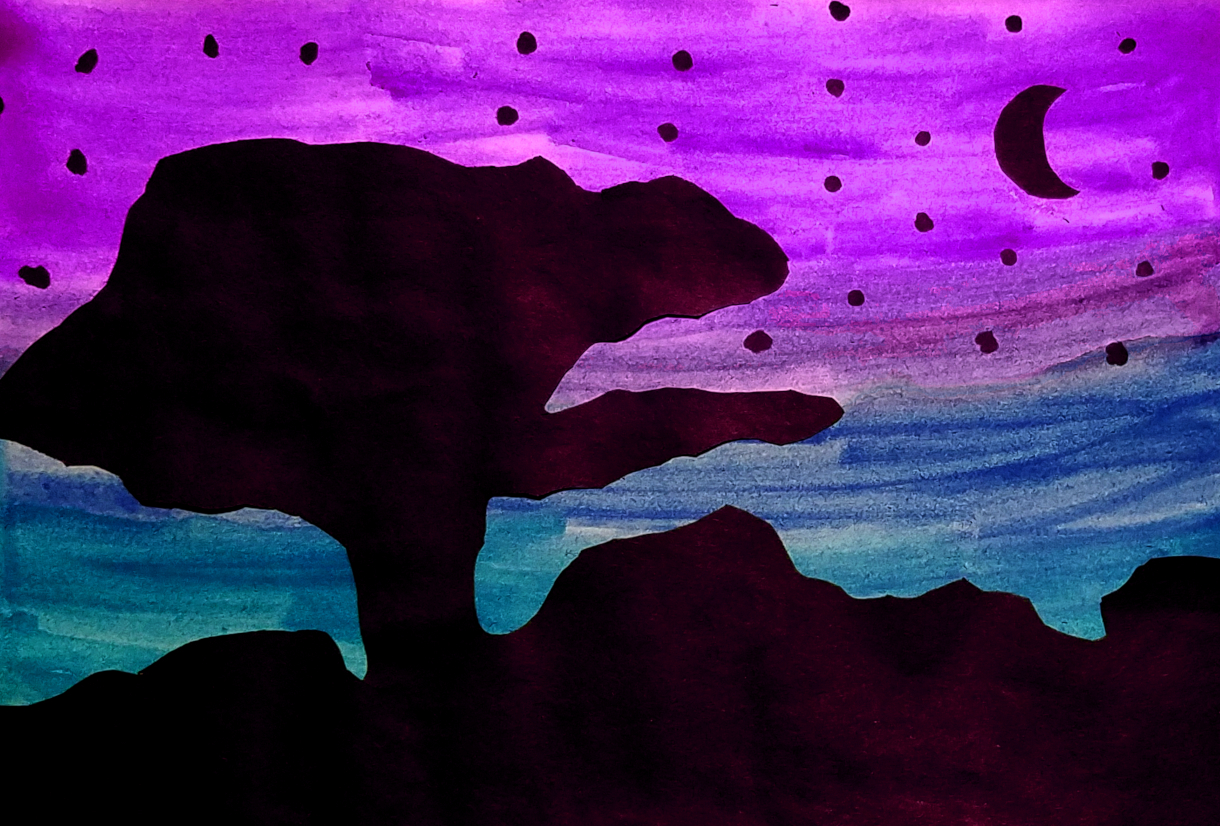
3. With the fold at the bottom begin drawing the silhouette of your landscape. Cut your silhouette out creating two copies.
4. Fold the cardstock the same way as you did the construction paper. Paint half of the page using warm colors and the other half with cool colors.
5. Glue the silhouette to the cardstock, making sure the two folds are lined up together. With left over construction paper or a black marker add details to make each landscape represent day and night. The silhouette on top of the warm colors will be day and the one on top of the cool colors will act as night.
THE STANDARDS
Visual Arts Standard 1: Understanding and applying media, techniques, and processes
[K-4] Students use different media, techniques, and processes to communicate ideas, experiences, and stories
[K-4] Students use art materials and tools in a safe and responsible manner
[K-4] Students know the differences between materials, techniques, and processes
[5-8] Students select media, techniques, and processes; analyze what makes them effective or not effective in communicating ideas; and reflect upon the effectiveness of their choices
THE FEATURES
Abstract Art
Color/Value, Contrast
Marker, Mixed Media, Paper, Watercolor
You must be logged in to keep, like, or comment on this resource.


Share!
Comment!