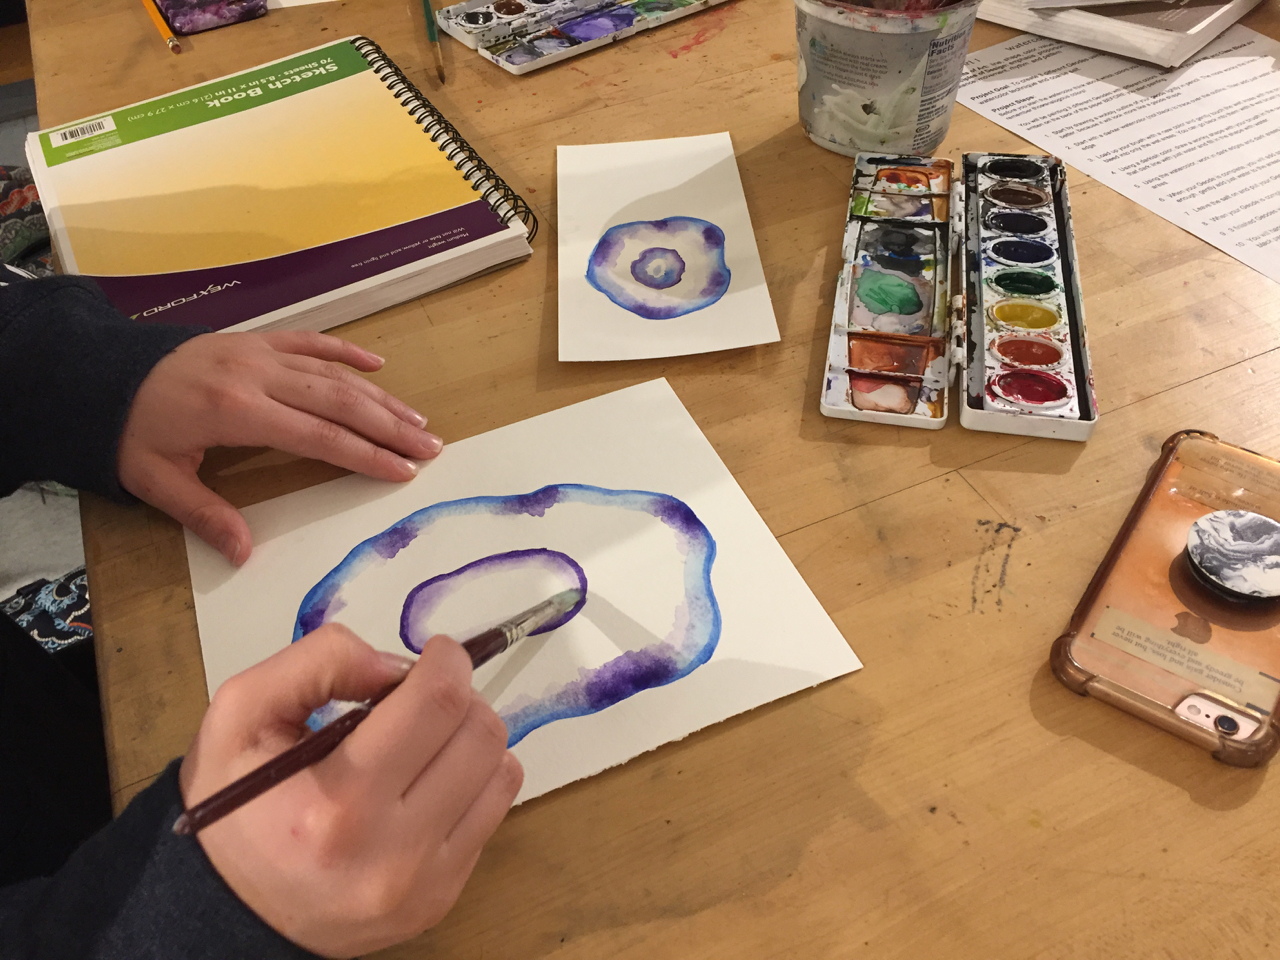
As an exercise in working with watercolors students will explore the wet on wet technique and coarse salt to create colorful Geodes.
2 Keeps,
0 Likes,
1 Comments
THE PLAN
Project Goal: To create 3 different Geodes using a wet on wet watercolor technique and coarse salt.
1-Watercolor
2-Brushes
3-Watercolor Paper (3 rectangles for each student)
4-Coarse or Kosher Salt
5-Long black paper that fits the 3 Geodes
6-Pencils
7-Glue sticks
As a class we will look at examples of what Geodes are and the watch a You Tube Video on how to create a watercolor Geode.
Project Steps:
Before you start the watercolor think about which colors you like and what would look good together – remember those analogous colors!
You will be painting 3 different Geodes with different colors. Make sure your NAME and Class Block are written on the back of the paper BEFORE you start painting.
1. Start by drawing a wobbly outline of your geode lightly in pencil. The more wonky the lines – the better, because it will look more like a geode shape.
2. Start with a darker watercolor (not black) to trace over the outline. Then add just water around the edge.
3. Load up your brush with a new color and gently touch the wet areas with the brush. The color will bleed into only the wet areas. You can go back into them with a wet brush to spread it around.
4. Using a darkish color, draw a wonky shape with your brush in the center of the Geode. Then go over that dark line with just water and fill in the shape with water.
5. Using the watercolor, work in dark edges and dark areas by touching the loaded brush to the wet areas.
6. When your Geode is complete, you will add small amounts coarse salt. If your Geode is not wet enough, gently add just water to the areas where you want to add the salt.
7. Leave the salt on and put your Geode on the drying rack.
8. When your Geode is completely dry, brush off the salt into the salt tub.
9. 3 finished Geodes will be mounted onto long black paper.
10. You will hand in the mounted Geodes with the rubric. Name and Block is written on the back of the black paper.
Students will be assessed based on the attached rubric.


Share!
Comment!