Students learn the basic algorithm of neurographic art and then have the chance to take their artwork in their own direction.
2 Keeps,
0 Likes,
0 Comments
THE PLAN
5 sessions; 45 minutes per session
1. SWBAT learn the algorithm for creating neurographic drawings.
2. SWBAT make artistic decisions about the design and style of their neurographic art.
1. white drawing paper
2. Sharpies or other felt tip pens
3. Variety of painting and drawing supplies.
1. Introduction
-Neurographic art can be broken down into neuro (brain) and graphic (image)
-It is used as an art therapy technique that helps people make connections
-Many people find it meditative or relaxing to do
-There is an algorithm (a set of basic steps to follow) that you start with and then you can decide how to finish it
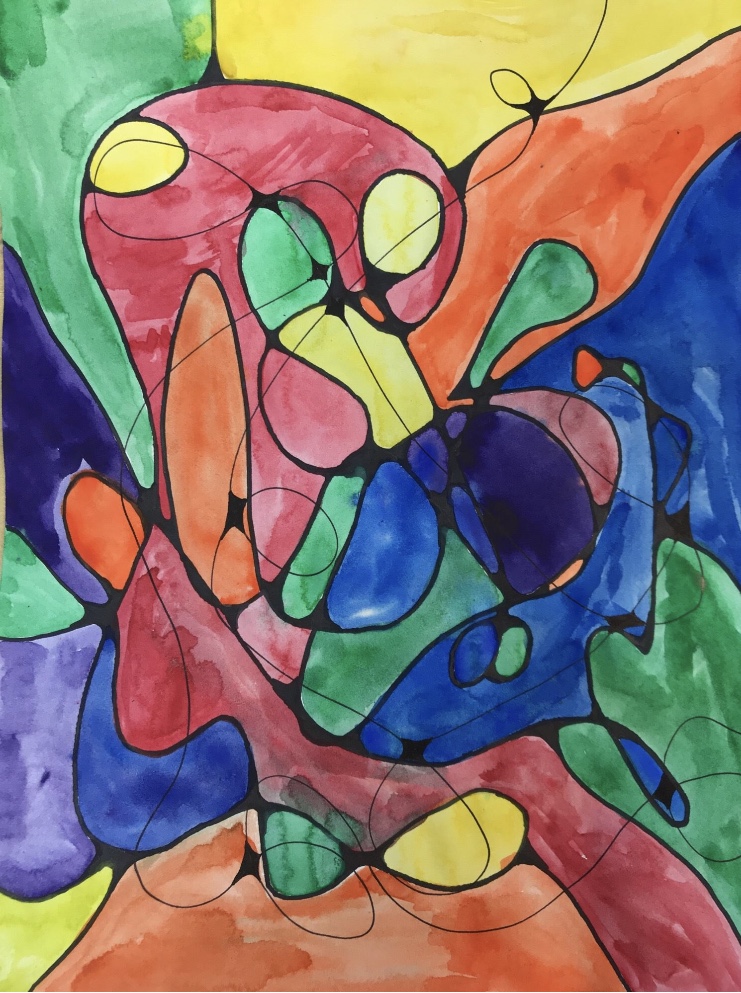
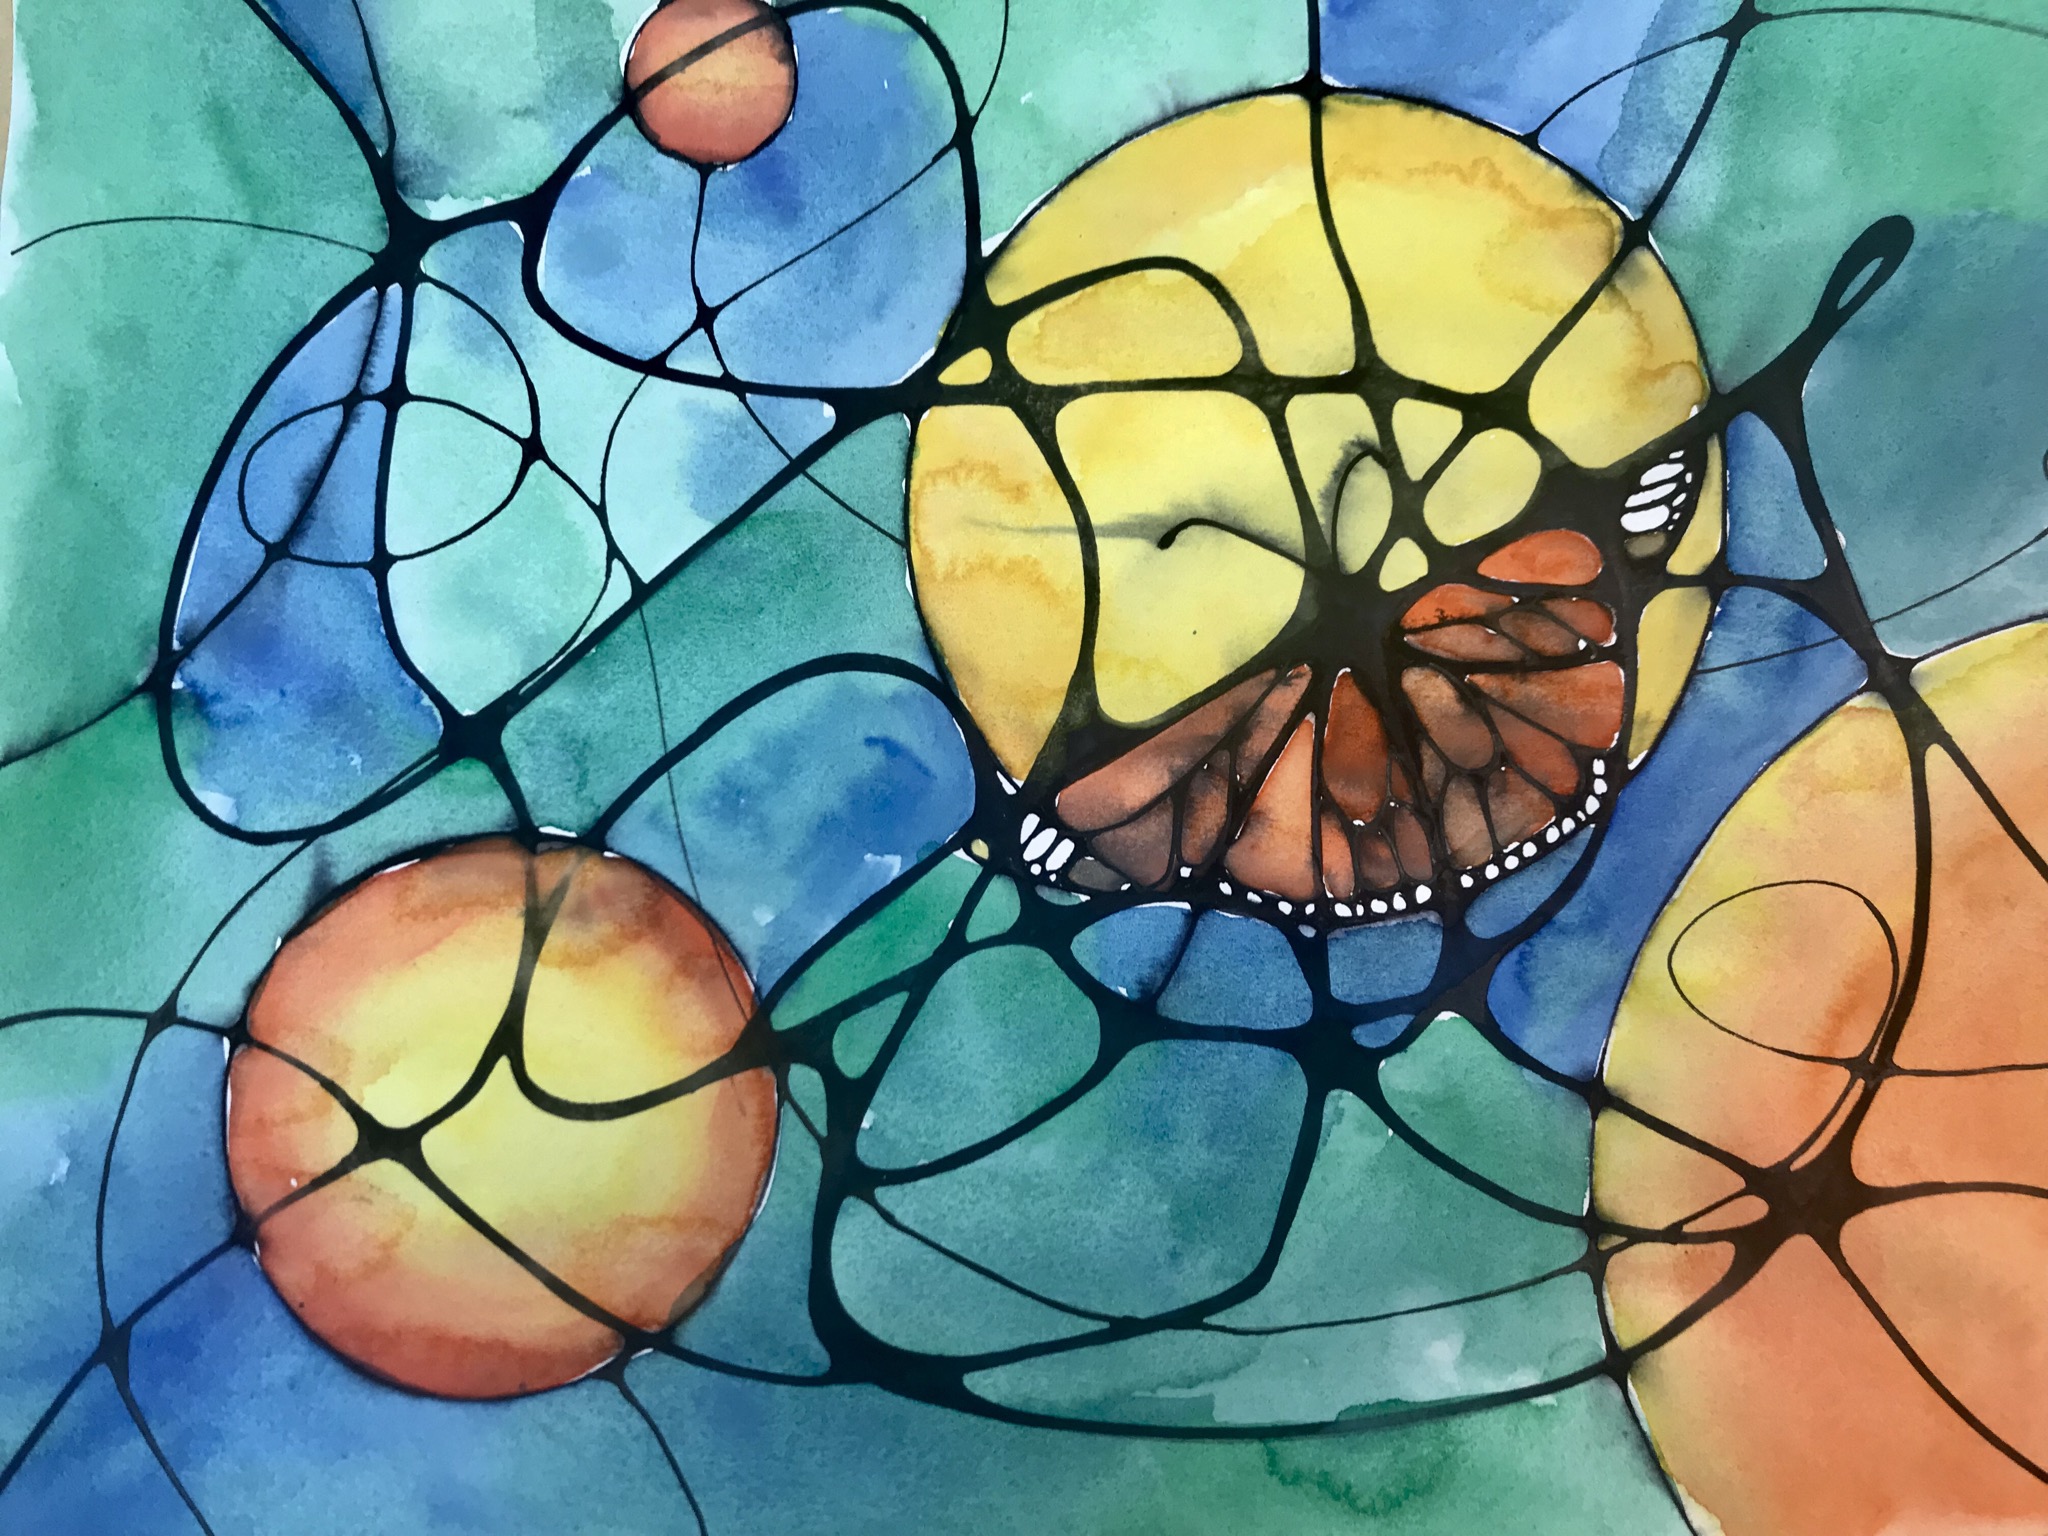
-Show examples of neurographic art
2. Algorithm
-Use a felt tip pen to draw a long looping or criss-crossing line (can say scribble) on your paper.
-If you want to do it the art therapy way, think of a problem or issue you are facing while you draw the line.
-Don't try to draw SOMETHING, just let it be a line.
-Find any sharp corners where lines cross or turn and round those, filling in the gap with ink.
-Add “field lines” that extend to the edges, then round any new corners.
-You can also add shapes that overlap the lines if you want to.
-Add color (you can blend colors or do shading)
-Draw smaller lines that overlap and round corners again.
-You can turn some of the lines into something recognizable or keep it abstract. The drawings often make you think of something from nature. Sometimes they look like neurons!
3. Students work
-After the overview, break it down and have the class complete one step at a time.
-When it seems like several students are close, remind them of the next steps.
-Color can be added with marker, watercolor, colored pencil, etc.
-Remind the students these aren't supposed to be "perfect!"
4. Pushing further
-When students are close to completing the ink part of the algorithm, encourage them to think about what materials and style they would like to finish with. I used watercolor after the 1st 2 steps then came back to highlight my overlapping lines with colored pencil.
-If some of the shapes make students think of something representational, it's ok for them to add some more detail to bring that out!
5. Reflection
-Ask the students to think about the process and how they felt completing this task.
-Ask if anyone thought about an issue or problem while they were working and if it helped them feel better about it.
Visual Arts Standard 1: Understanding and applying media, techniques, and processes
[5-8] Students intentionally take advantage of the qualities and characteristics of art media, techniques, and processes to enhance communication of their experiences and ideas
[9-12 Proficient] Students conceive and create works of visual art that demonstrate an understanding of how the communication of their ideas relates to the media, techniques, and processes they use
Visual Arts Standard 2: Using knowledge of structures and functions
[5-8] Students select and use the qualities of structures and functions of art to improve communication of their ideas
Visual Arts Standard 3: Choosing and evaluating a range of subject matter, symbols, and ideas
[9-12 Proficient] Students apply subjects, symbols, and ideas in their artworks and use the skills gained to solve problems in daily life
Visual Arts Standard 5: Reflecting upon and assessing the characteristics and merits of their work and the work of others
[5-8] Students compare multiple purposes for creating works of art
[9-12 Proficient] Students identify intentions of those creating artworks, explore the implications of various purposes, and justify their analyses of purposes in particular works
THE FEATURES
Abstract Art
Form, Rhythm/Pattern
Drawing, Painting
You must be logged in to keep, like, or comment on this resource.


Share!
Comment!