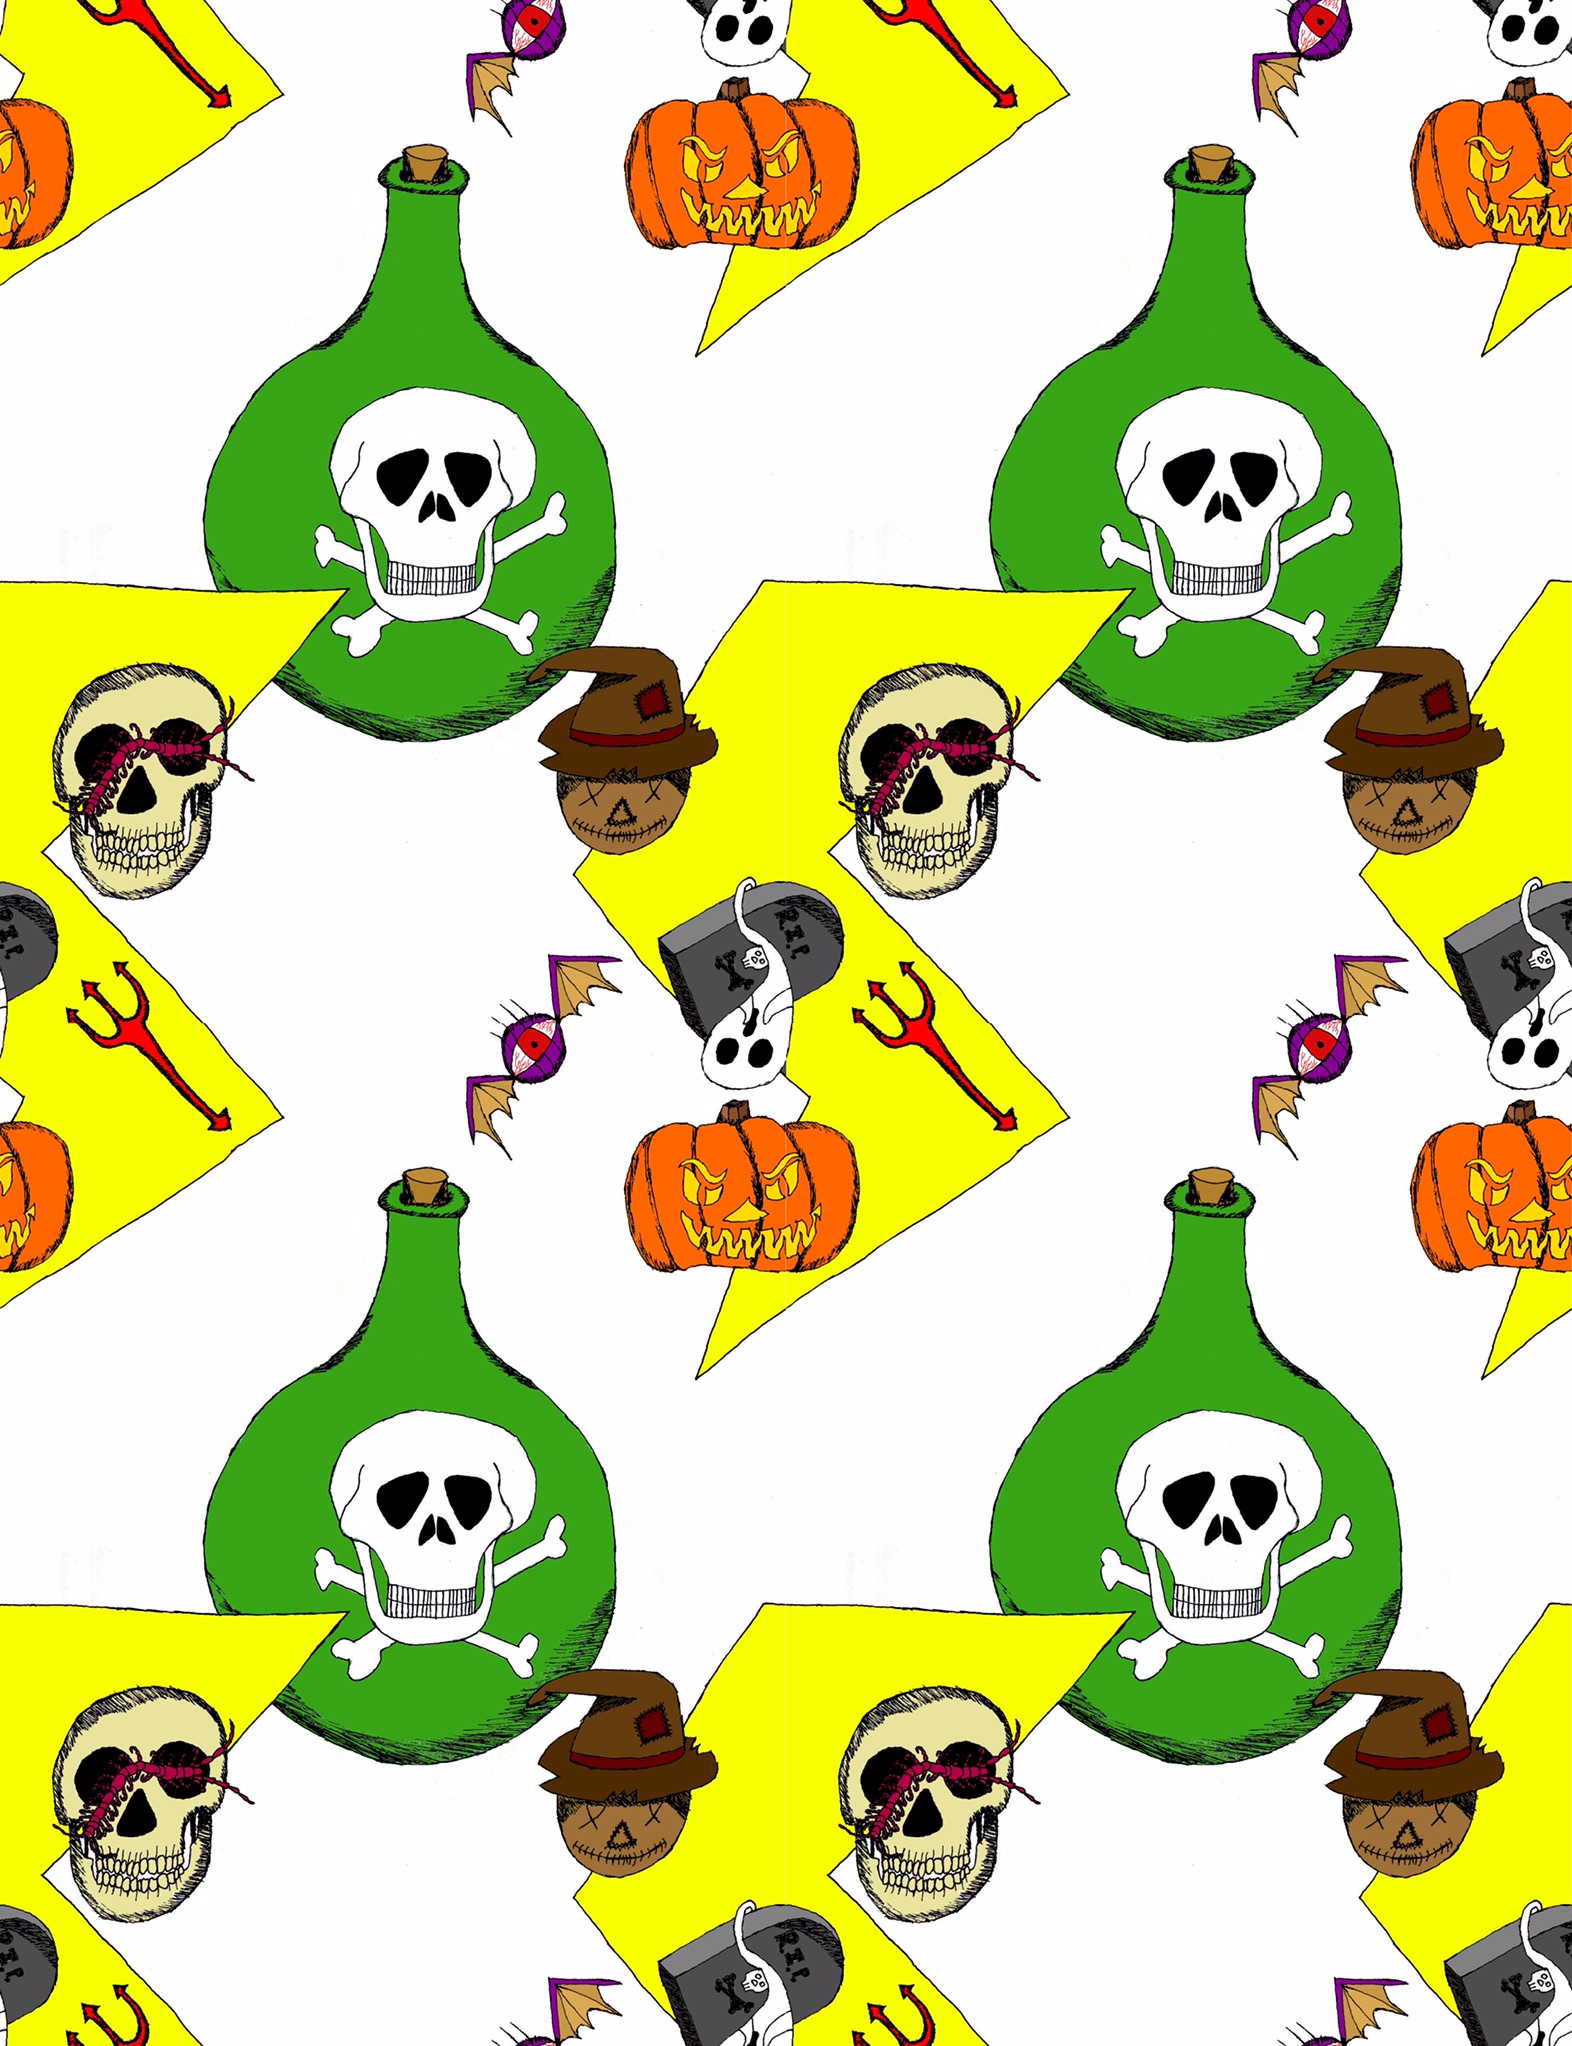
Students create repeating pattern tiles starting with hand drawings and finishing on the computer.
1 Keeps,
0 Likes,
0 Comments
THE PLAN
10 sessions; 45 minutes per session
1. SWBAT create an interesting composition of at least 5 objects that uses overlapping.
2. SWBAT utilize technology to alter their drawings into a tile that can repeat as a pattern.
3. SWBAT use Adobe Photoshop to digitally paint their drawings.
4. SWBAT successfully tile their patterns with seamless transitions.
1. Pencils
2. Copy paper
3. Fine point sharpies
4. Scanner
5. Computers with Adobe Photoshop
1. Initial drawing
-Use pencil to draw at least 5 related objects considering composition
-Some objects should overlap
-Don't touch the edge of the paper
2. Trace drawing with sharpie
3. Digitize drawing
-Scan drawing and open in Photoshop
-Adjust so just black and white with no gray (Levels)
4. Cut and rearrange drawing
-Make sure your rulers are showing.
-Use the rectangular marquee tool to select half of your drawing from top to bottom.
-Copy (Ctrl + C), delete (Ctrl + X), and paste (Ctrl + V) so it is on a new layer.
-Move the new layer to the opposite side and do the same with the original so there is empty space in the middle.
-Merge the layers then repeat by selecting half of it from side to side.
-You should end up with kind of a plus sign of negative space in the middle.
5. Draw in negative space
-Draw in all the negative space to complete the drawing. -Just like before, don't draw on the edges.
-You can either print and draw by hand then scan again or draw what you want to add and just scan that part, repeating the steps to clean it up and adding it in.
6. Add color
-Use the magic wand tool to select one segment of a drawn object at a time.
-Fill in with color using either the paintbrush or paint bucket tool.
-Change the color at the bottom of the tools bar by double clicking the black or white square and choosing the color you want.
-Deselect (Ctrl + D) and repeat the first steps with another section.
-The background can remain white or become one solid color.
7. Copy and Assemble
-Enlarge your canvas by selecting “canvas size” under image in the menu bar. Multiply your current size by 2 in both directions.
-You may need to zoom out so that you can see the whole thing- change the magnifying glass tool to show the - in the icon or type in a smaller number in the lower left corner of your window.
-Move your tile to one of the corners of your canvas. You will probably need to unlock the background layer. The fastest way to do this is to double click on the layer in the layers palette. Click next to the name of the layer not on the name.
-Duplicate your layer- select it and right click to bring up the option.
-Move your new layer to another corner so it lines up.
-Repeat the duplication and movement process until the whole canvas is filled in with one seamless pattern.
-Zoom in to check and make sure that there are no gaps and everything matches up correctly.
Visual Arts Standard 1: Understanding and applying media, techniques, and processes
[9-12 Proficient] Students conceive and create works of visual art that demonstrate an understanding of how the communication of their ideas relates to the media, techniques, and processes they use
[9-12 Proficient] Students apply media, techniques, and processes with sufficient skill, confidence, and sensitivity that their intentions are carried out in their artworks
Visual Arts Standard 2: Using knowledge of structures and functions
[9-12 Proficient] Students create artworks that use organizational principles and functions to solve specific visual arts problems
THE FEATURES
Rhythm/Pattern
Digital, Drawing
Technology
You must be logged in to keep, like, or comment on this resource.


Share!
Comment!