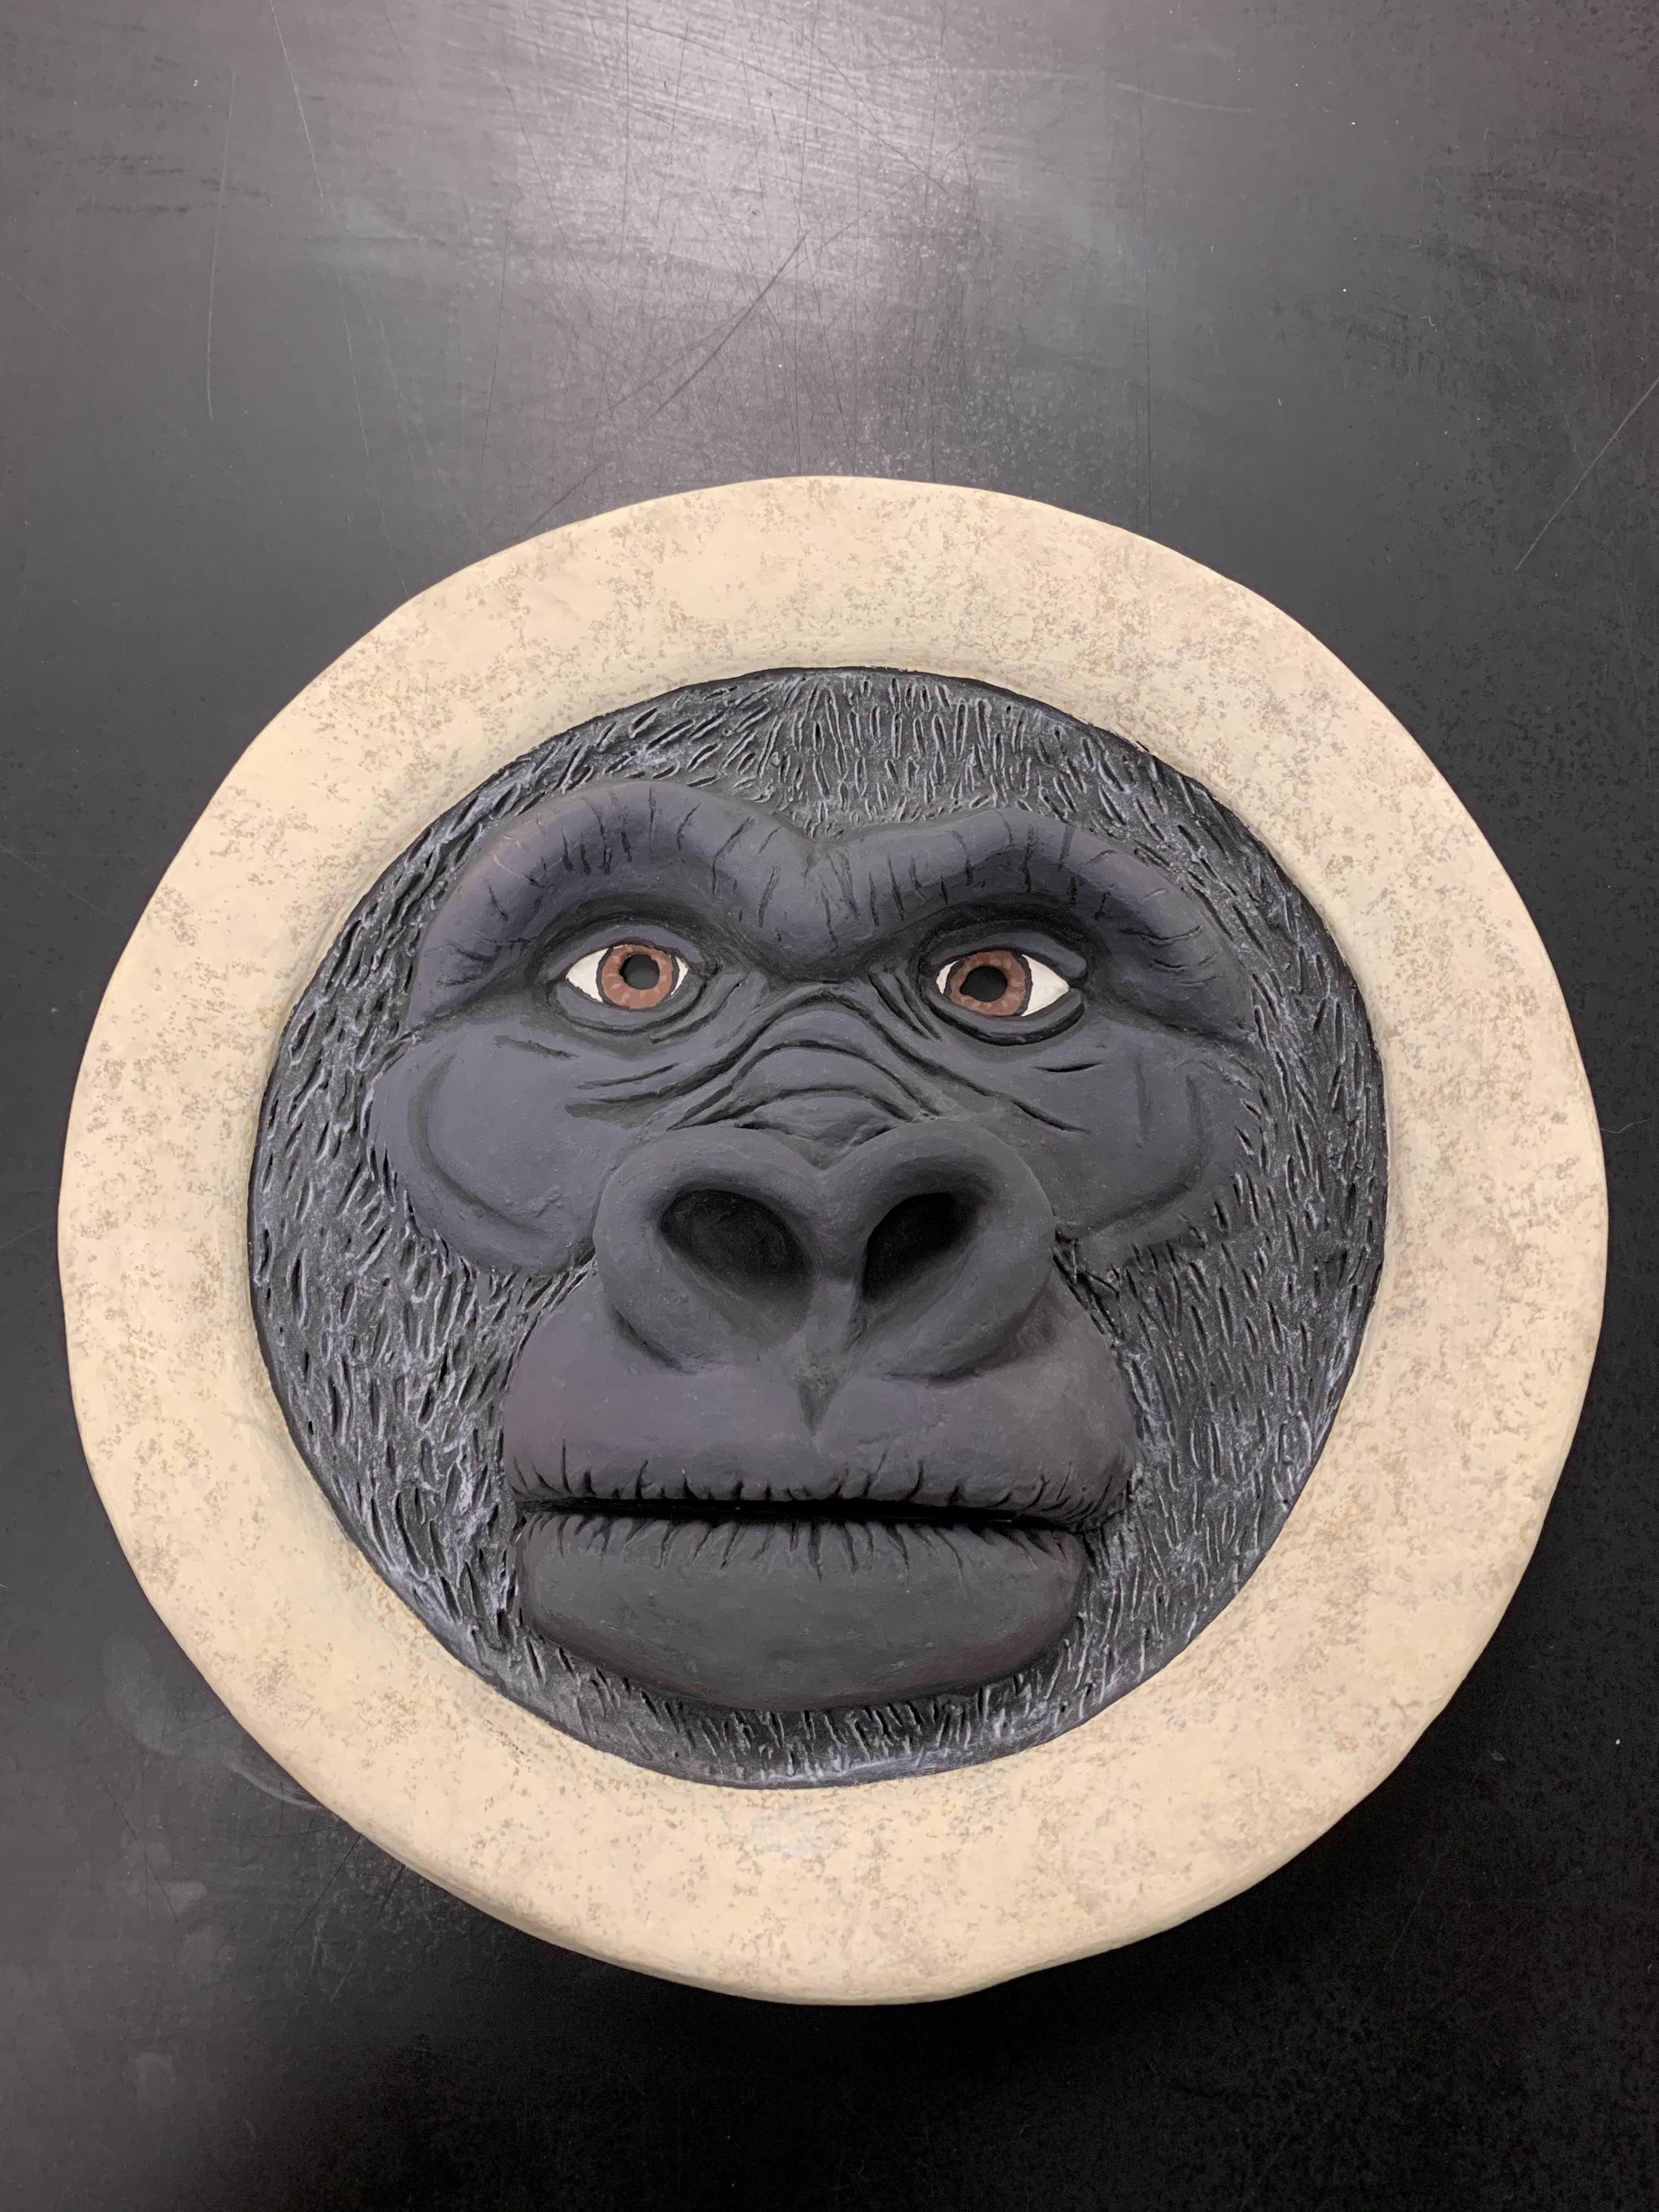
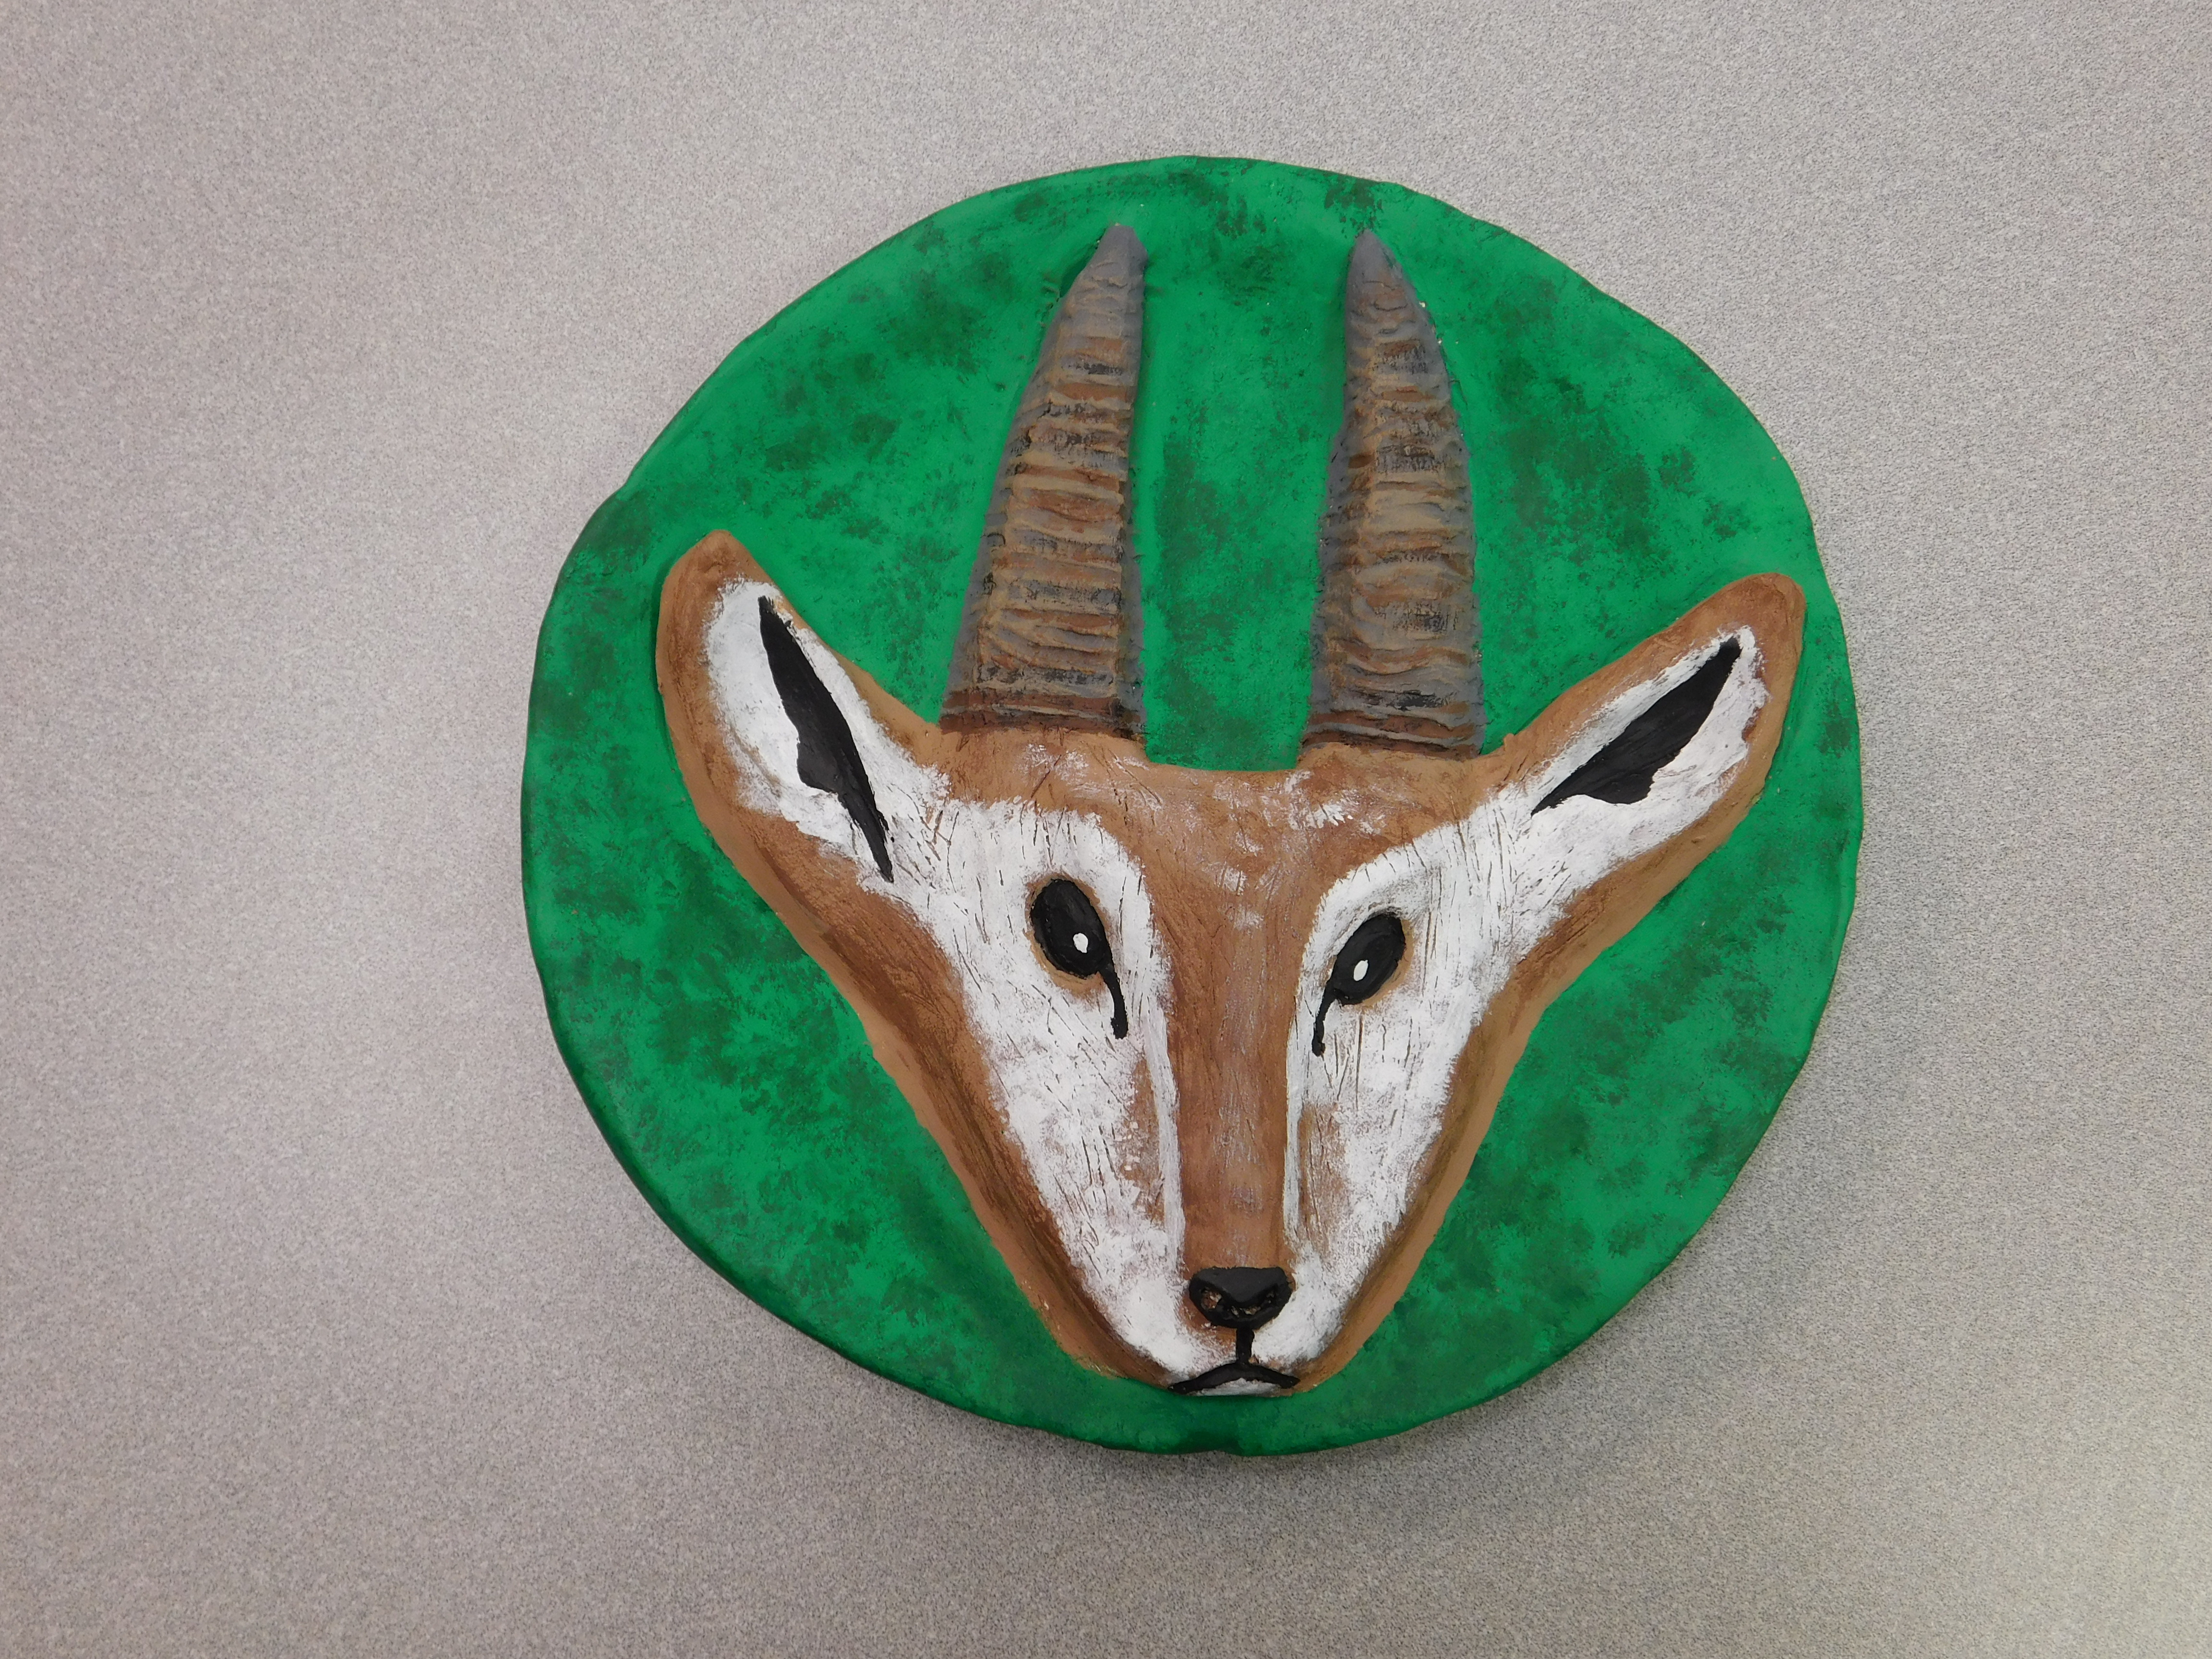
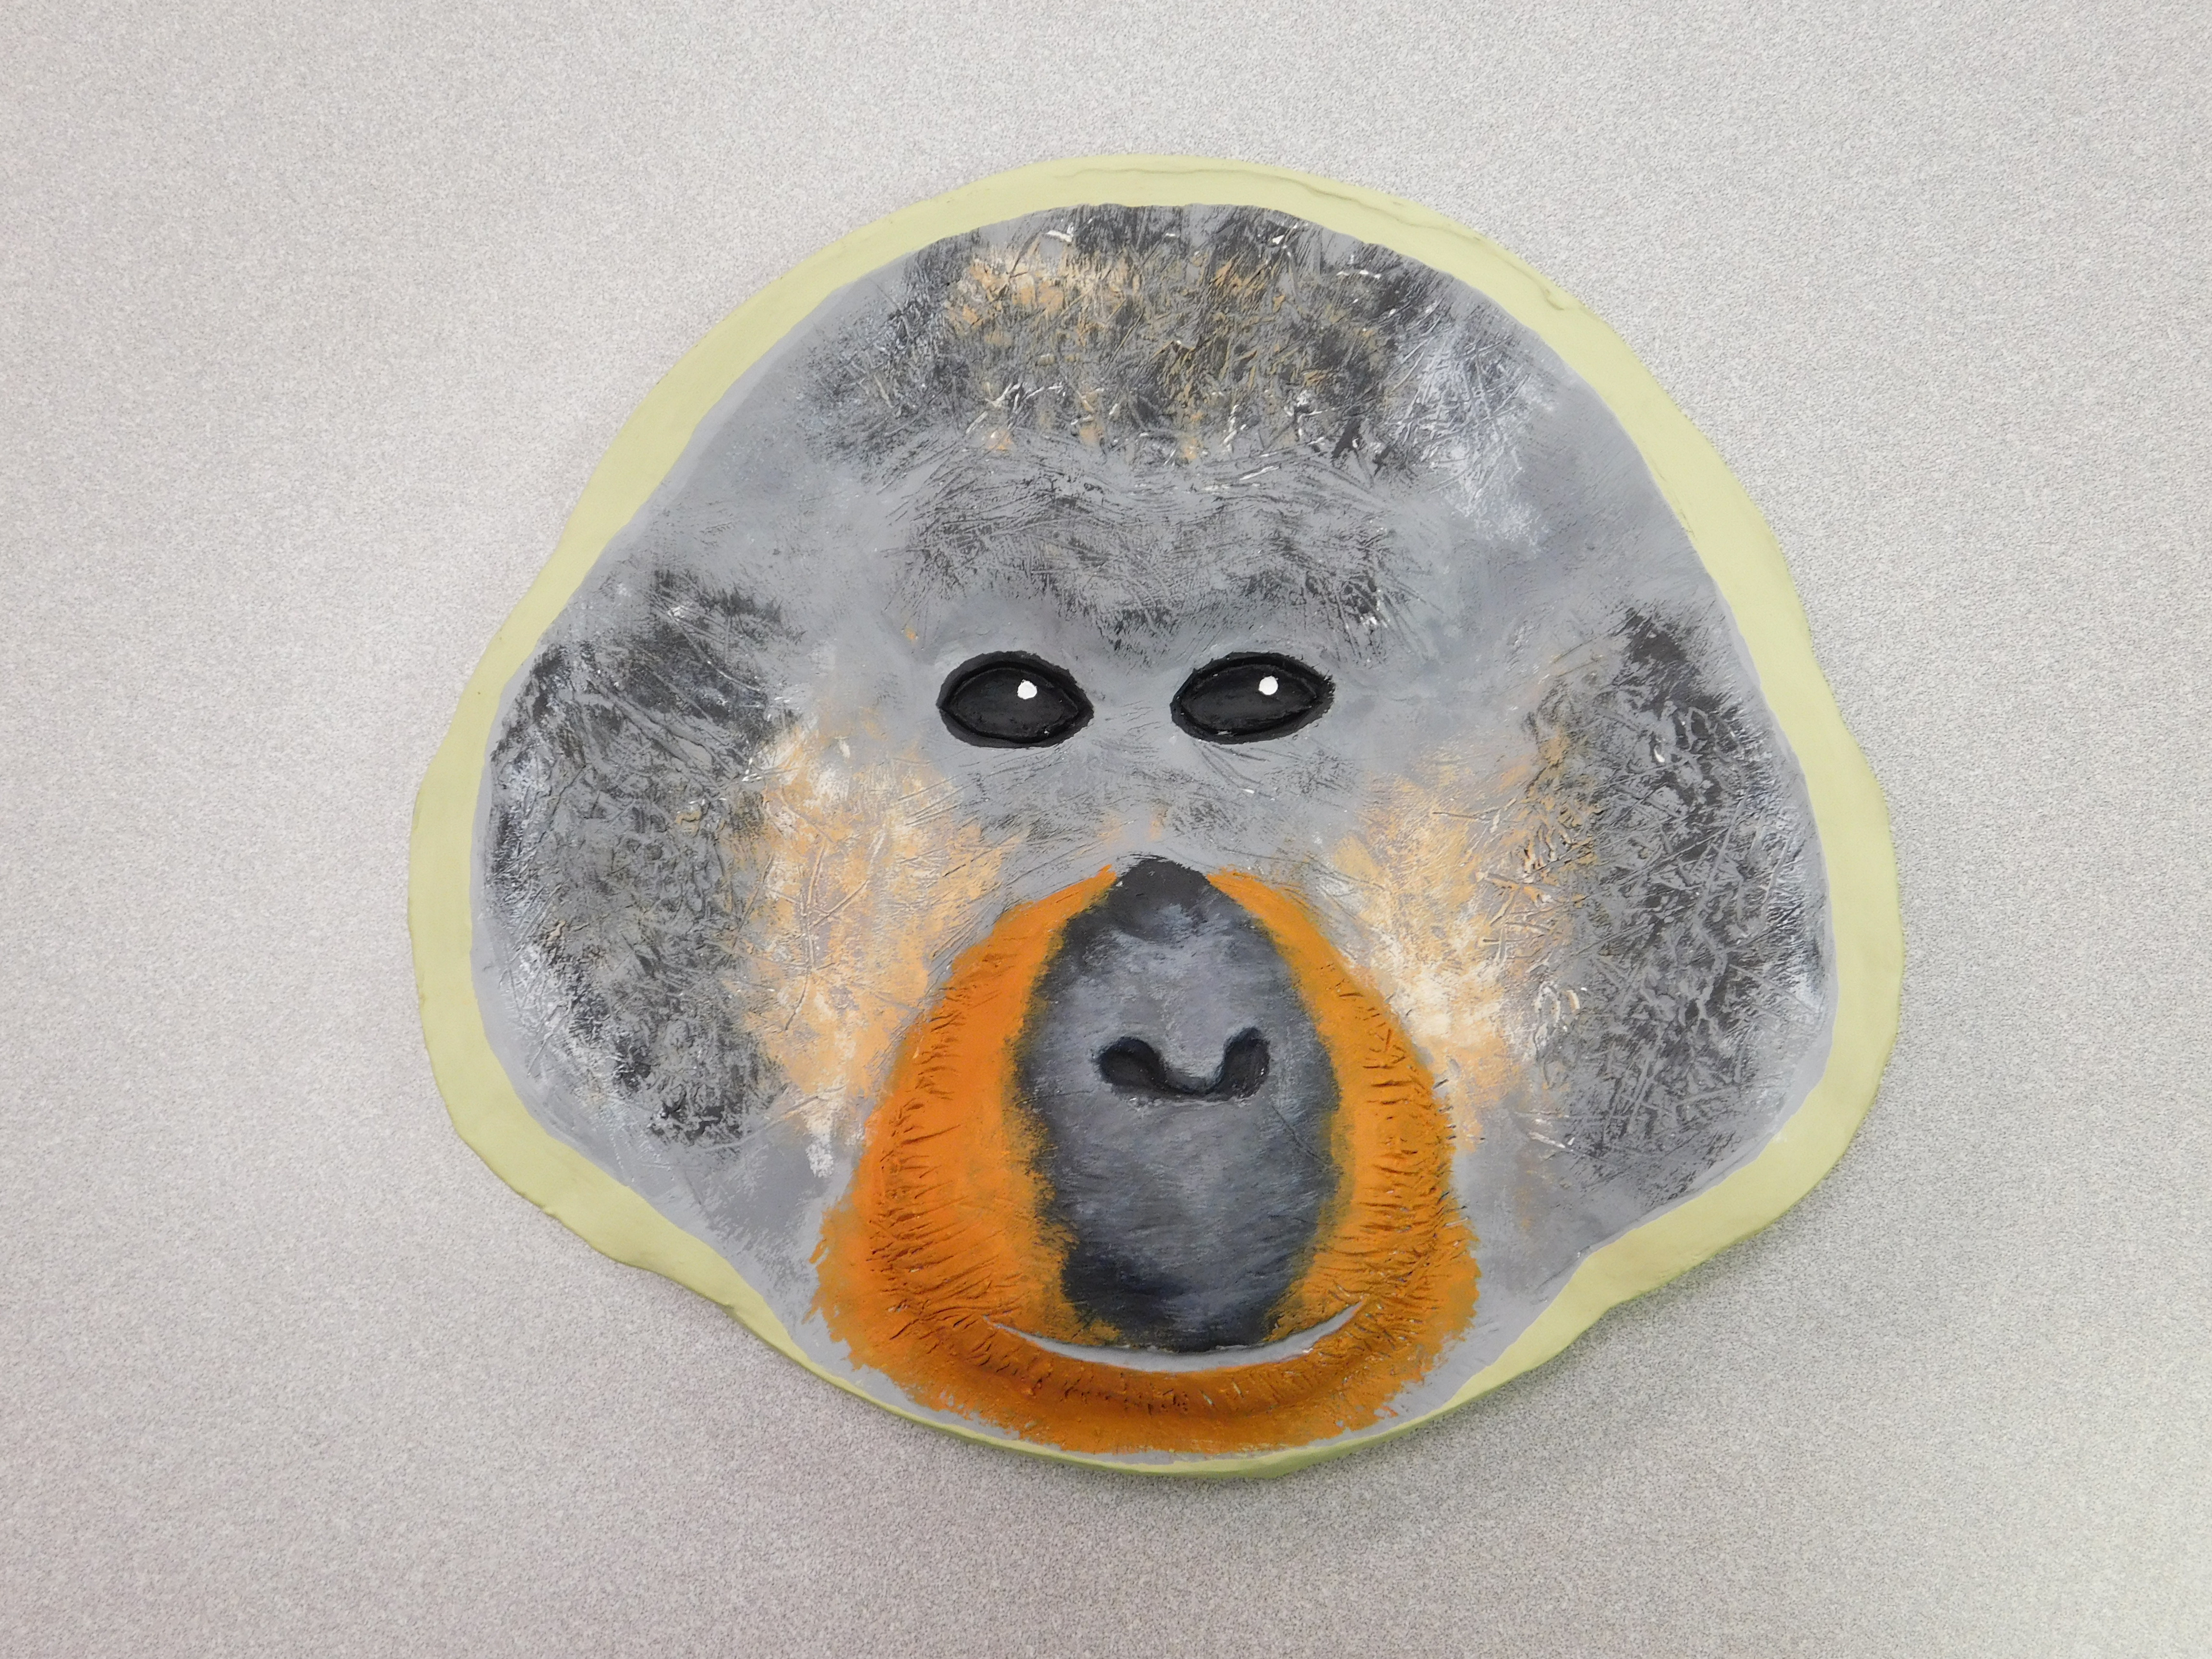
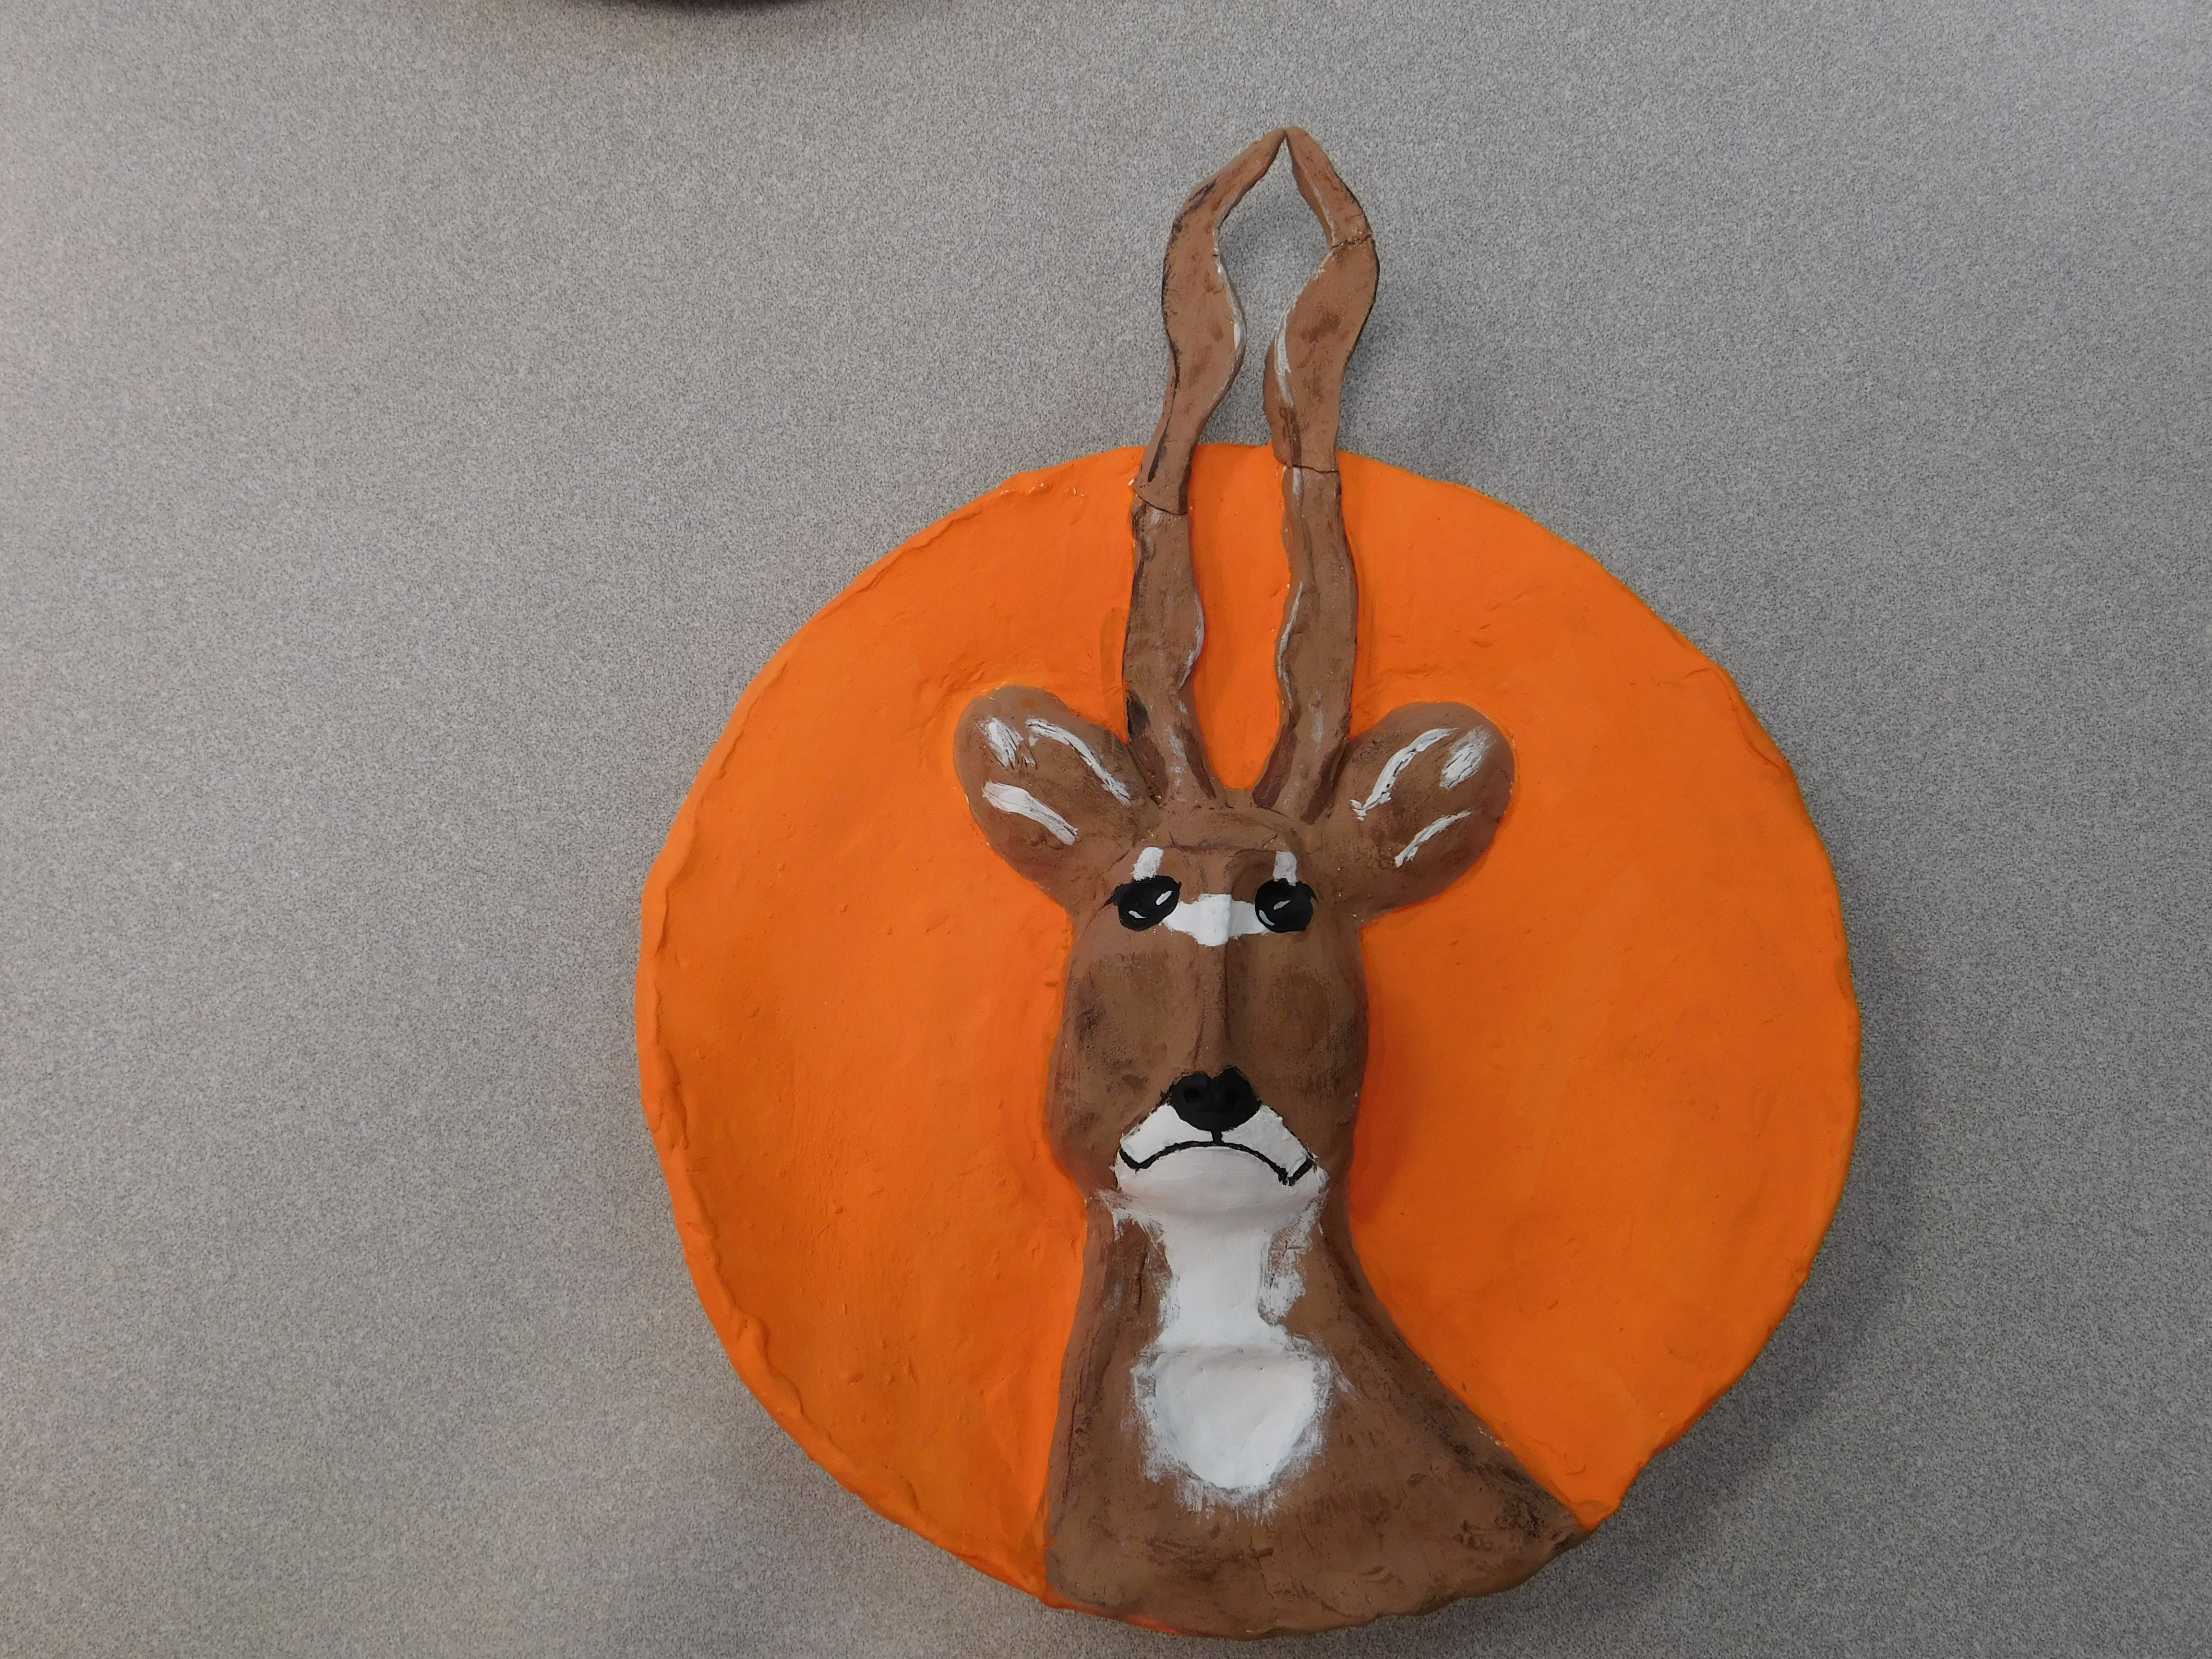
Students will use their knowledge of relief sculpture and clay hand-building methods to construct a semi-realistic animal face plate.
3 Keeps,
1 Likes,
0 Comments
THE PLAN
7 sessions; 45 minutes per session
1. SWBAT Define Relief
2. SWBAT explain and/or demonstrate the 3 hand-build methods of clay (Slab, Pinch, Coil)
3.SWBAT explain and/or demonstrate the 3 methods for connecting clay (Score, Slip, and Blend).
Students will need:
1. Clay
2. Clay Tool
3. Small Trash bags
4. Rolling pins/slab roller
5. Paper Plates
6. Plastic wrap
5. Waterproof plates (for molds) I use the smaller Chinet brand plastic plates and reuse them each year.
1. Teacher will lecture and demonstrate the following:
-Relief Art
-Slump Molds
-The three hand-build methods of clay
-The three methods for attaching clay. (15 minutes)
2. Students will practice each of these methods to prove mastery. (30 minutes)
3. Students will need to find images and create a sketch of which animal they will recreate on their plate. (10-15 minutes)
4. Students should work in teams of 3-4 to roll, cut and mold their basic plate shape.
-One student should roll the slab, trace the place, and cut out the place shape from the slab.
- One or two students should hold the clay mat, so it doesn't roll up on the roller.
-The last student will place the plastic wrap on the plate, form the slab to the mold, and cover each piece with damp paper towels and a trash bag to seal out air. (Depending on the number of students - 30 minutes)
5. On a new slab, students will use a clay too to draw and cutout the silhouette of the animal face he or she has chosen.
6. Using the score, slip, and blend method, students will attach their animal face silhouette to their plate.
7. Using a variety of the hand-build methods, students will build up the face if their animal, trying to make them look as realistic as possible.
8. Students can use a variety of clay tools to carve away and add depth and texture to finalize their pieces.
***The building and carving process may take 3-4 45 minute classes***
9. If the projects are too thick, the students can carve away thick areas of the place on the back side.
10. Allow the clay to dry to a bone-dry state. Fire the clay.
11. You can use glazes if you choose, but I like to have these plates look realistic, so we use acrylics. (2-3 45 Minute classes).
THE STANDARDS
Visual Arts Standard 1: Understanding and applying media, techniques, and processes
[5-8] Students intentionally take advantage of the qualities and characteristics of art media, techniques, and processes to enhance communication of their experiences and ideas
[9-12 Proficient] Students apply media, techniques, and processes with sufficient skill, confidence, and sensitivity that their intentions are carried out in their artworks
[9-12 Advanced] Students initiate, define, and solve challenging visual arts problems independently using intellectual skills such as analysis, synthesis, and evaluation
Visual Arts Standard 4: Understanding the visual arts in relation to history and cultures
[5-8] Students know and compare the characteristics of artworks in various eras and cultures
THE FEATURES
Michelangelo Buonarroti
Renaissance
Balance, Form, Proportion/Size, Texture
Acrylic, Ceramics, Sculpture
History/Social Studies
You must be logged in to keep, like, or comment on this resource.

Share!
Comment!