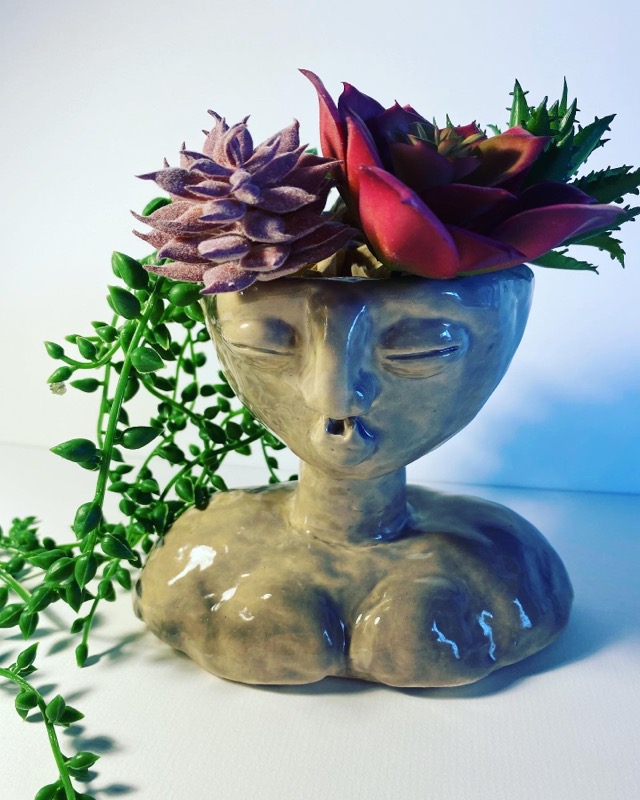
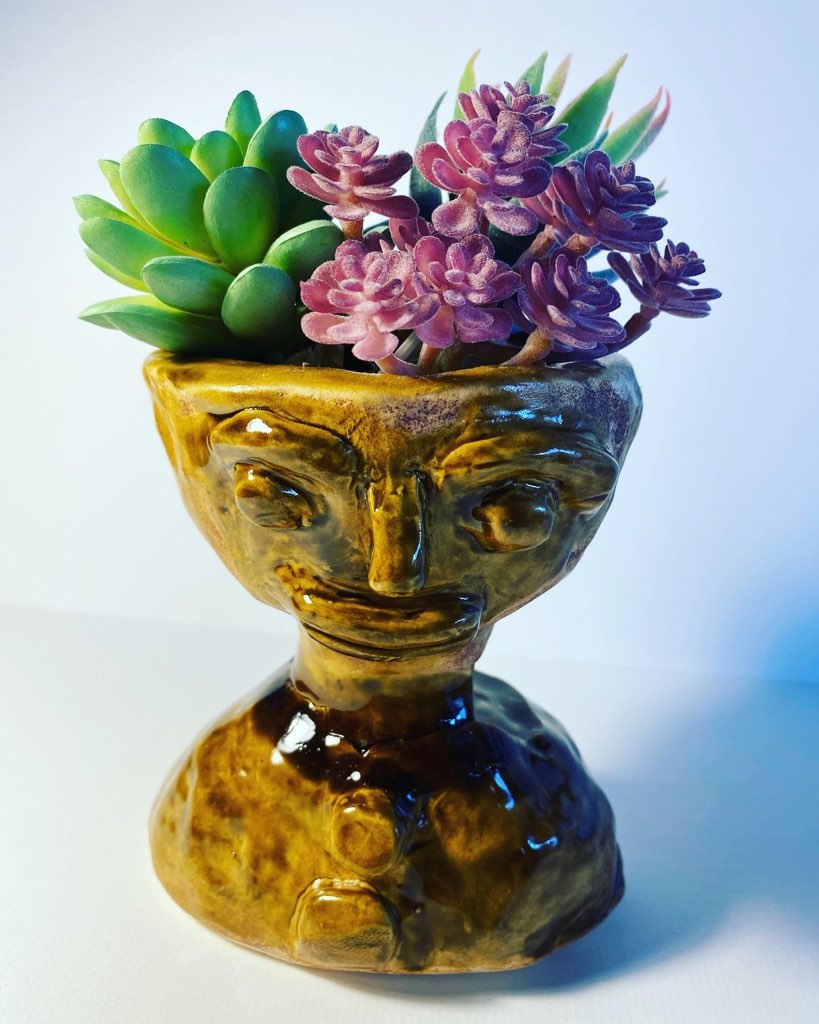
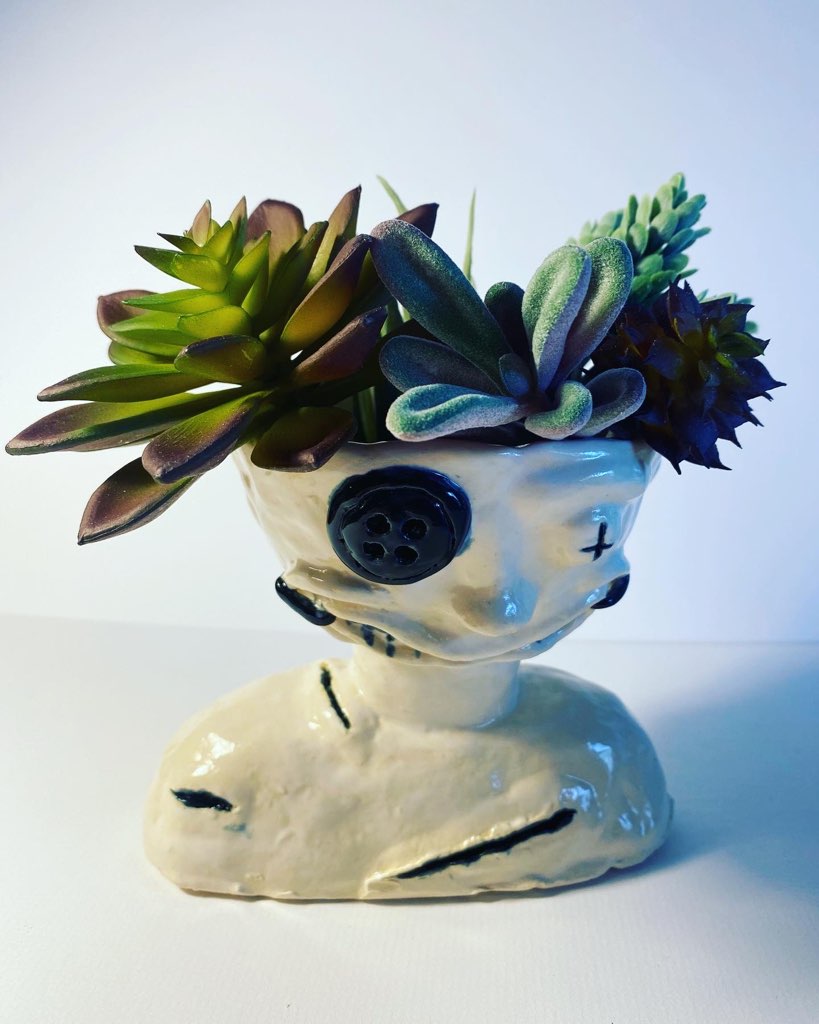
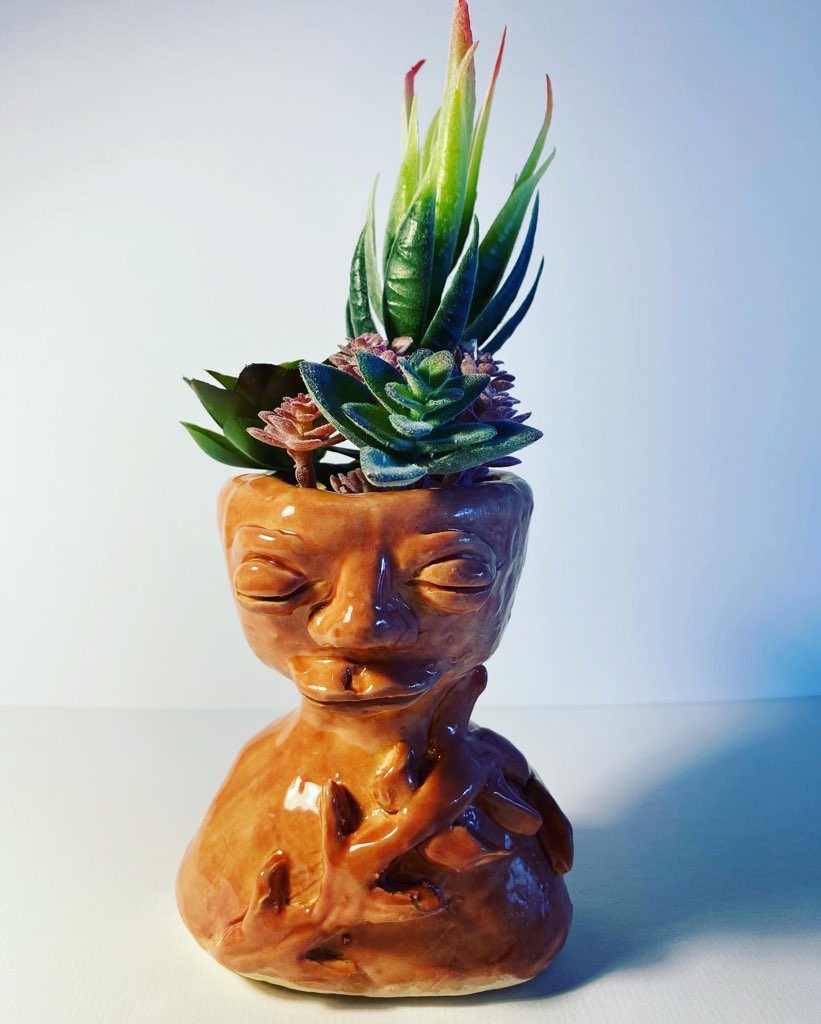
Create 2 pinch pots – one for the shoulders, the second for the head.
Start by shaping your clay into a round sphere about the size of your final pot.
Use your thumb to press into the ball and start to hollow it out by pinching.
Go slowly! Do not rush the construction process. Ideally, the sides to your pinch pot should be even.
One pinch pot will be used for the shoulders of your ceramic bust.
Form this pinch pot to be more oblong.
The second pinch pot will be the succulent holder and area where you will create your facial features.
This pinch pot should be more round and level to ensure the plants will be comfortable.
When both pinch pots are created, you will attach them together by compressing them after slipping and scoring.
Make sure they’re really attached well with no seam showing.
Additive and Subtractive work: Carve into and add-on clay to sculpt your busts facial features - its ok if they have a unique expression.
Now it is time to personalize your bust with facial features and surface decoration.
Do a combination of:
1. Subtracting carving
2. Additive attachments
Facial features to add: eyes (create holes and add spheres inside so they’re sunken into the head) / nose / mouth / eyebrows / ears / hair that’ll blend into the plant OR a hat etc.
DO NOT FORGET TO ALWAYS SLIP, SCORE AND MEND WHEN ATTACHING!

Share!
Comment!