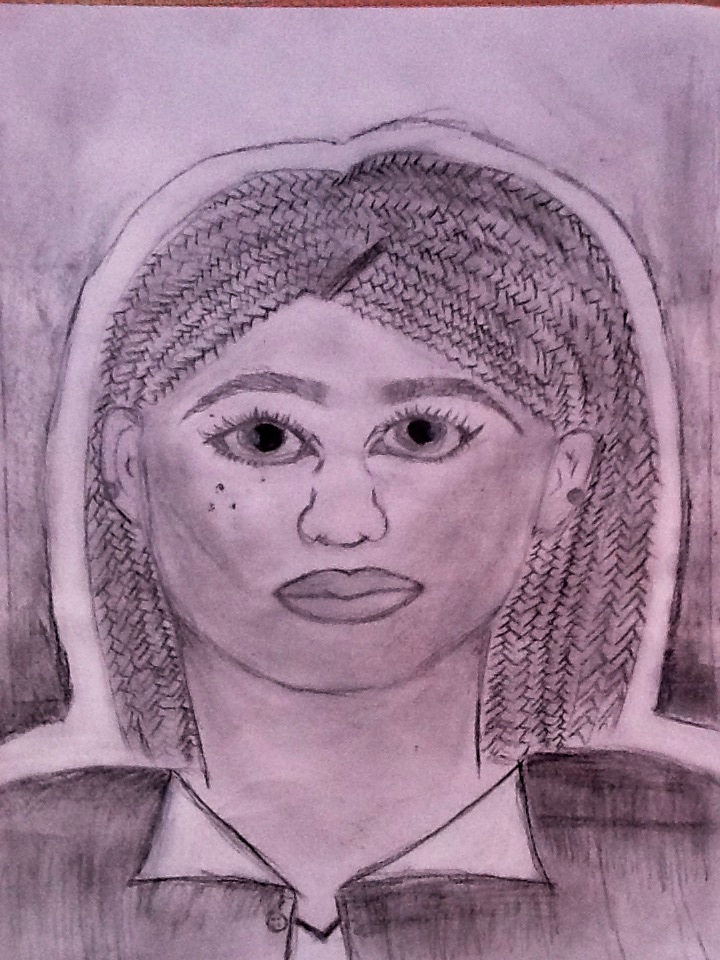
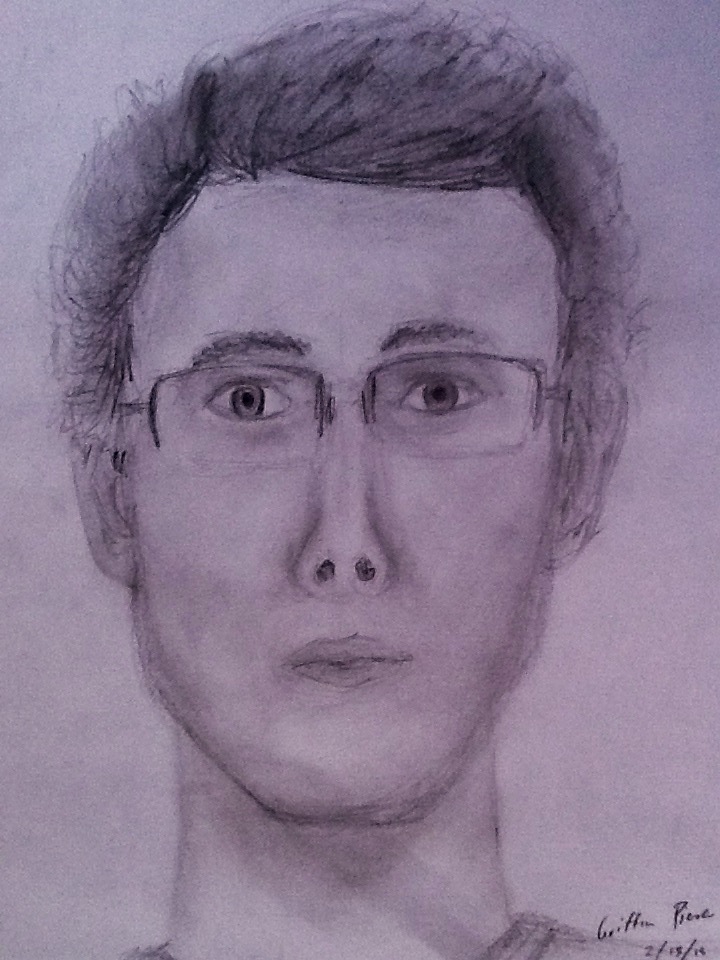
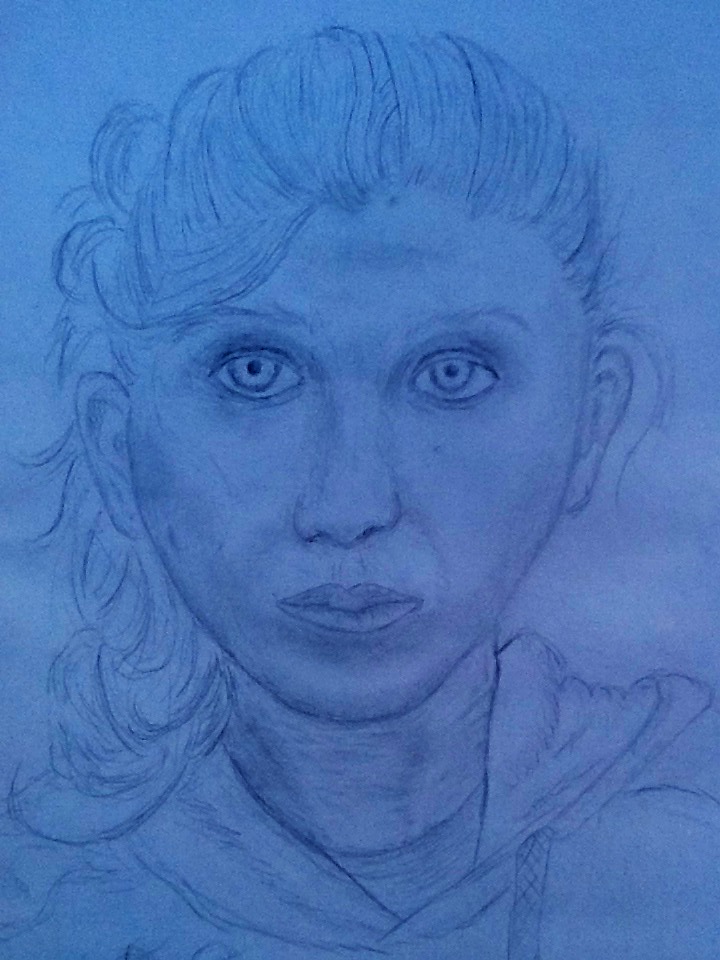
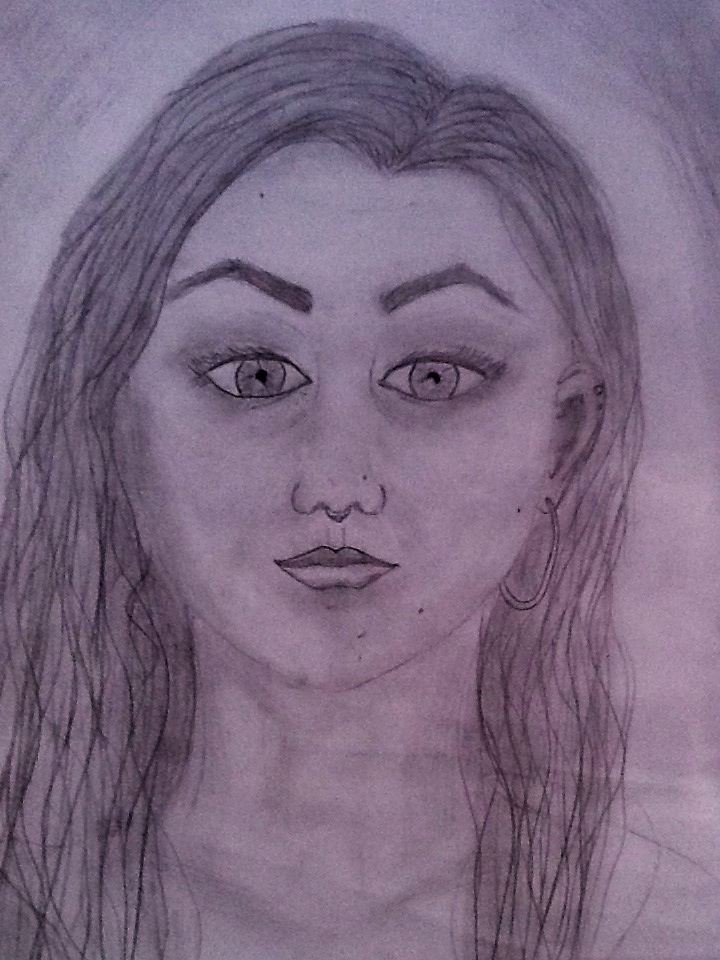
Draw a classic self portrait in pencil. Students will utilize proportions, contour line drawing and shading with a range of values.
7 Keeps,
1 Likes,
0 Comments
THE PLAN
5 sessions; 50 minutes per session
1. Create an original portrait through observation and drawing techniques.
2. Portrait is life size or larger than your hand.
3. Guidelines are used to place features in the correct proportions.
4. Features are drawn using observational skills.
5. Portrait includes shading with values from light to dark.
Mirrors
9"x12" drawing paper
(Drawing) pencils
Eraser
1. Using soft, gestural lines, draw the shape of the face- left side, right side, top, jaws and chin.
2. Lightly sketch in guidelines, halfway across top of head to chin, halfway down for eyes, another third-halfway down for the nose and another third of the way down for the mouth.
3. Place your finger at the intersection of the eye guideline and make a mark on each side of your finger. That is where the inside corners of the eyes will be.
4. Place your finger over the spot where the eyes will be and make a Mark for the outside corner of each eye. Explain that the width between the eyes is the same as the width of the eyes.
5. From the corners of the eyes, draw a guideline down to the nose. Explain that the width if the nose is the same as the width of the space between your eyes.
6. Draw the eyes through observation. Explain that the eye is a sphere, so the sides are shaded. Draw the iris inside of two parenthesis type curved lines. Draw the pupil.
7. Draw a guideline from the pupils to the mouth. Explain that the width of the mouth lines up with the pupils.
8. Draw in the eyebrows. Explain that the top of the ears line up with the eyebrows, and extend the length of the nose.
9. Draw in the features by observing carefully in the mirror. When drawing the nose, start with the top of the nose and then add the nostrils. When drawing the upper lip, observe how it is 2 muscles which line up with the nostrils. First the left side, then the right, then the top of the lip.
10. hair, eyebrows and eyelashes are drawn the way they grow, from the scalp or skin and out. Emohasize the drawing of individual hairs, which creates texture. I remind them that if nature can grow 9,000 hairs on your head, you can draw 100 of them.
11. Shading. make everything a light value with the side of your pencil. Observe where the shadows and dark areas of your face and head are. Add medium and dark values.
12. Use an eraser to create highlights in the eyes, skin and lips.
1. Correct Guidelines used? Proportions accurate?
2. Features drawn by careful observation?
3. Values added from light to dark?
I showed a couple of videos, this one demonstrates that although this is 100 portraits painted over 500 years, the proportions are all the same. https://m.youtube.com/watch?v=nUDIoN-_Hxs
This is a speed drawing demonstration of a portrait using dry brush dipped in graphite powder. You can turn the music off! https://m.youtube.com/watch?v=AmRlhnTEG2s
And "googling" face proportions, turns up alot of examples to print out.
I walked around with tracing paper, and helped students with corrections by laying the tracing paper on top of their drawing and demonstrating what I want them to do. Then I left them with the tracing paper example as a reference.
THE STANDARDS
Visual Arts Standard 1: Understanding and applying media, techniques, and processes
[9-12 Proficient] Students conceive and create works of visual art that demonstrate an understanding of how the communication of their ideas relates to the media, techniques, and processes they use
Visual Arts Standard 2: Using knowledge of structures and functions
[9-12 Proficient] Students create artworks that use organizational principles and functions to solve specific visual arts problems

Share!
Comment!