Out on the oval (or space where you can make a lot of water mess) set up your camera on the tripod. Place your camera onto shutter speed priority and set to a high shutter speed (I used 3200). Place camera onto continuous shooting mode.
Three main points to point out to kids is
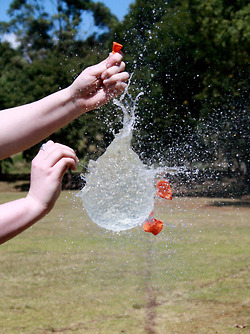
1)FOCUS first - make sure it is focused on the balloon and not the background. Once you use continuous shooting this should keep the water in focus.
2) try and start your balloon at the top of the frame to ensure you catch any low water parts.
3)don’t violently stab at balloon. gently pop otherwise you will push the balloon out of the frame.
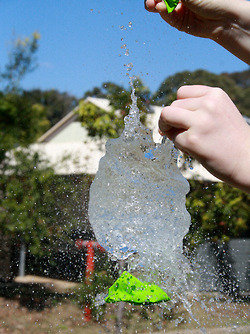
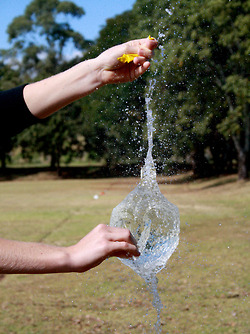
Have the kids work in pairs. The photographer should count down from three to popping the balloon but start the continuous shooting from 2. This will give them a better probability of capturing the balloon burst. It will take up a lot of memory space and you get a fairly low hit rate - but when you do capture it - there are some amazing results! Each kid got at least one decent shot from their 4-5 balloons.
It’s a great end of term project as the kids get a bit rowdy and excited! I also had to warn them (even though it was with grade 12’s) that they were NOT to throw balloons at each other or else!
The photographer we had previously looked at for high speed photographer was Japanese artist Natsumi Hayashi


Share!
Comment!