This is a simple Painting and Printing lesson for Kindergarten that focuses on Andy Warhol's 1964 "Flowers" piece.
10 Keeps,
3 Likes,
4 Comments
THE PLAN
3 sessions; 30 minutes per session
1.SWBAT identify "Flowers" by Andy Warhol.
2. SWBAT use 2 D motor skills: paint, paste, rub, print, stamp
1. large white paper
2. green tempera paint
3. paint combs
4. sponges cut into flower shapes
5. bright paper to print onto
6. pencils
7. scissors
8. paste
9. large paint brushes
10. smocks
11. tempera paint for flowers
Day1:
1. Write name and art code on the white paper
2. paint white paper green with large paintbrush and tempera paint
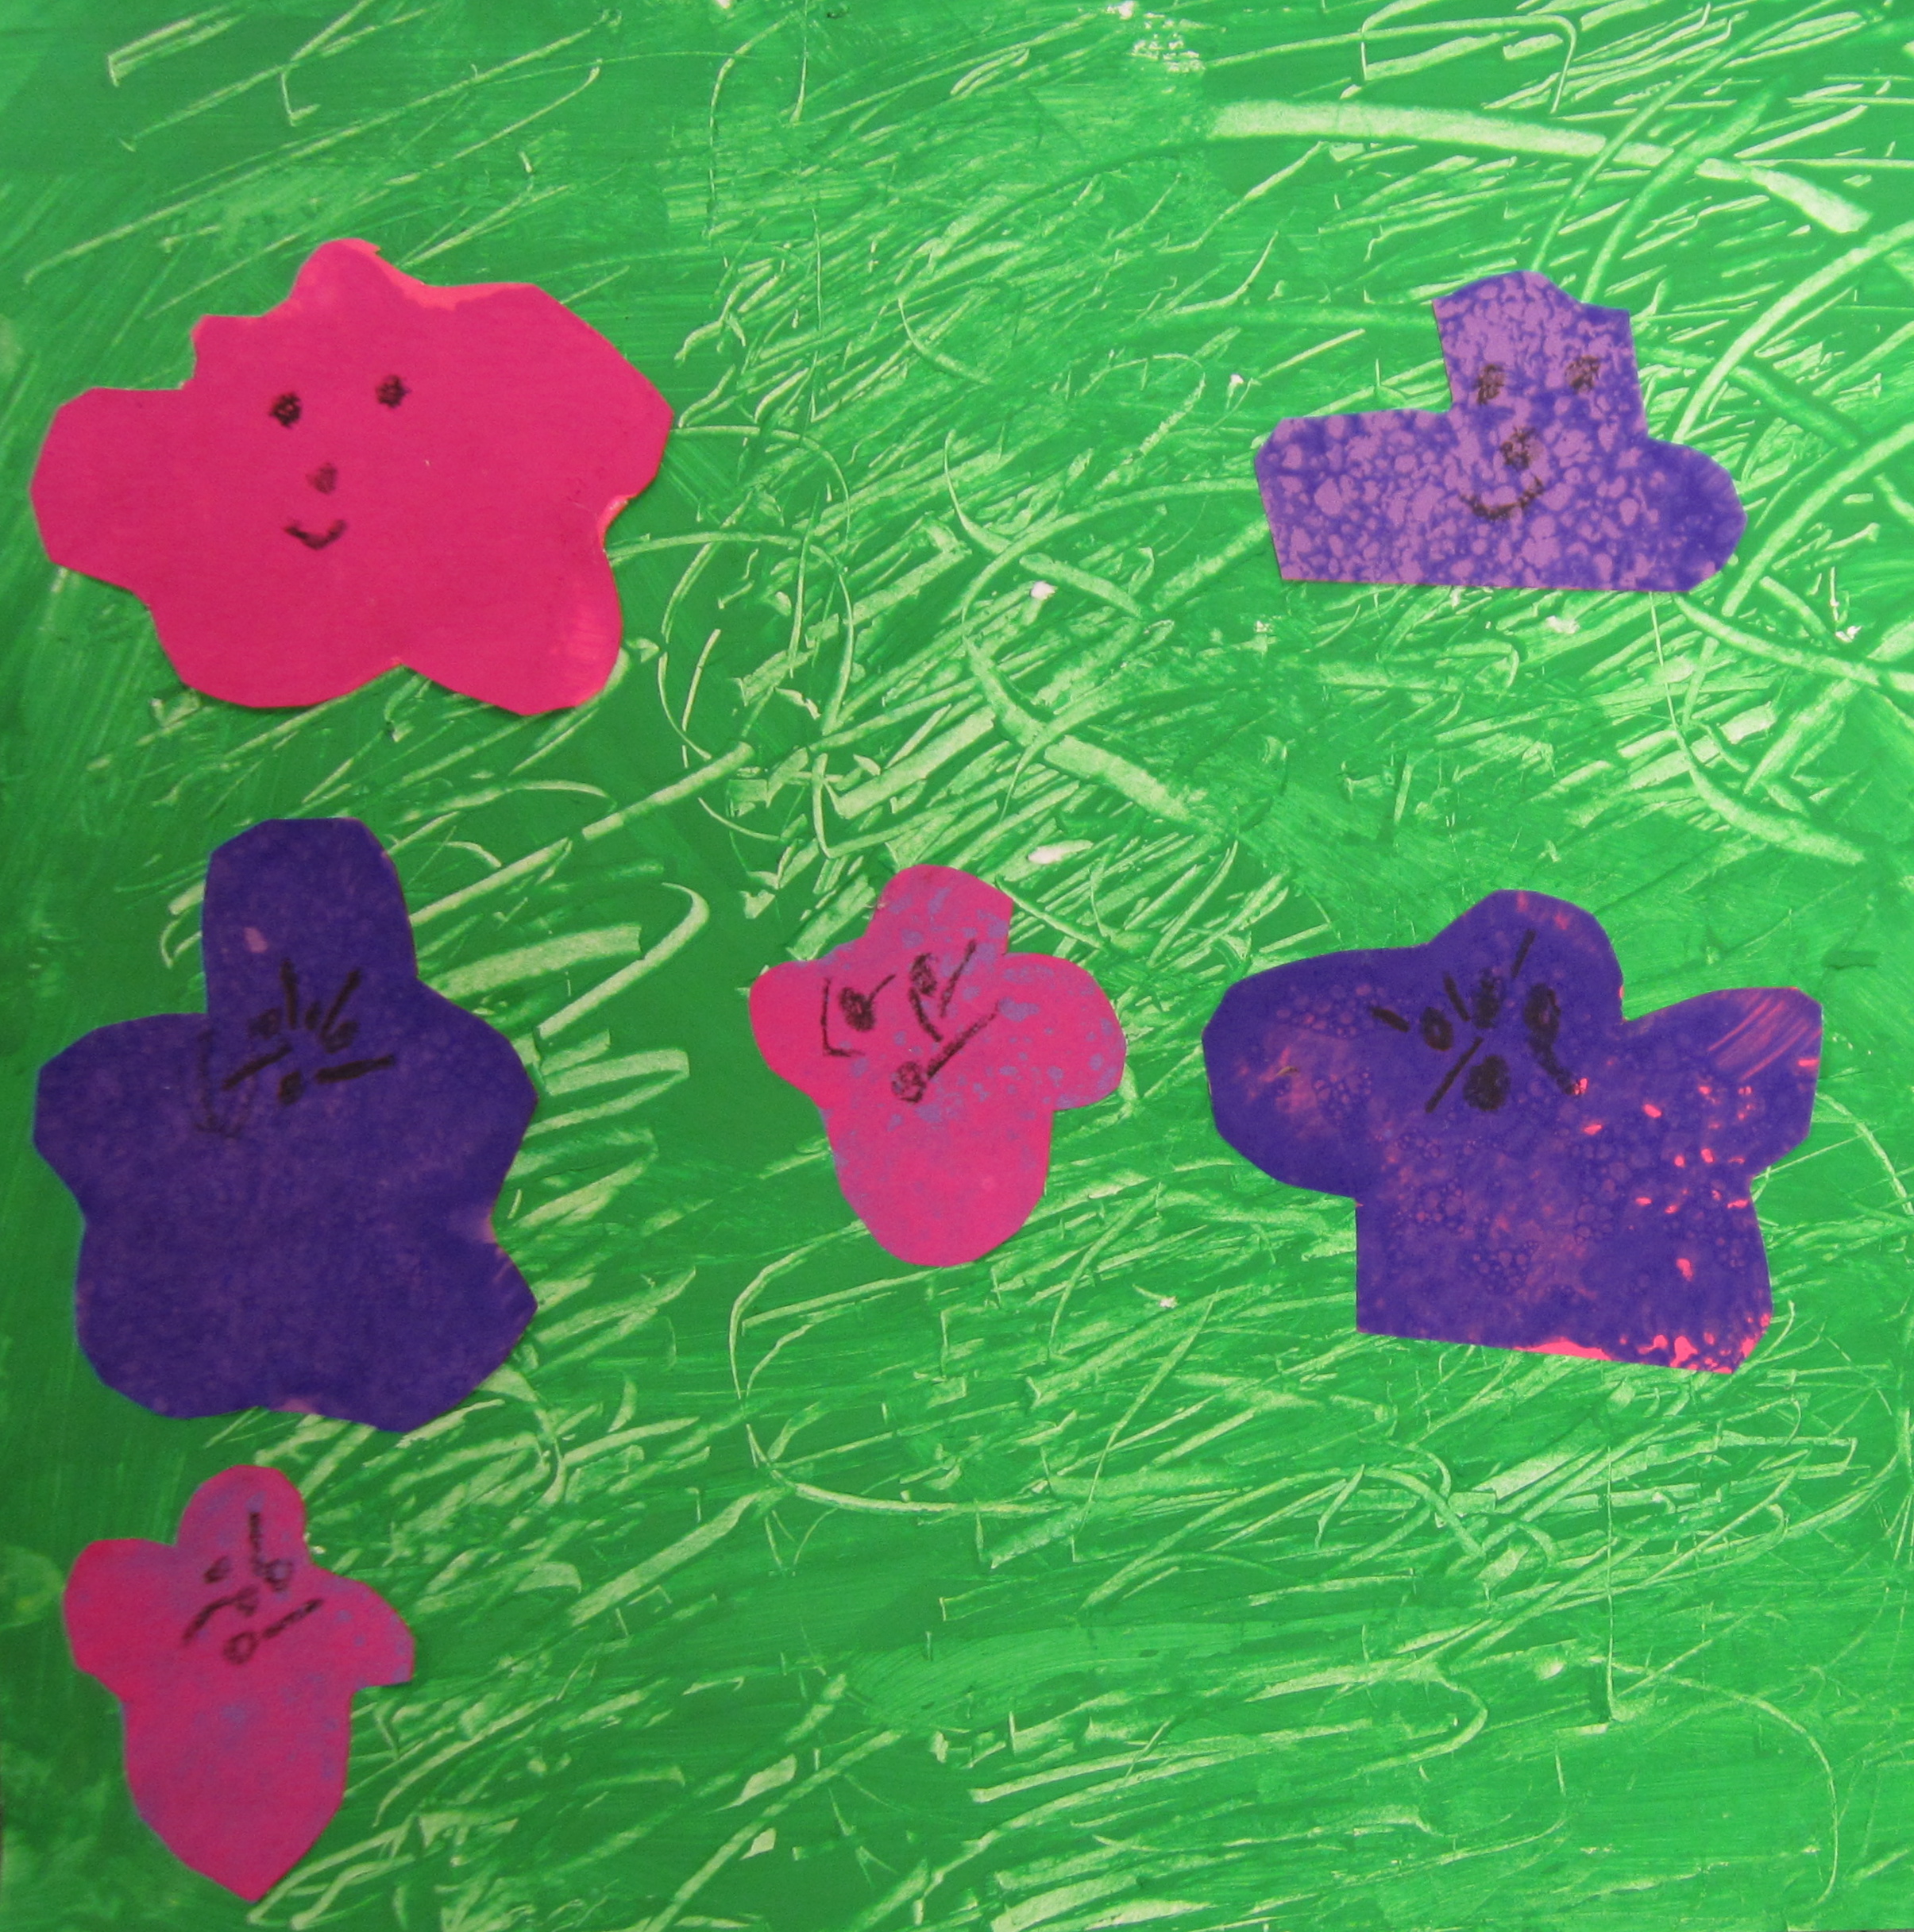
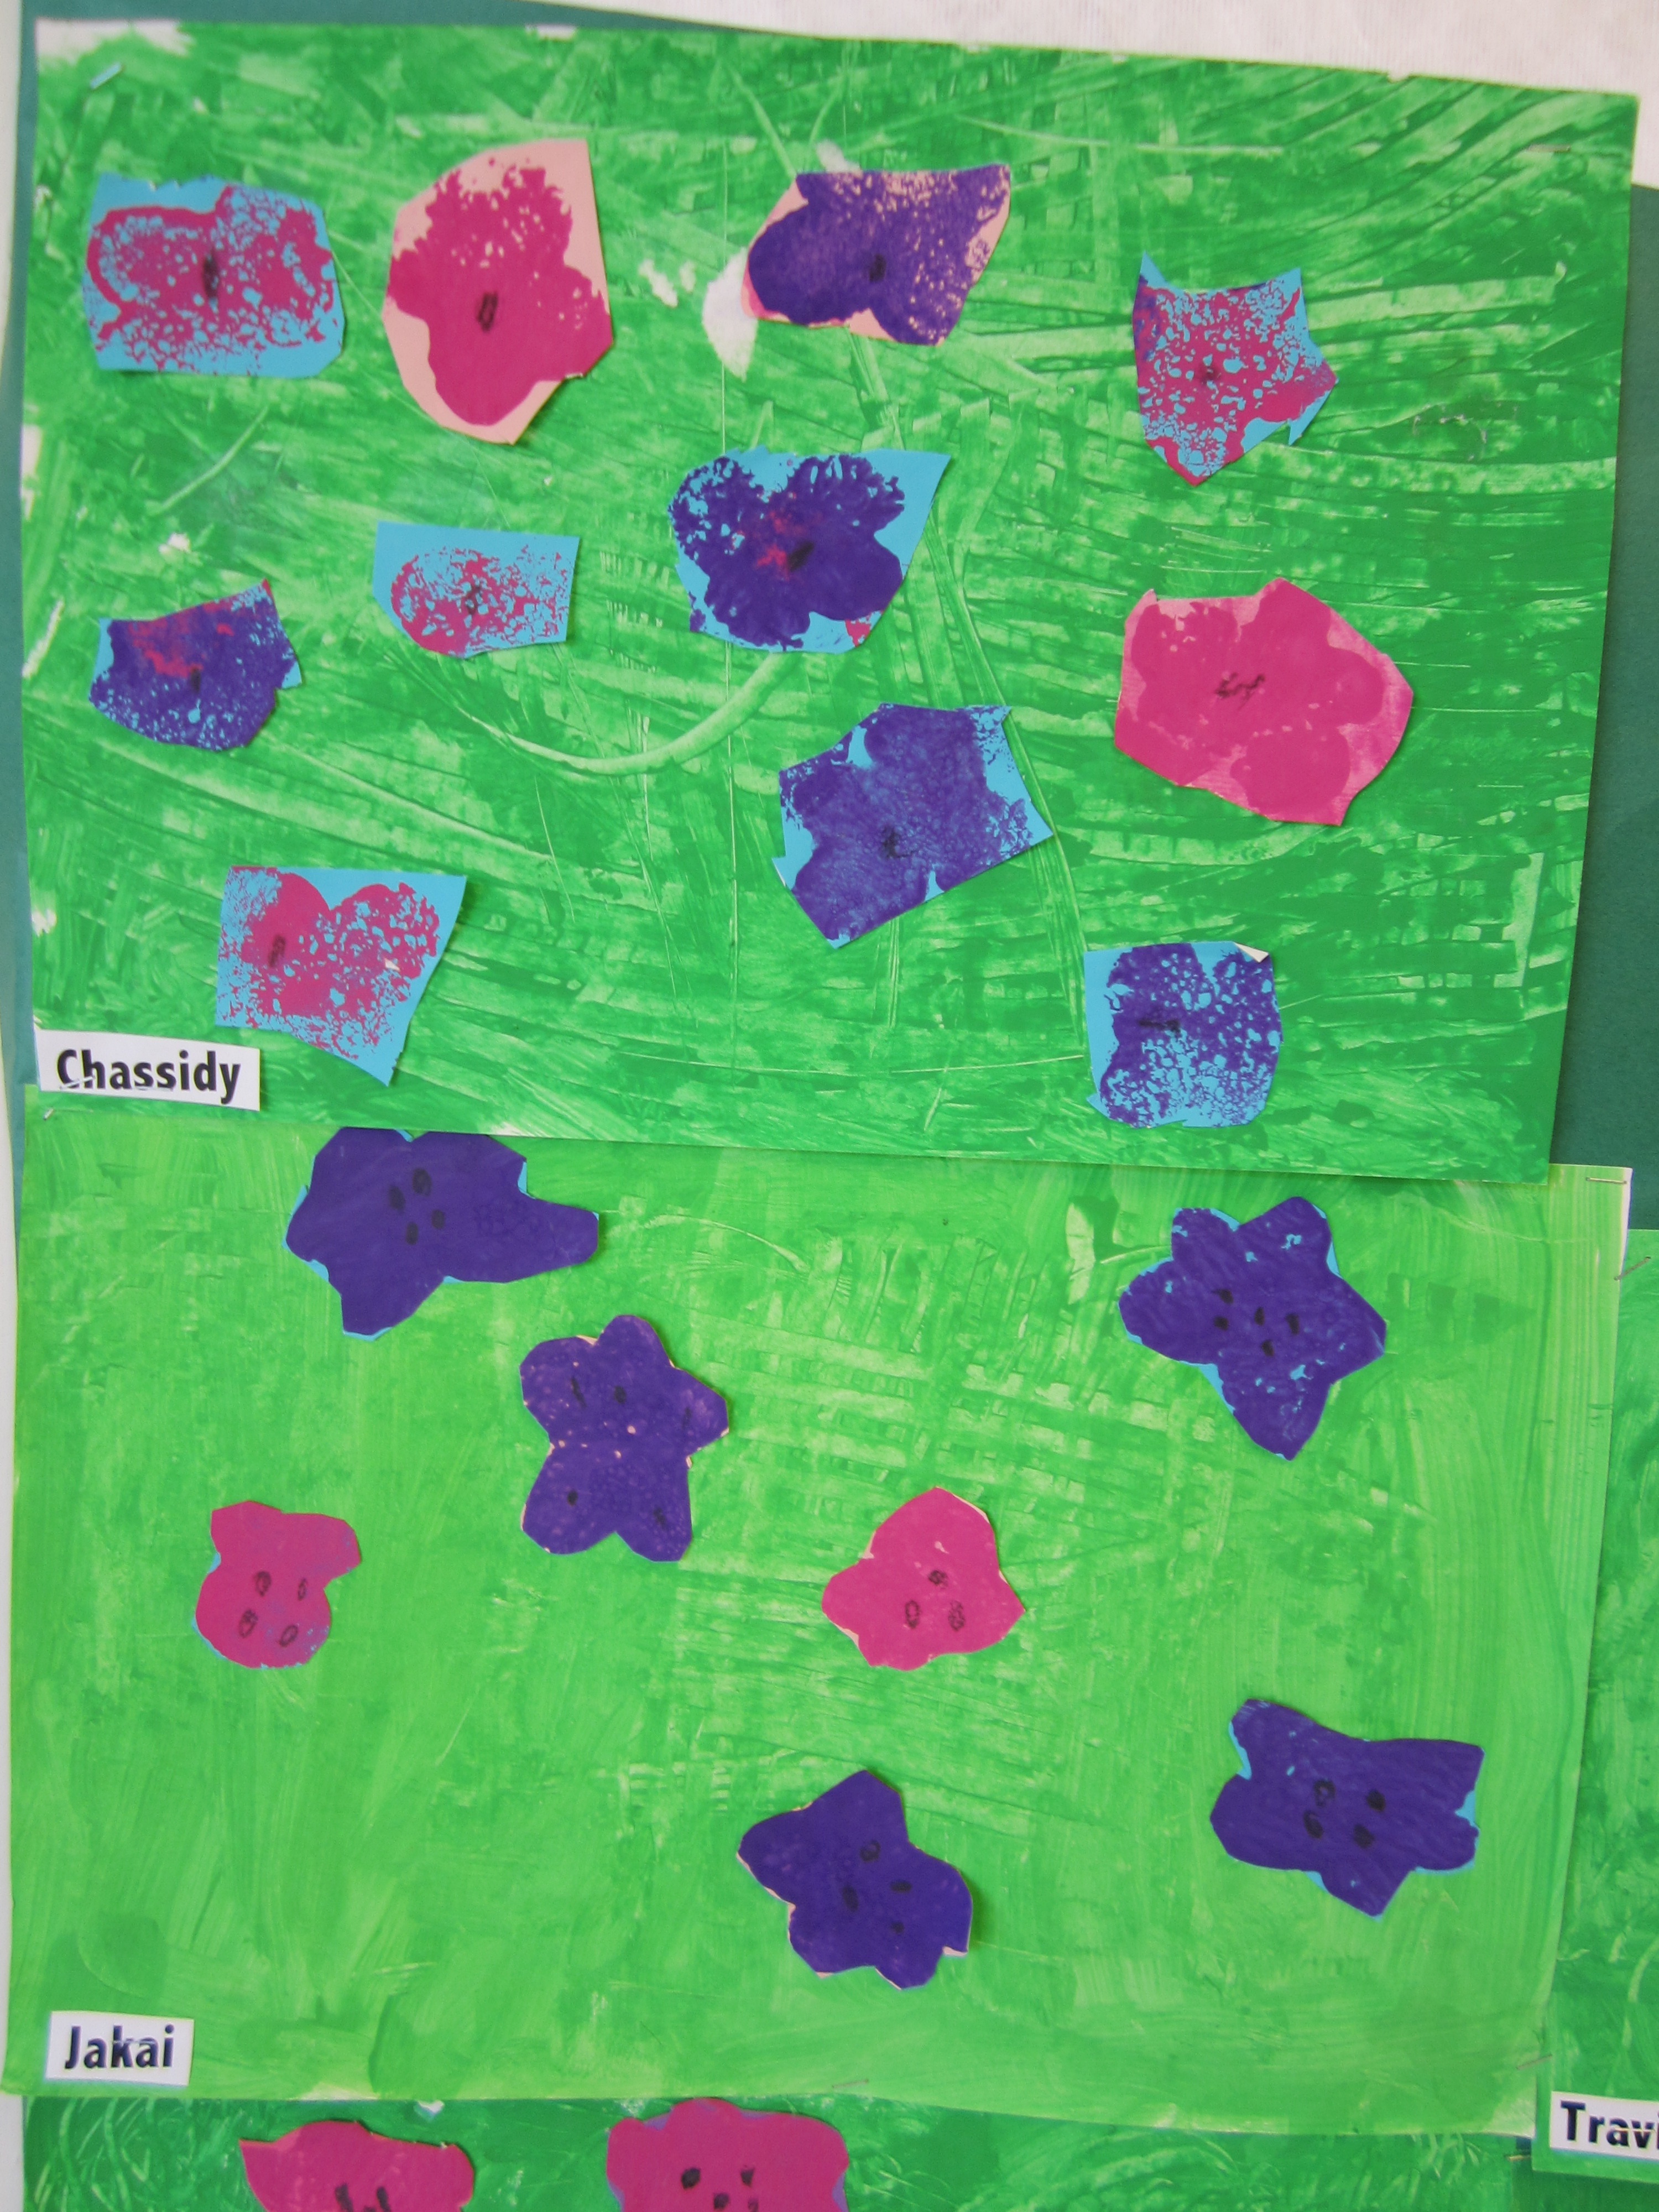
3. using paint combs to add texture that looks like the grass background in Andy Warhol's "Flowers" picture
4. put on drying rack
Day 2:
1. Write name on colored construction paper or fadeless paper and art code
2. stamp flower sponge into tempera paint (use bright colors like pink, yellow, red)
3. print the stamp onto the construction paper or fadeless paper. Fill the whole paper but be sure that the flowers do not touch each other.
4. put on drying rack, put smock away, wash hands.
Day 3.
1. cut out the stamped flowers and put them into a pile.
2. have students toss their flower pile onto their green paper in order to get a random order. kids like to paste them all in a straight line.
3. glue them in place.
Students can identify the artwork of Andy Warhol, describe what a print is, show craftsmanship, work nicely with others and clean up themselves and their tables properly.
Resources:
TheWarhol:Coloring Book from The Andy Warhol Museum, Pittsburgh, PA
Kids just love paint combs. They can get pricey though. Went I got to the school I currently teach at there were some already here, but not enough for everyone to use one at the same time. I collected a bunch of large tupperware container lids and cut them in half and then cut a decorative edge on them. They dont have handles but they give the same great effect and best part- it's FREE!
THE STANDARDS
Visual Arts Standard 1: Understanding and applying media, techniques, and processes
[K-4] Students describe how different materials, techniques, and processes cause different responses
[K-4] Students use art materials and tools in a safe and responsible manner
Visual Arts Standard 4: Understanding the visual arts in relation to history and cultures
[K-4] Students identify specific works of art as belonging to particular cultures, times, and places
MrsHickey05/07/2013 at 02:26am
I tried this lesson but found the paint I was using (Blick Tempera) stained the construction paper and the lines didn't show through. Instead we did monochromatic monoprints using the combs (each class using a different color, both for organizational and display purposes), and cut the flowers from construction paper the next class, glued them on, and used drinking straws dipped in black paint to make the detail in the center of the flowers. Thanks for the inspiration!
RVArtist05/09/2013 at 07:22am
Mrs Hickey- Now that I think about it I think I watered down the tempera paint I was using (Crayola Tempera)... I don't know if this would help or not. Maybe my students just "comb" extra hard? I love the drinking straw print idea! Thanks for sharing :-)
Hope20005/11/2013 at 05:45am
One suggestion I have, is to cut out flower stencils and use sponges dipped in tempera to make the flower shapes on the grass. I think the students would be able to create more successful Pop images this way.
lpskeen08/23/2013 at 09:46am
I'm having trouble printing this plan - does anyone have a link to the printable version?
Thanks!
You must be logged in to keep, like, or comment on this resource.


Share!
Comment!